What is Rsnapshot?
Rsnapshot is a rsync-based filesystem snapshot utility. It can take incremental backups of local and remote filesystems for any number of machines. Rsnapshot makes it easy to make periodic snapshots of local and remote machines over SSH. It extensively uses hard links, so disk space is only used when necessary. Rsnapshot leverages the power of rsync to create scheduled, incremental backups.
It is written entirely in Perl with no module dependencies and has been tested with versions 5.004 through 5.16.3. It should work on any reasonably modern UNIX-compatible OS.
The snapshot was originally based on Mike Rubel's article "Easy Automated Snapshot-Style Backups with Linux and Rsync."
1. Download the rsnapshot into your system using the command : sudo apt-get install rsnapshot
2. Check if the rsnapshot is installed successfully using the command : rsnapshot — version

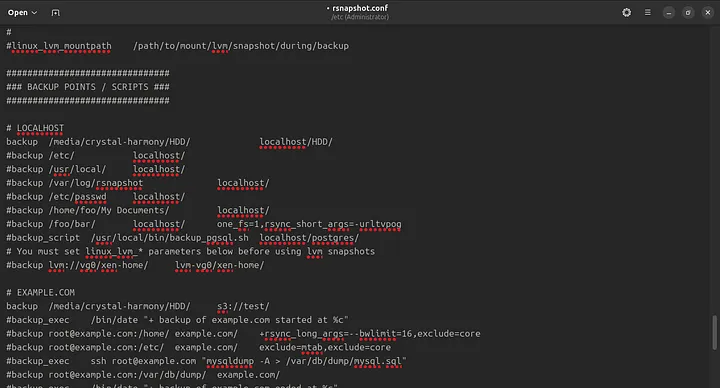
3. Once you have installed the rsnapshot successfully now you need to configure the rsnapshot.conf file. This is in your directory (/etc/rsnapshot.conf). Use the command sudo nano /etc/rsnapshot.conf
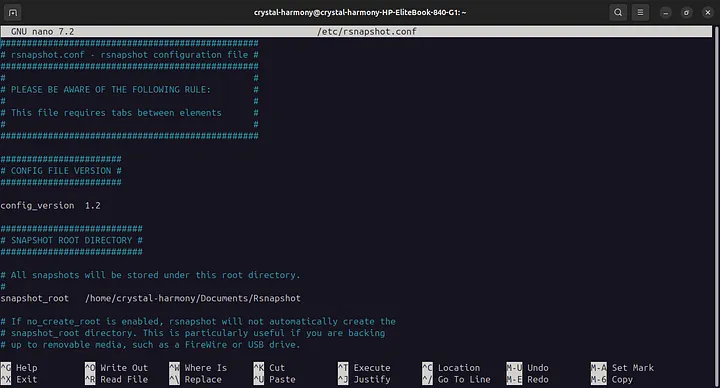
4. Set the snapshot_root path in the config. The root directory where all snapshots will be
stored is found at:
snapshot_root /home/crystal-harmony/Documents/Rsnapshot
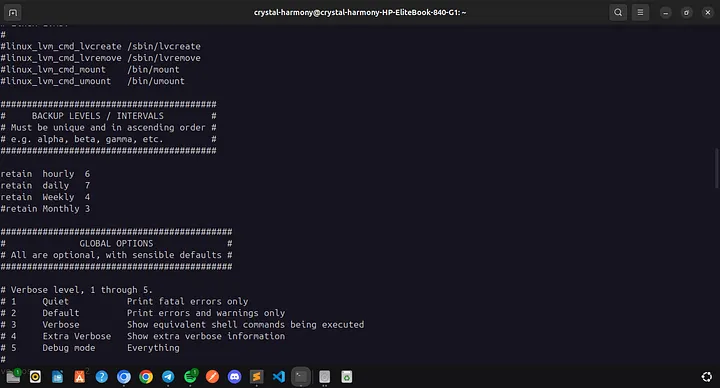
5. Since rsnapshot uses incremental backups, we can afford to keep older backups for a while before removing them. You set these up under the BACKUP LEVELS / INTERVALS section. You can tell rsnapshot to retain a specific number of backups of each kind of interval.
BACKUP LEVELS / INTERVALS
retain hourly 6
retain daily 7
retain Weekly 4
6. Deciding what you want to back up is essential. To back up the data from the local, you need to specify the path to the source and the destination name of your choice.
backup /home/ localhost/
backup /etc/ localhost/
backup /usr/local/ localhost/
7. Once you have correctly set the file's source and destination, you need to check if the config is correctly set using the command. You should get the “syntax ok” as output.
sudo rsnapshot configtest

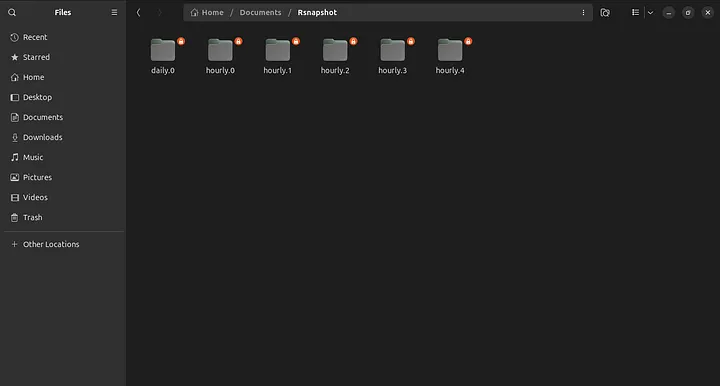
8. Now that you are set, you can run the command as shown below.
a. sudo rsnapshot hourly
b. Sudo rsnapshot daily
Once you have entered the following, the backup will initiate into the file set as the root as the destination. You can view it, and you will get the interface below.
How can we upload the file to StorX?
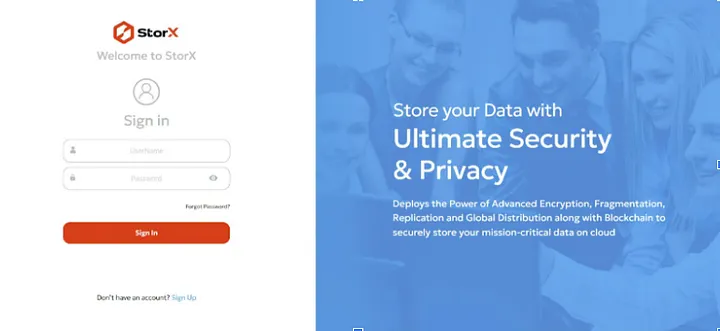
Sign in to StorX
Enter your email and password to sign into StorX. If you haven’t registered, kindly sign up for an account at StorX.
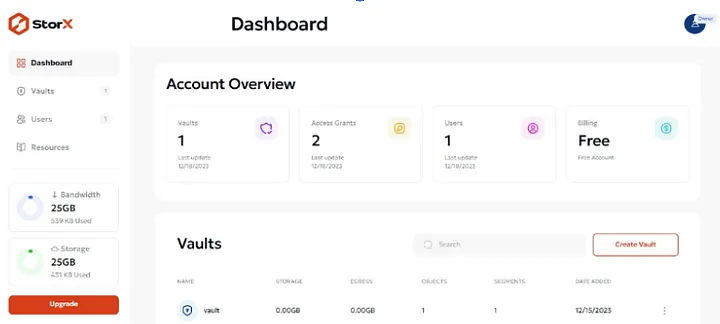
Dashboard
After logging in, you will enter your email and password and be redirected to the dashboard, where you will see all your account details.
Creating a Vault
StorX deploys vault methodology to store files to StorX systematically. All files must be stored in a vault; There is no limit to the number of Vaults that users can create. Users can also create new folders and store individual files under Vault. Each vault will have its unique passphrase; This means the users can have multiple Vaults and passwords for each Vault. Vault names must be created in AlphaNumeric and lower characters only. If the user wants to Upload, Download, or Share a File, He would have to first click in the respective Vault and fetch the details after putting in the passphrase.

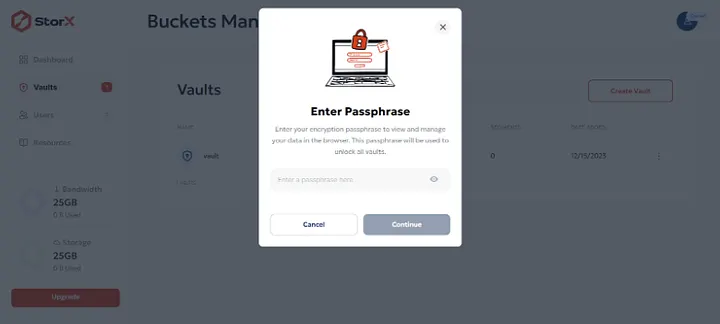
Creating an encryption Passphrase
To enhance the privacy and security of data stored on StorX, Users must encrypt each Vault with its unique Passphrase; Passphrase is like a unique encryption key combination for each Vault. The passphrase is unique for each Vault, and this information resides strictly on the user's PC/Laptop. User Passphrase is never shared with StorX or its Storage Node Operators. This information is unique and the primary enabler for enhanced security in the StorX ecosystem. Passphrase can never be retrieved or reset by the users. If the user loses their passphrase, he will lose access to the data.
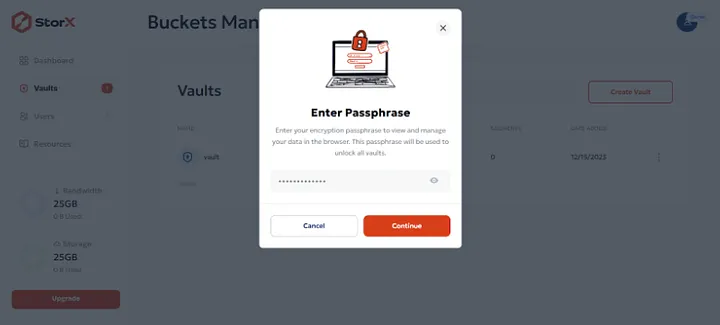
After entering the passphrase, you will gain access to all the files uploaded to the user's Vault, as shown in the figure below.
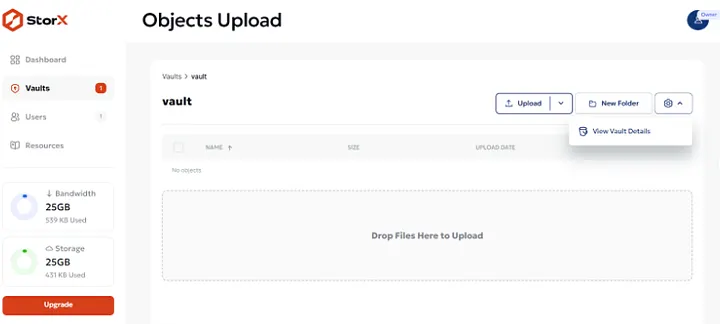
Clicking on the Settings icon, where you can see View Vault Details as in the figure below.
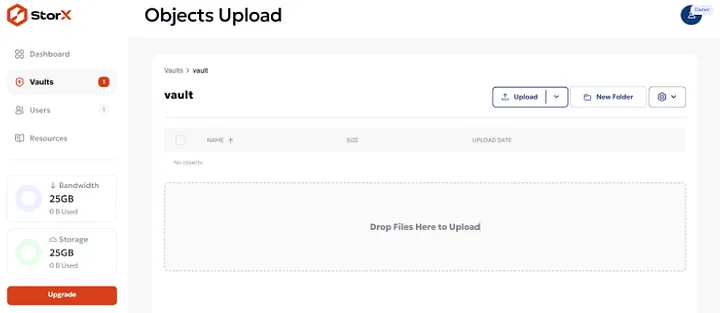
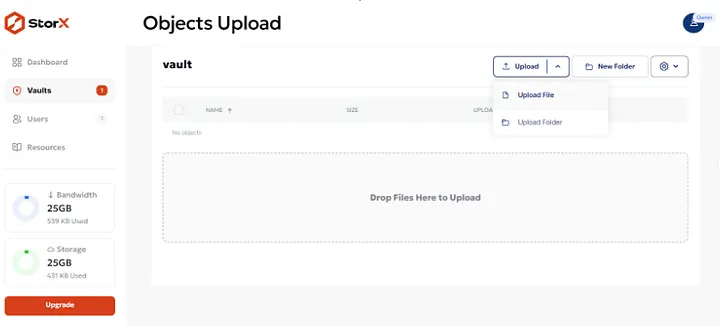
Uploading your file to the Vault
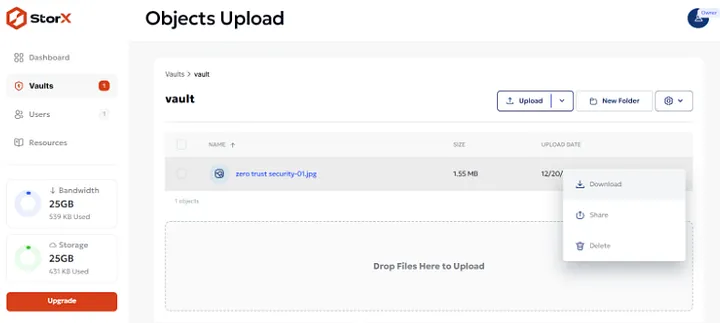
Once the vault is open after providing a passphrase, Users can upload a file or upload a folder by clicking on the blue Upload Tab; furthermore, If you want to add a new folder in the vault that is currently open, then you can add it by clicking on the New Folder Tab which is next to the blue upload Tab as shown below;
Upon clicking on the three dots appearing in front of the extreme right of every uploaded file, you can find the options to Download, Share, and Delete the required File/Folder, as shown below;