
What is WinSCP?
WinSCP is a popular SFTP client and FTP client for Microsoft Windows! It allows you to copy files between a local computer and remote servers using FTP, FTPS, SCP, SFTP, WebDAV, or S3 file transfer protocols.
Download WinSCP: https://winscp.net/eng/download.php
Latest stable version: 6.3.4 • Free and open-source
Before you begin: You need an active StorX account. Join StorX →
Required StorX Credentials
- Access Key - Your unique access identifier
- Secret Key - Your private security key
- Endpoint URL -
gateway.storx.io
WinSCP Installation
1. Open the installation program by double-clicking on its icon.
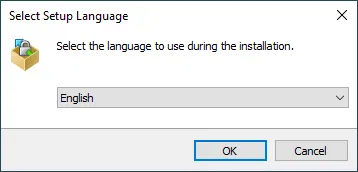
2. If the installer does not support your Windows language, select an alternative language to use (both for installation and later when using WinSCP).
3. On the License Agreement screen, click Accept after reviewing the license.
4. You will be prompted to select a setup type. For a basic setup, choose Typical Installation.
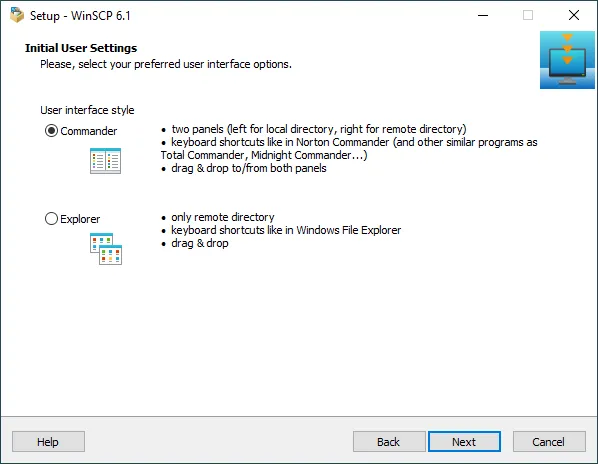
5. Then, you will be prompted for Initial User Settings. This allows you to select the user interface style:
- Commander interface: Familiar to users of Total Commander, Altap Salamander, or Norton Commander
- Explorer interface: More familiar to Windows users
6. The Ready to Install screen opens after you select the interface. Click Install to start the installation.
7. A brief installation process will take place. You may have to restart Windows File Explorer or your computer. If you choose not to restart, some WinSCP functions may only be available once you do so.
Configuring WinSCP with StorX
1. Open WinSCP. The interface will appear as follows:
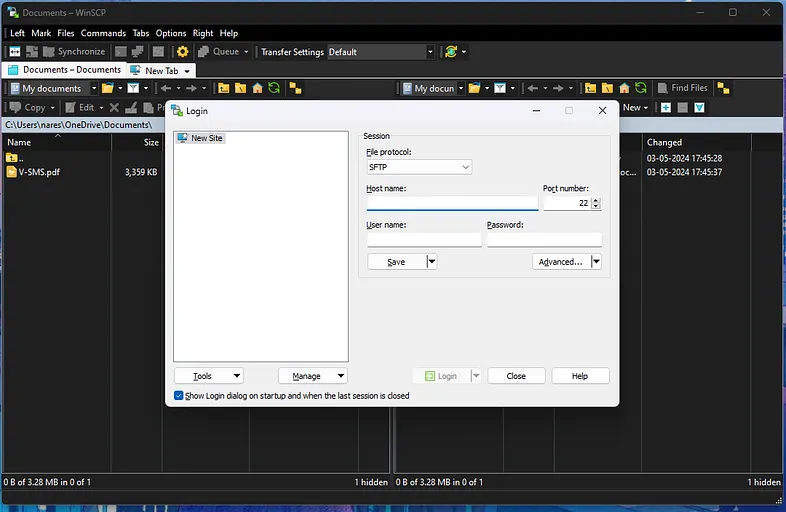
2. Select Amazon S3 as the file protocol. Enter your StorX credentials:
- Host name:
gateway.storx.io - Access Key ID: Your StorX Access Key
- Secret Access Key: Your StorX Secret Key
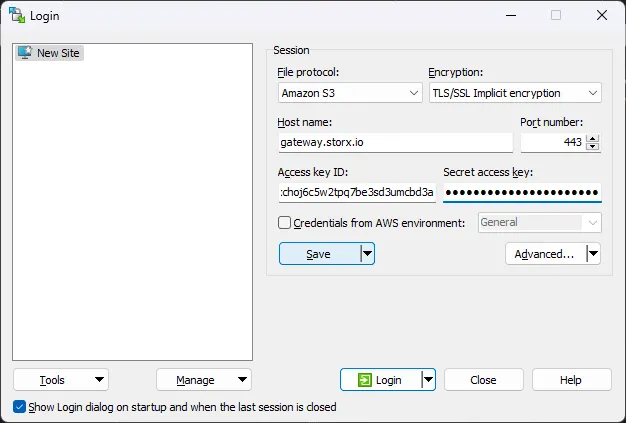
Note: Make sure to enter the endpoint exactly as
gateway.storx.io without any additional paths. WinSCP will handle the
connection automatically.
3. Click Login or Save to connect. Once logged in, you'll see your StorX vaults and files:
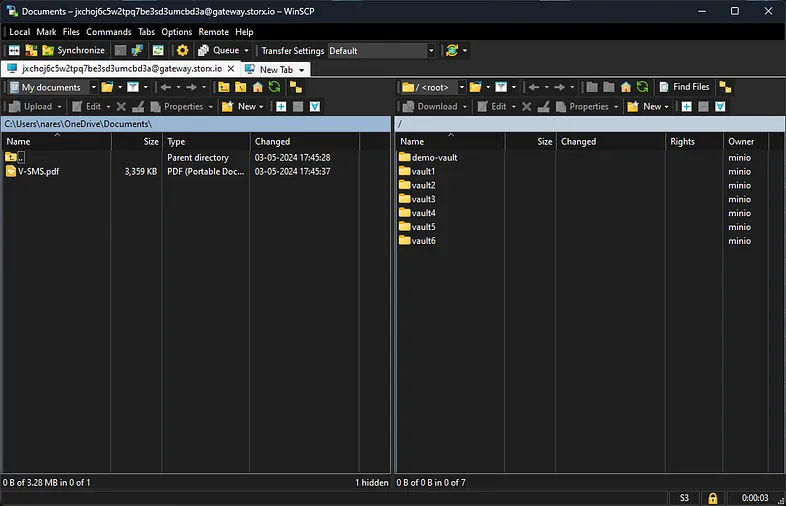
✓ Integration Complete! You have successfully connected WinSCP to your StorX decentralized storage. You can now transfer files between your local computer and StorX using WinSCP's intuitive interface.
What You Can Do Now
- Upload Files: Drag and drop files from your local computer to StorX
- Download Files: Download files from StorX to your local computer
- Manage Files: Rename, delete, copy, and move files within StorX
- Create Folders: Organize your StorX storage with folders
- Edit Files: Open and edit files directly from WinSCP
- Save Sessions: Save your StorX connection for quick access later
💡 Pro Tip: WinSCP supports synchronization features. You can use Tools → Synchronize to keep local and remote folders in sync. This is perfect for maintaining backups of important data between your computer and StorX.