
Cyberduck is an open-source client for FTP and SFTP, WebDAV, and cloud storage, available for macOS and Windows.
Getting Started with Cyberduck
Step 1: Installation
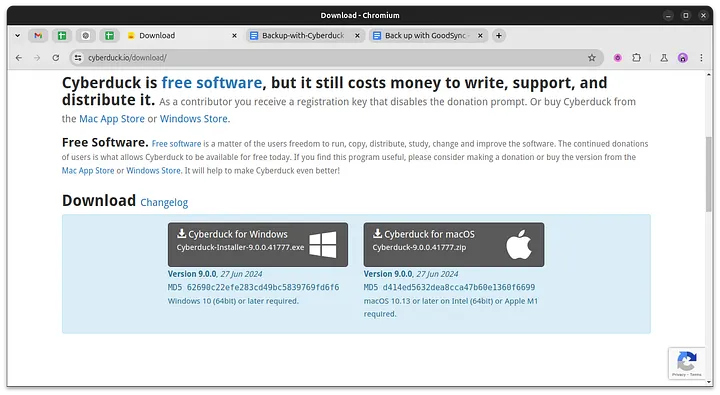
Download the latest version of Cyberduck for Windows from the official download page.
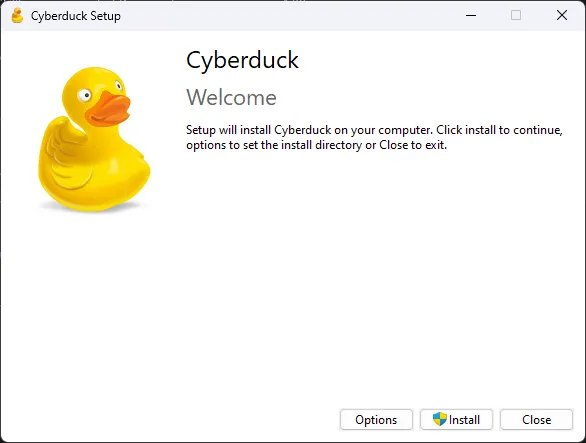
1. Run the downloaded installer:
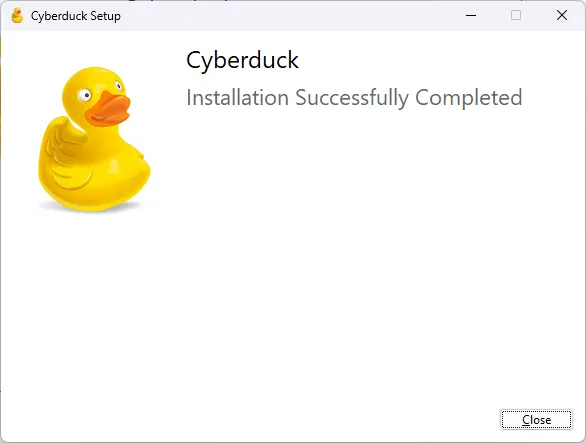
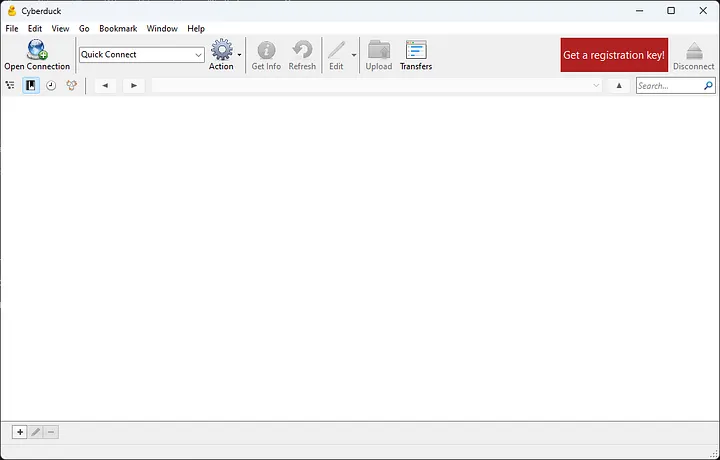
2. Once installation is complete, you'll see the Cyberduck interface:
Step 2: Connect Cyberduck to StorX
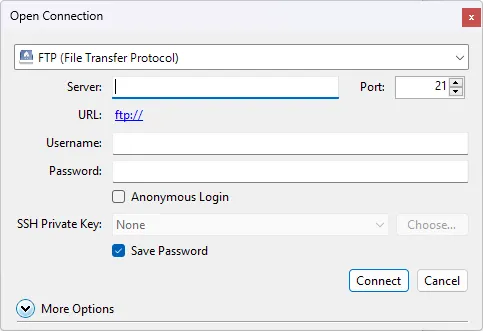
1. Open Cyberduck and click on Open Connection:
2. In the connection dialog, select Amazon S3 as the connection type:
3. Enter your StorX Access Credentials:
- Server:
gateway.storx.io(your endpoint) - Access Key ID: Your StorX Access Key
- Secret Access Key: Your StorX Secret Key
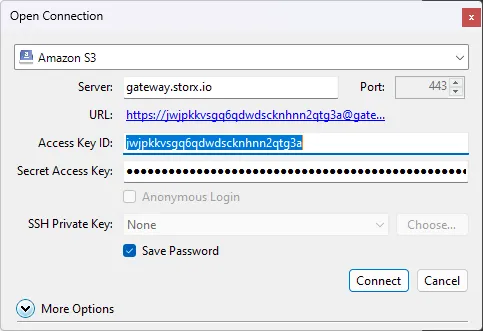
Important: Make sure to enter the endpoint exactly as
gateway.storx.io without any additional paths or protocols. Cyberduck will
handle the connection automatically.
4. Click Connect. Once connected, you'll see your StorX vaults and files:
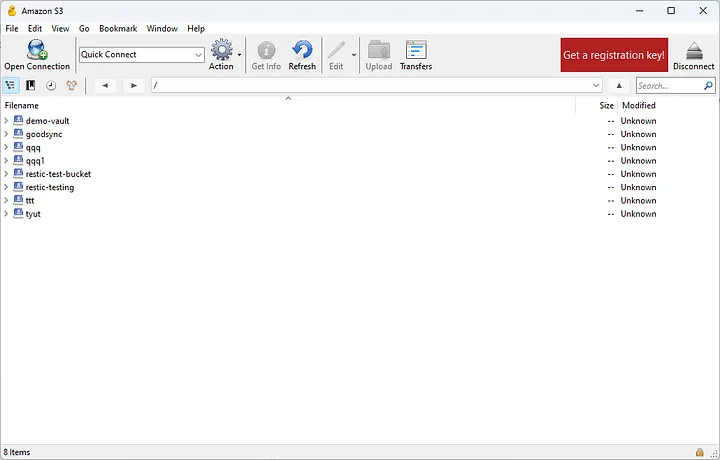
✓ Integration Complete! You have successfully connected Cyberduck to StorX. You can now manage your decentralized storage files just like local files.
What You Can Do Now
- Upload files: Drag and drop files from your computer to Cyberduck
- Download files: Drag files from Cyberduck to your local folders
- Manage files: Rename, delete, copy, and move files within StorX
- Create folders: Organize your storage with folders
- Sync: Set up automatic synchronization between local folders and StorX
Pro Tip: You can save this connection in Cyberduck's bookmarks for quick access. Simply click the bookmark icon after connecting to save your settings securely.