
What is Rclone?
Rclone is a command-line program to manage files on cloud storage. It supports over 40 cloud storage providers and is ideal for backup, data migration, and automation tasks. Rclone is often referred to as the "Swiss army knife of cloud storage" due to its flexibility and wide range of features.
Prerequisites
- Active StorX account
- StorX Access Credentials (Access Key, Secret Key, Endpoint)
- Rclone installed on your system
Benefits of Integrating Rclone with StorX
Rclone can automate backups and syncs to StorX, allowing for scheduled or real-time file transfers from local machines, servers, or even other cloud providers.
StorX offers decentralized storage with end-to-end encryption. Combined with Rclone's support for encryption, users can ensure data confidentiality at every step.
StorX provides competitive pricing through its decentralized architecture, and Rclone is free and open-source — making this combo a budget-friendly alternative to services like AWS or Google Cloud.
Rclone is ideal for DevOps and sysadmins — it can be integrated into scripts, cron jobs, and monitoring tools for customized workflows with StorX.
Rclone works on Windows, Linux, macOS, and even mobile platforms. You can manage StorX storage from practically any device.
Whether you're moving gigabytes or terabytes of data, Rclone handles large transfers efficiently, with resumable uploads/downloads and chunking.
Rclone Installation on Ubuntu/Linux
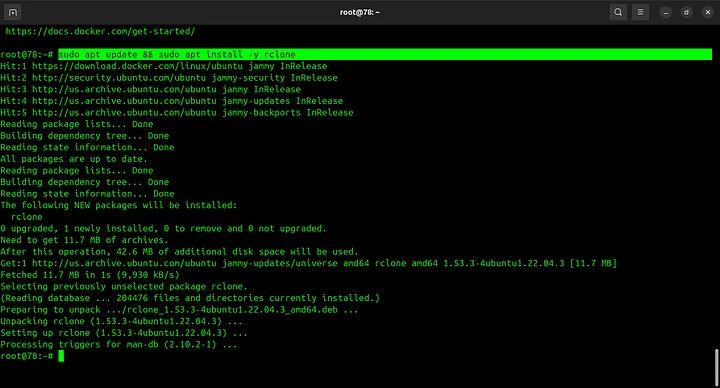
1. Install Rclone using the following commands:
sudo apt update && sudo apt install -y rclone
2. Verify the installation by checking the version:
rclone --version

Configure Rclone with StorX
3. Start the configuration process:
rclone config

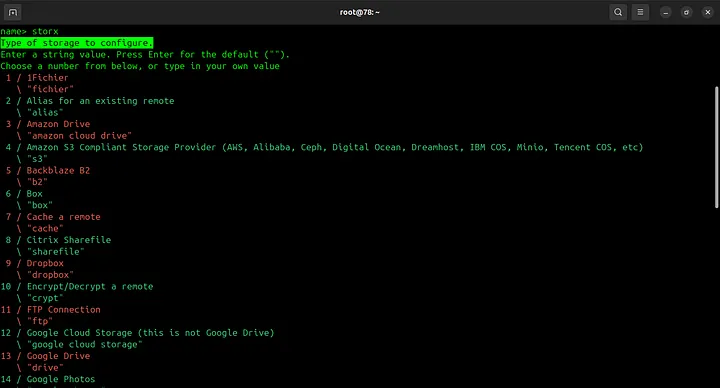
4. Follow the configuration prompts:
- Select "New remote" (n)
- Name your remote (e.g., "storx")
- Select storage type: "Amazon s3 compliant" (4 or 5)
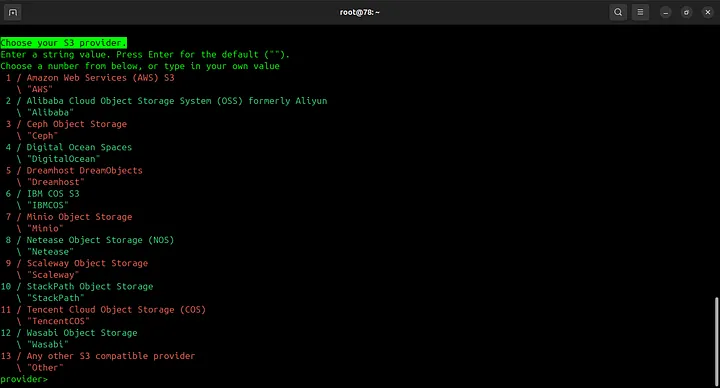
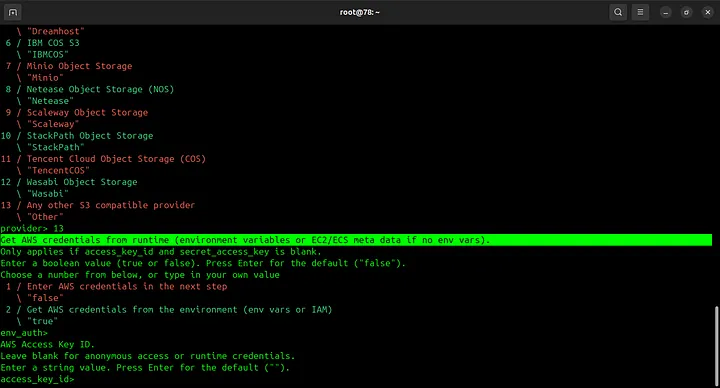
5. Choose the provider as "Any s3 compatible provider":
6. Skip the AWS credentials from runtime by pressing Enter:
7. Enter your StorX credentials:
- Access Key: Your StorX Access Key
- Secret Key: Your StorX Secret Key
- Region:
us-east-1(or leave blank) - Endpoint:
gateway.storx.io - Location constraint: Leave blank
- ACL: Choose as per your preference (private is recommended)
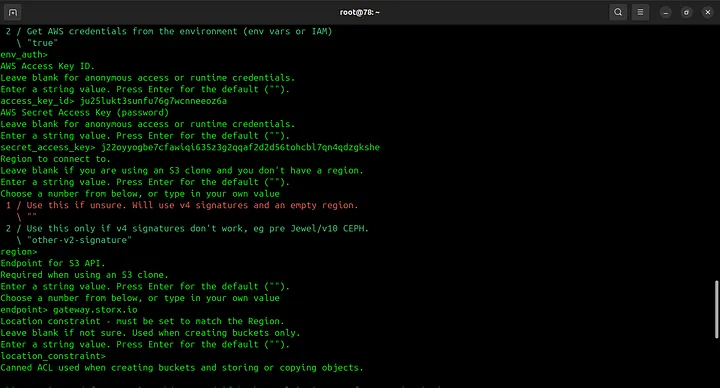
Note: Skip all other options by pressing Enter until you're asked about ACL. Choose your preferred ACL setting and continue until the configuration is saved.
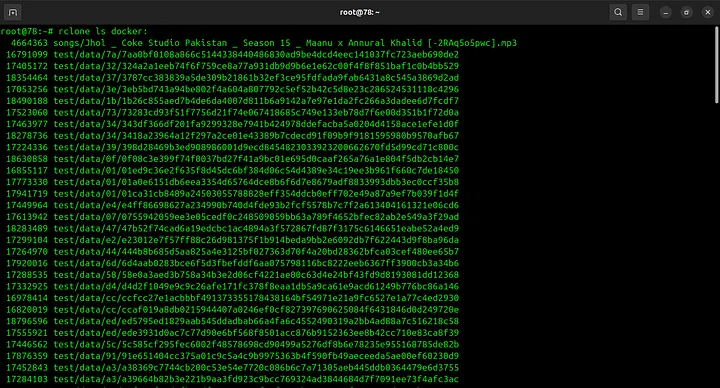
8. Verify the connection is working:
rclone ls your_remote_name:
rclone ls storx: (if you named it "storx")
✓ Integration Complete! Rclone is now successfully configured to work with your StorX decentralized storage. You can use all rclone commands to manage files, sync directories, and automate backups to StorX.
Common Rclone Commands for StorX
# List all buckets/vaults
rclone lsd storx:
# List files in a specific vault
rclone ls storx:your-vault-name
# Copy files from local to StorX
rclone copy /path/to/local/file storx:your-vault-name/
# Copy files from StorX to local
rclone copy storx:your-vault-name/file.txt /path/to/local/
# Sync local folder with StorX
rclone sync /path/to/local/folder storx:your-vault-name/
# Check storage usage
rclone about storx:
💡 Pro Tip: Use rclone --help to see all available commands.
For automated backups, you can add rclone commands to your crontab (Linux/macOS) or Task
Scheduler (Windows).