
How do I use Adobe Premiere Pro with StorX?
Adobe Premiere Pro is the leading video editing software for film, television, and online content. While Adobe Premiere Pro does not natively support cloud storage solutions like StorX, we have partnered with LucidLink to enable smooth, high-performance integration. This allows Adobe users to easily access and edit media stored on StorX cost-effective and reliable cloud storage, directly within their workflow.
Note: Data restoration is managed by your individual backup software application. Because every environment is different and may involve various configurations, we strongly recommend reaching out to your backup software's technical support team for assistance with troubleshooting or application-specific questions.
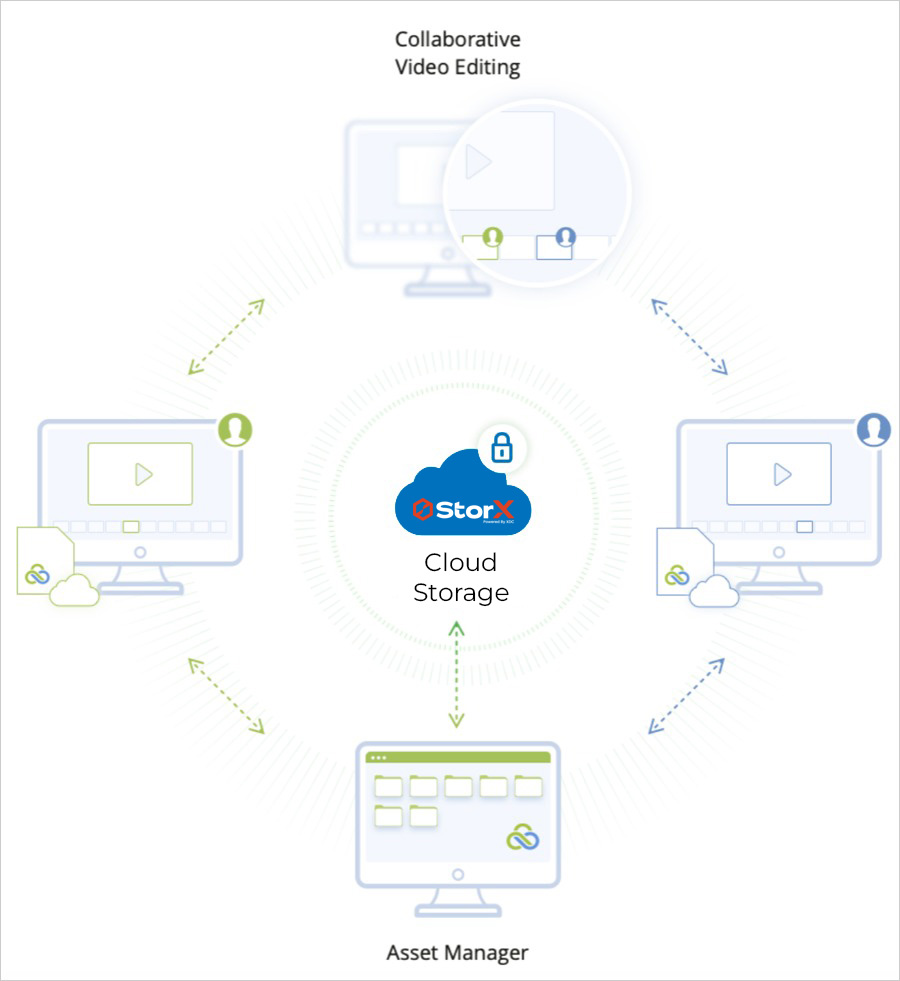
Reference Architecture
Table of Contents
- Prerequisites
- LucidLink configuration
- Using Adobe Premiere Pro with LucidLink filespace
- Joint use cases for StorX - LucidLink - Adobe Premiere Pro solution
Prerequisites
- An active StorX account. Sign up here if you do not have one.
- A bucket in StorX.
- Valid Access Key ID and Secret Access Key. Learn how to create an access key.
LucidLink Configuration
Step 1: Creating a LucidLink filespace
-
Log in to your LucidLink web portal account at:
https://www.lucidlink.com/webportal/login

2. Click on Create your first Filespace or Create a new Filespace (depending on the options presented in your account)
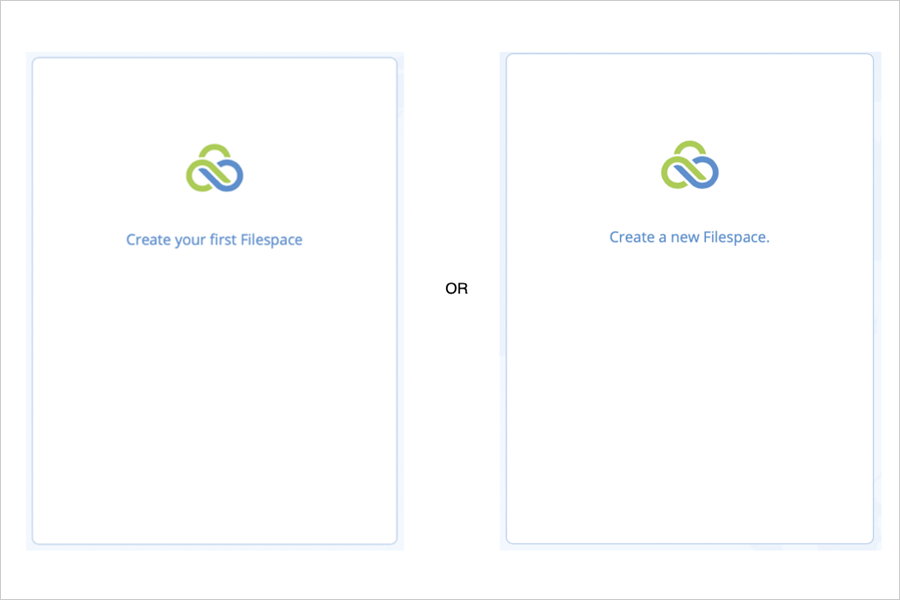
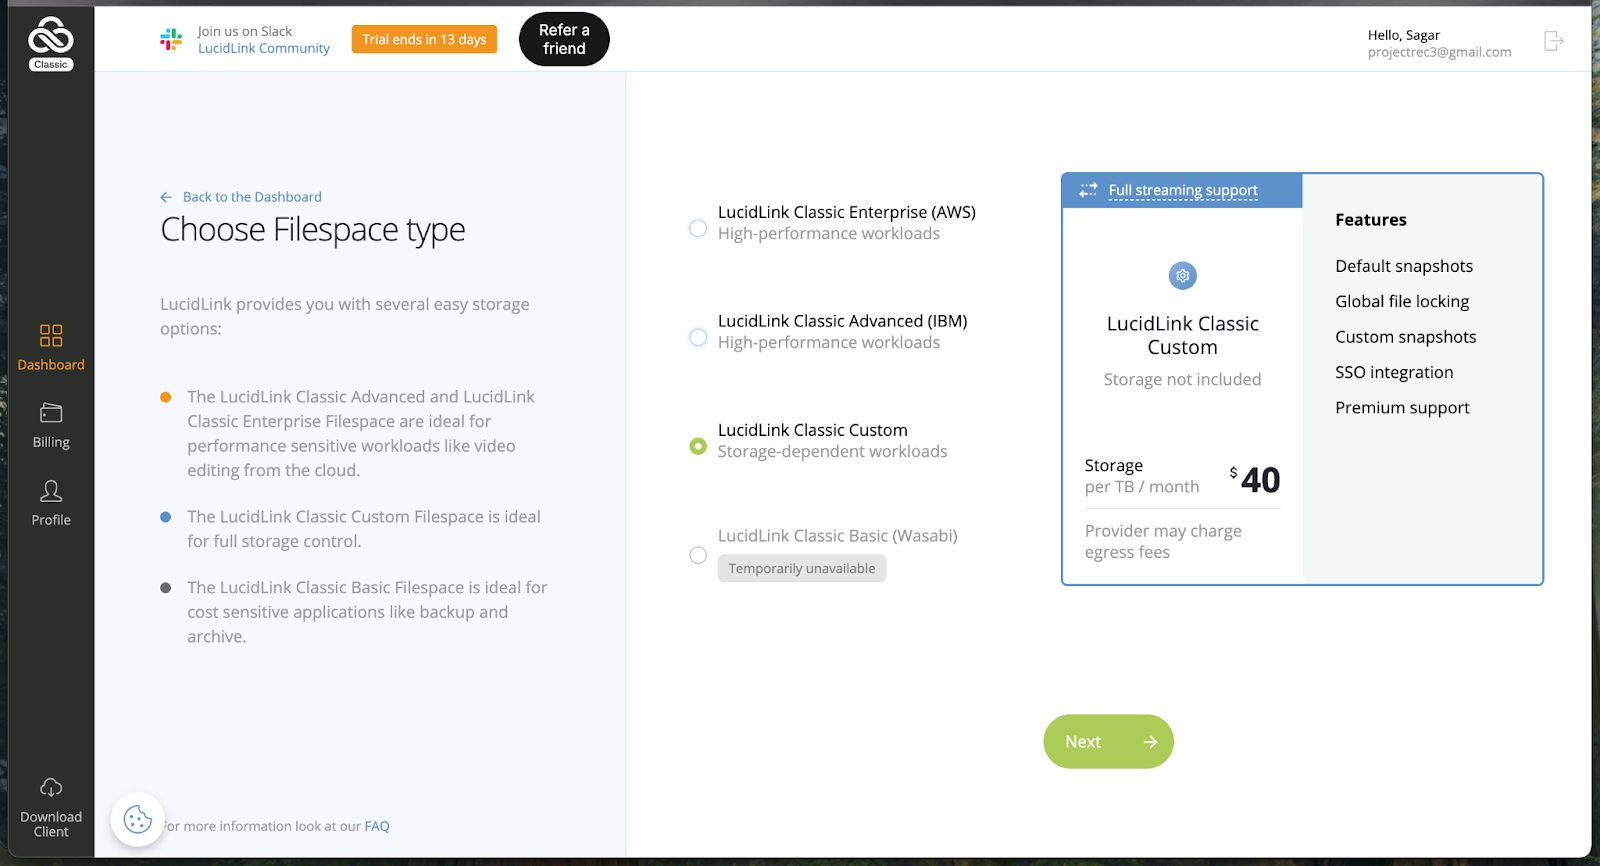
3. To use StorX with LucidLink, select either Basic or Custom Filespace. If you don't have a StorX storage account, you can sign up for StorX storage via LucidLink.
If you already have a StorX account choose Custom Filespace. If you choose to sign up via LucidLink, click on Basic Filespace. Click Next. In this example, we will proceed to create a Custom Filespace.
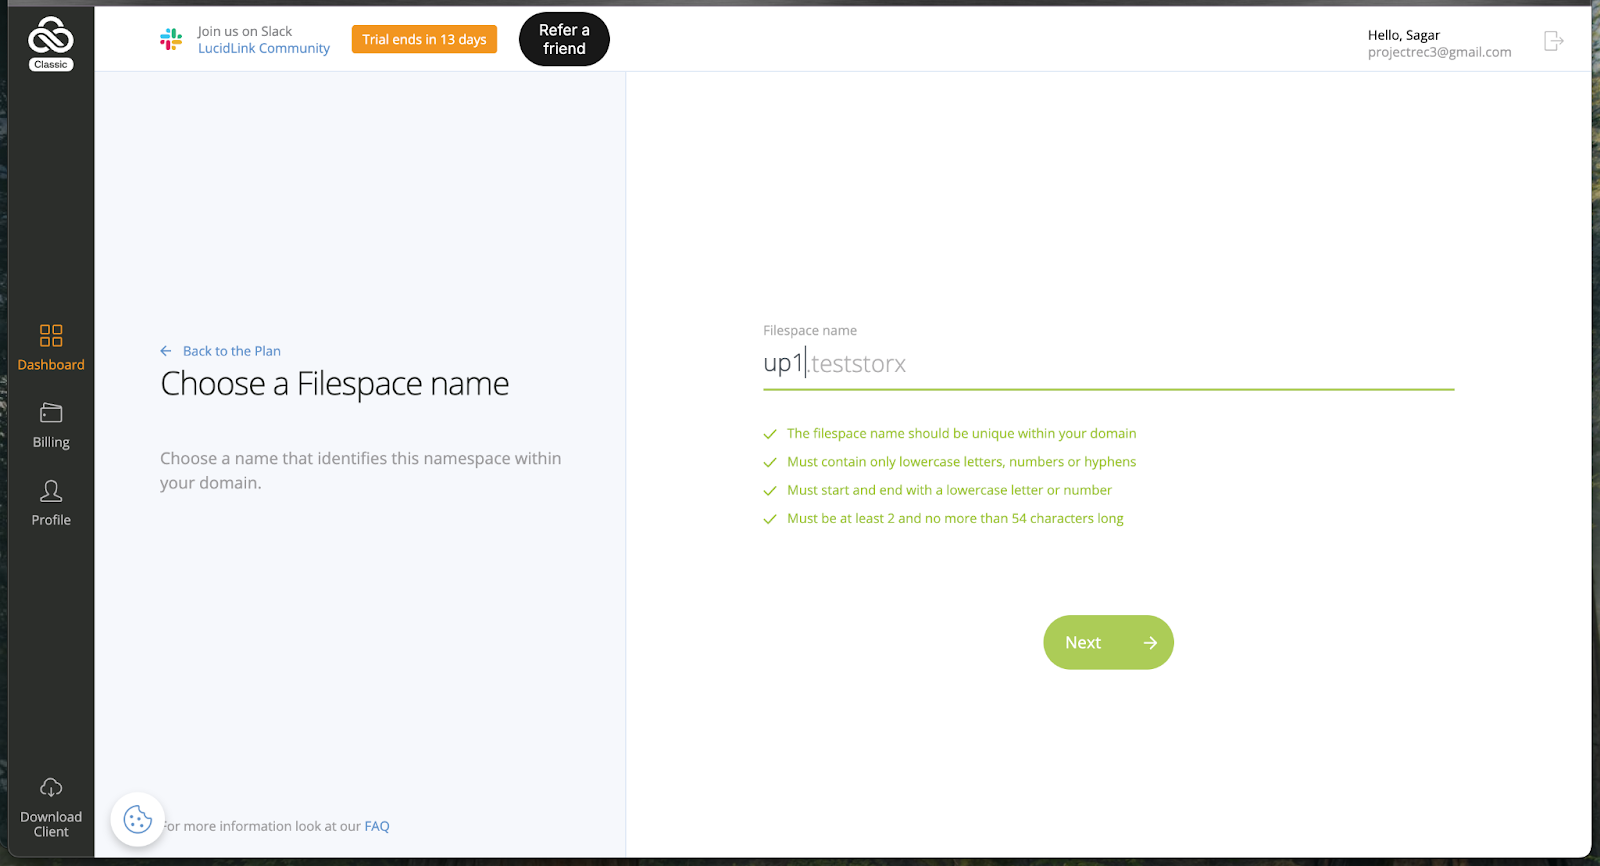
4. Enter a filespace name and click Next.
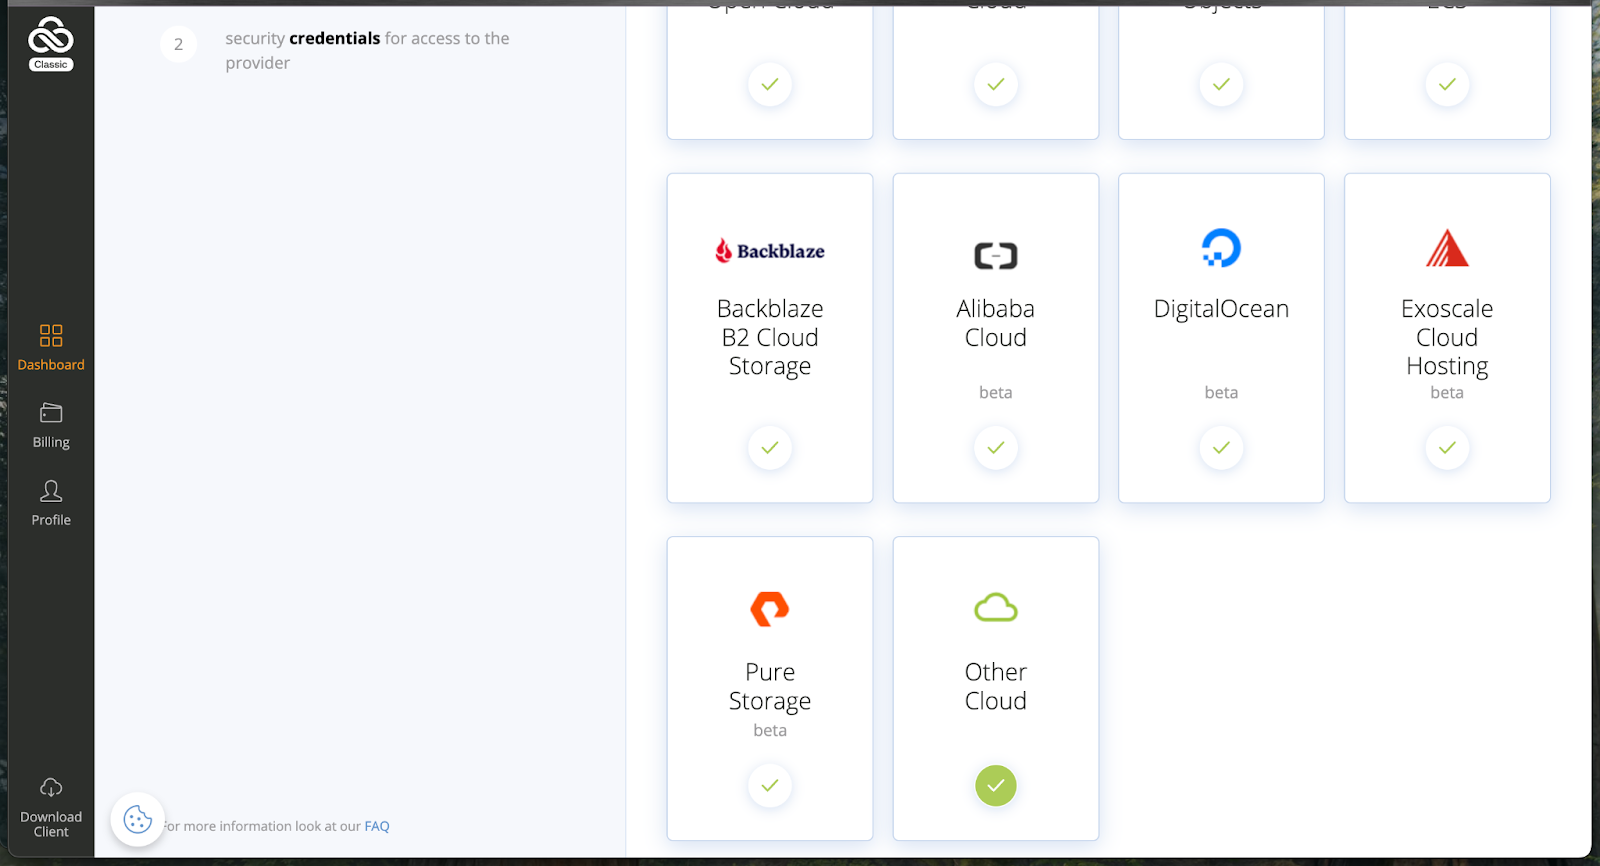
5. Choose Other Cloud.
6. Enter the storage endpoint that you enabled in the StorX dashboard and click Next. Click Create.

7. Once the filespace is created, download and install the Lucidlink client.
8. Click Initialize and click Launch the desktop client.
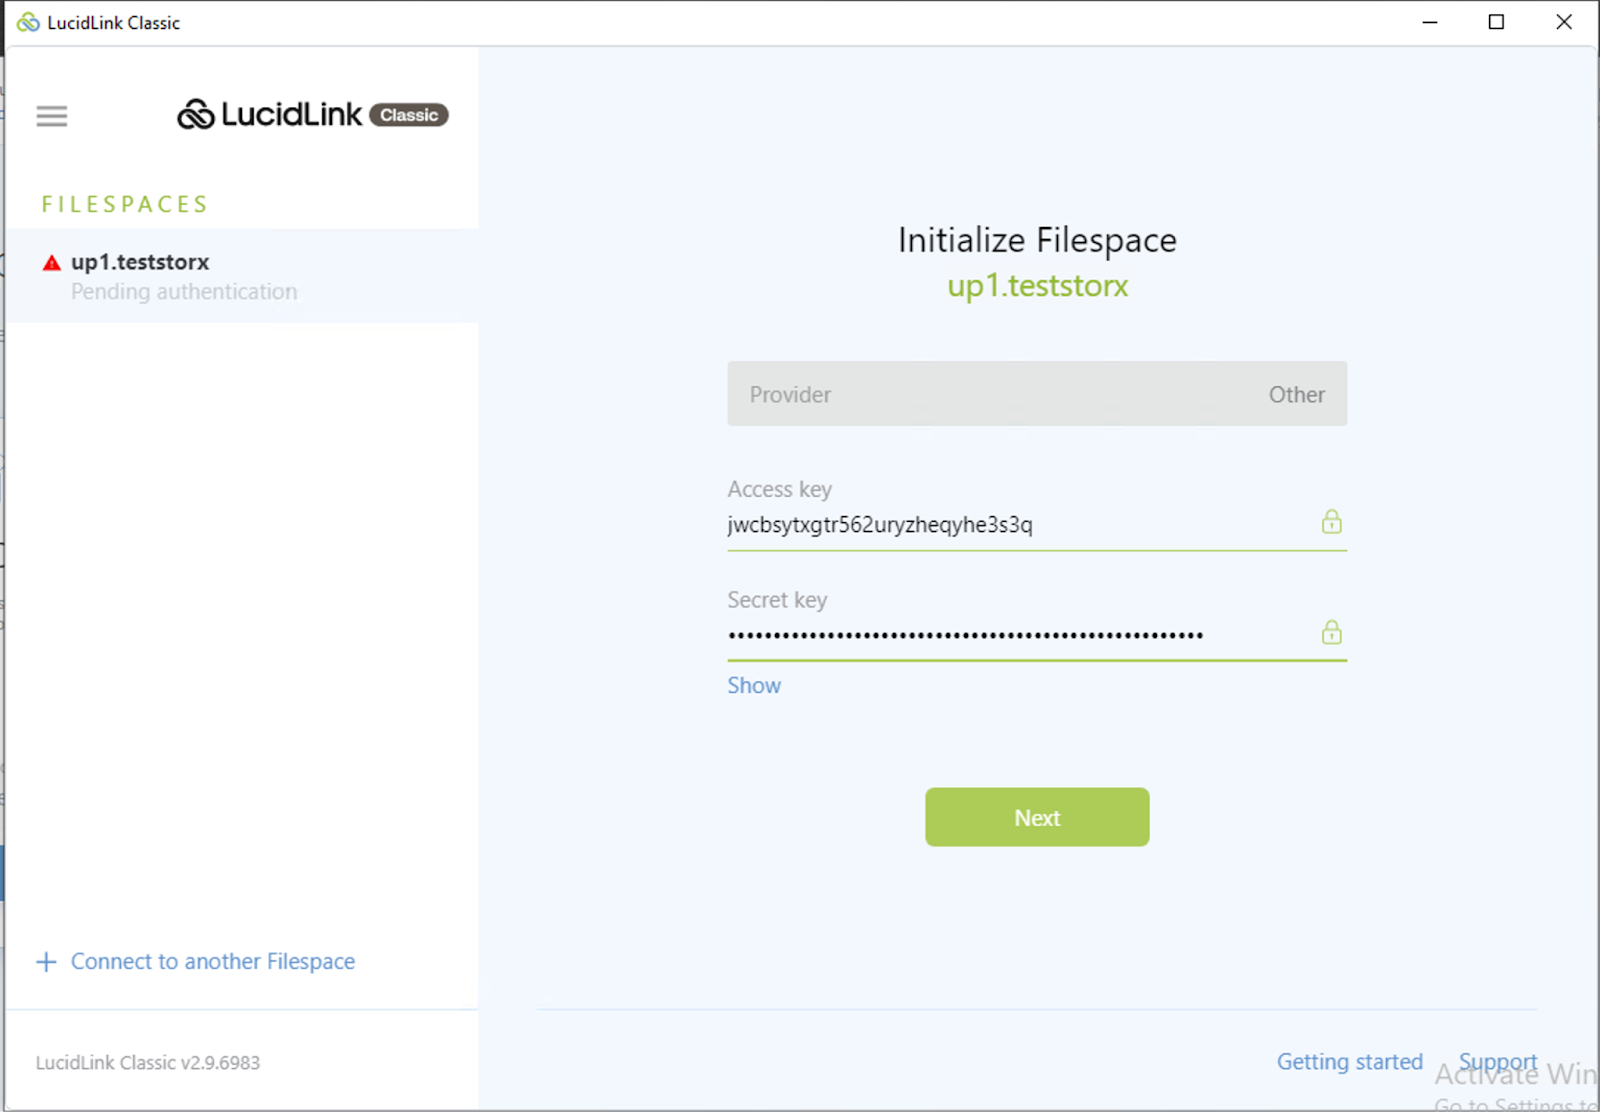
9. Input the Access key and Secret key from StorX and click Next. Learn how to create an access key.
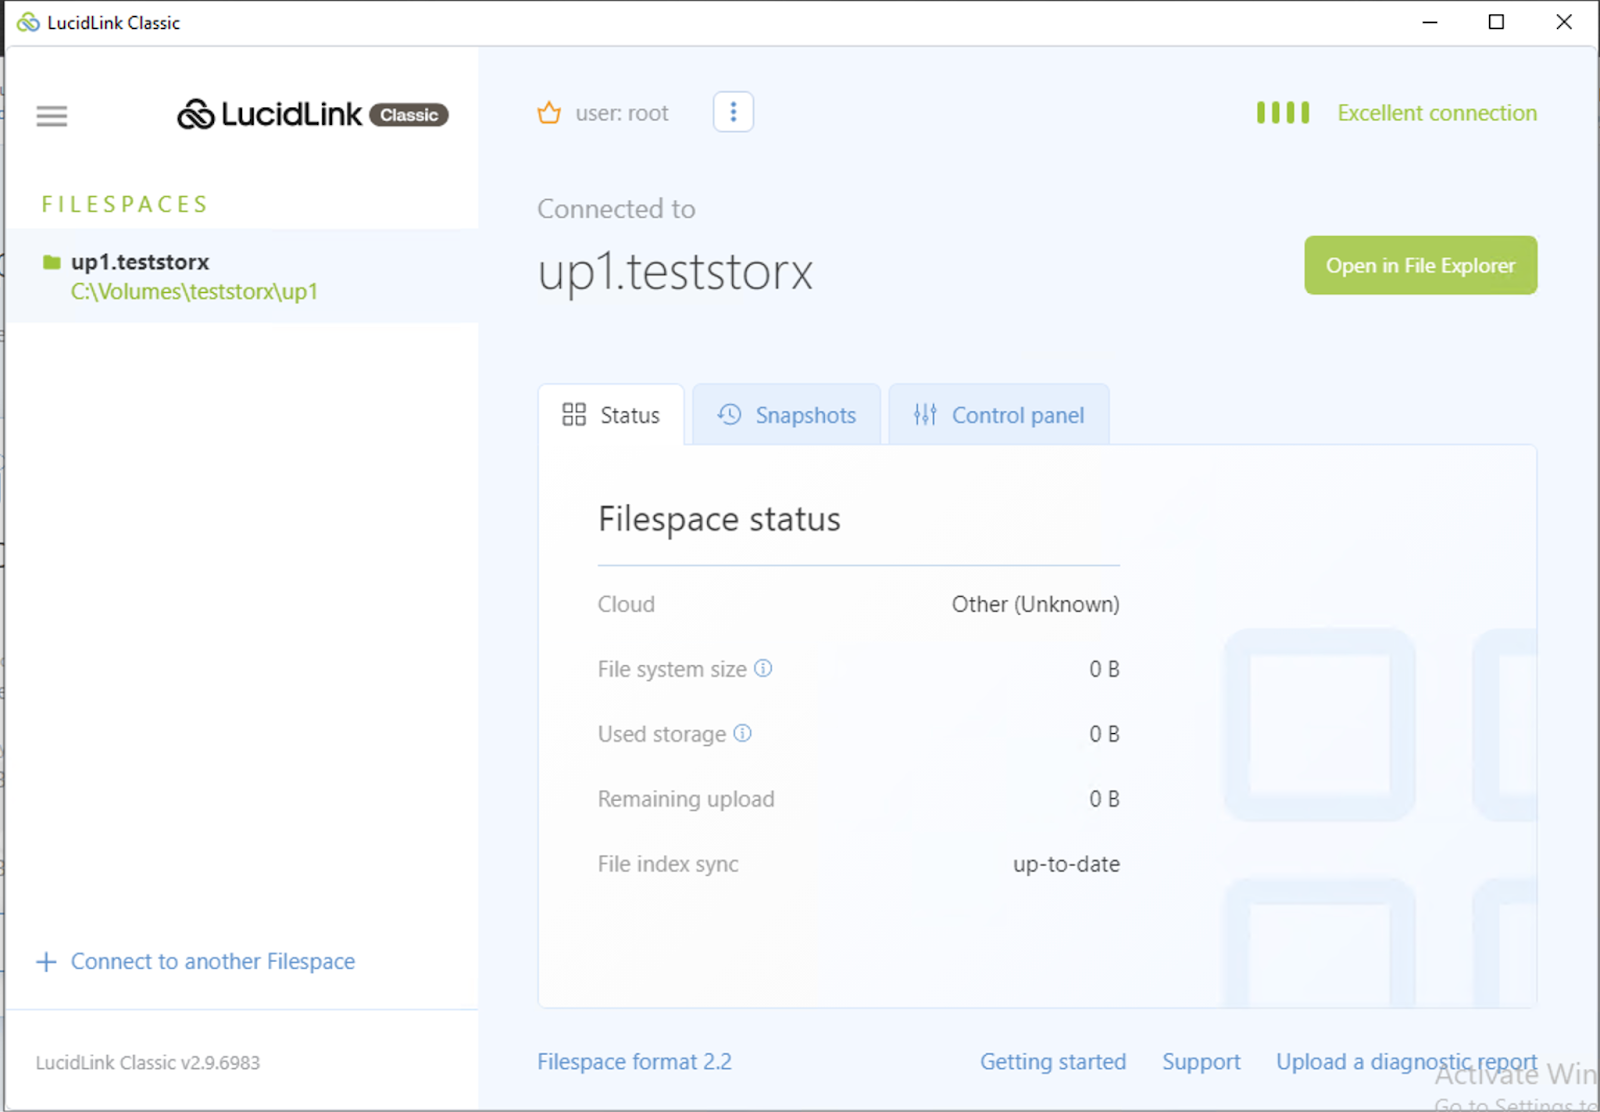
10. Create a root password and click Initialize.

11. Once the initialization is successful you can open the LucidLink Filespace folder and start working on your project.
Using Adobe Premiere Pro with LucidLink filespace
In order to access the LucidLink filespace from Adobe Premiere Pro, you will need the following:
- Adobe Premiere Pro application installed
- LucidLink application installed on the same workstation
- StorX cloud storage configured in LucidLink application as a storage target.
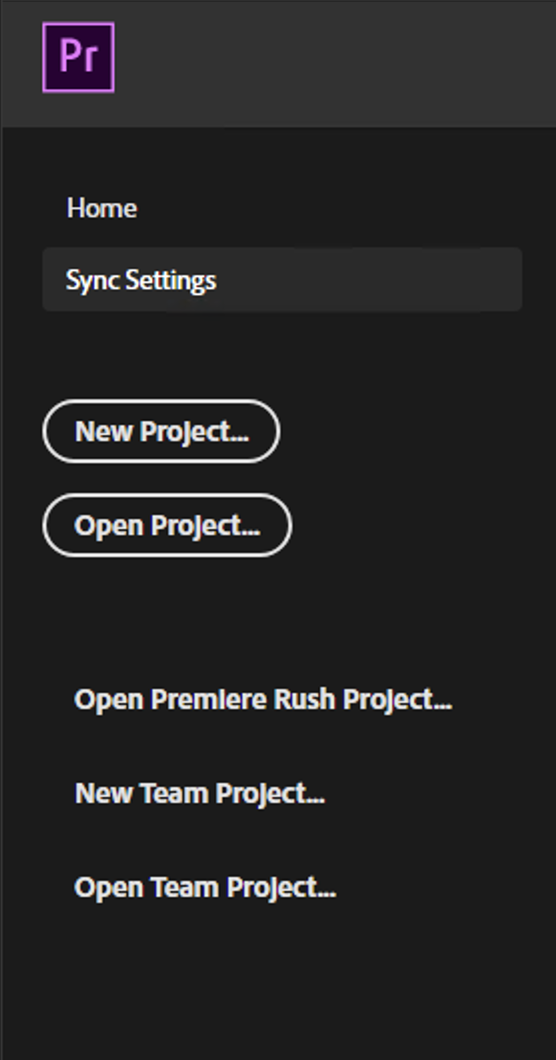
12. Launch Adobe Premiere Pro and start a new project (or open an existing project)
13. Provide the project a name.
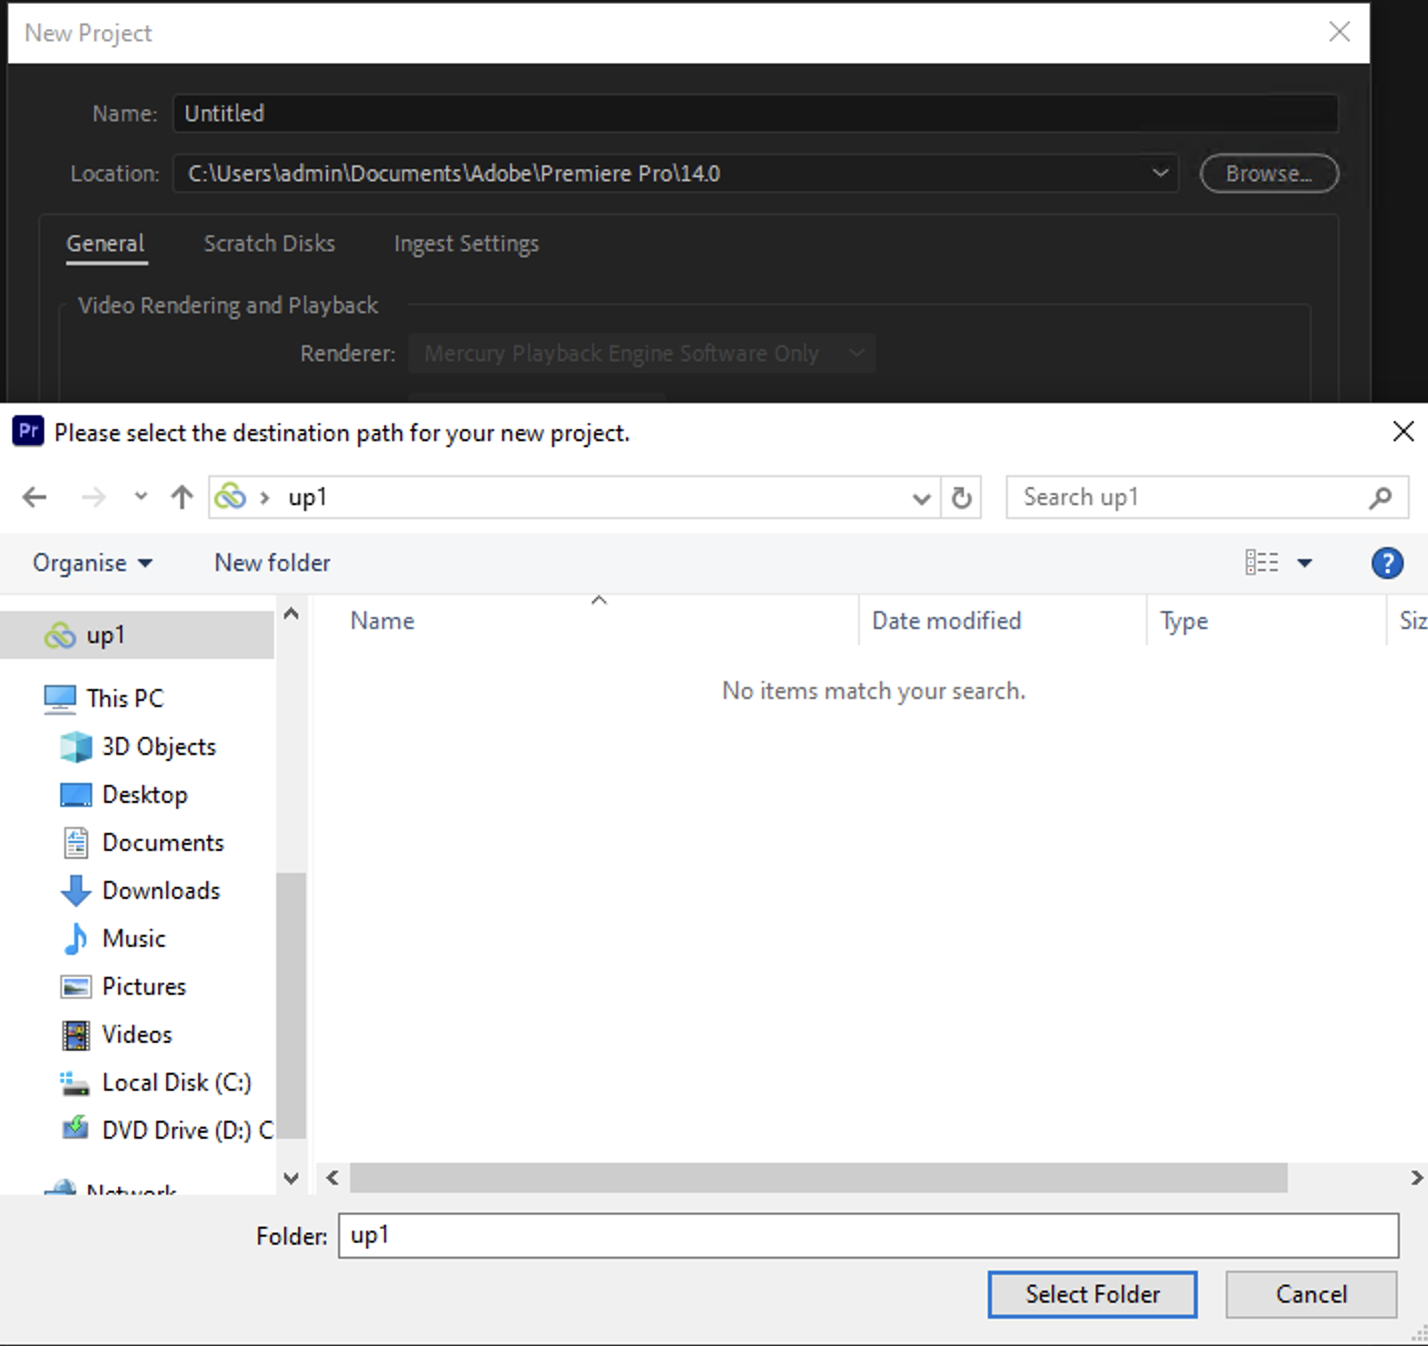
To configure the location for your project to be saved, click Browse. Choose up1, the filespace we created earlier and click OK on the New Project window.
14. Adobe Premiere Pro's media asset pane shows all available assets for use in this project.
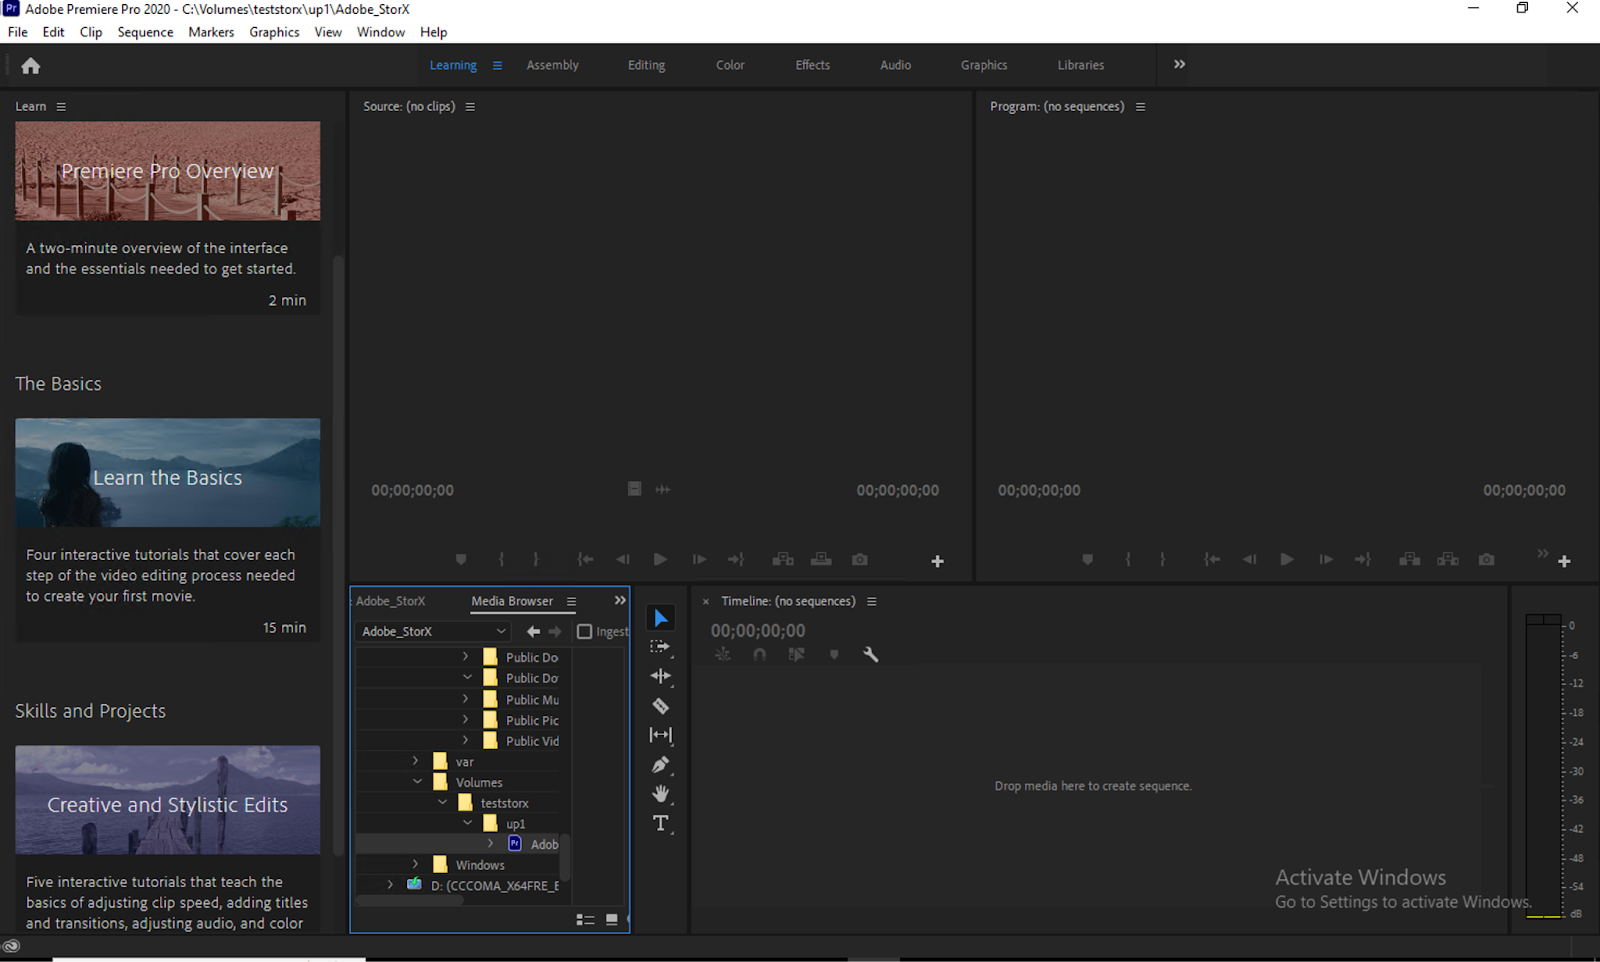
At this point, all of Adobe Premiere Pro's feature set is available at your disposal.
Joint use cases for StorX - LucidLink - Adobe Premiere Pro solution
Below are some of the joint use cases validated for the StorX - LucidLink - Adobe Premiere Pro solution:
- Collaborative video editing
- Quick access to video segments
- Active archive of video assets
Collaborative Video Editing
This use case allows for multiple users to work simultaneously on copies of the same video project. Providing instantaneous access to the media assets, allows for multiple users to work on & finalize the project, instead of having multiple users work on copies of assets within different locations that require large swaths of data to be uploaded and re-downloaded, which is ineffective.
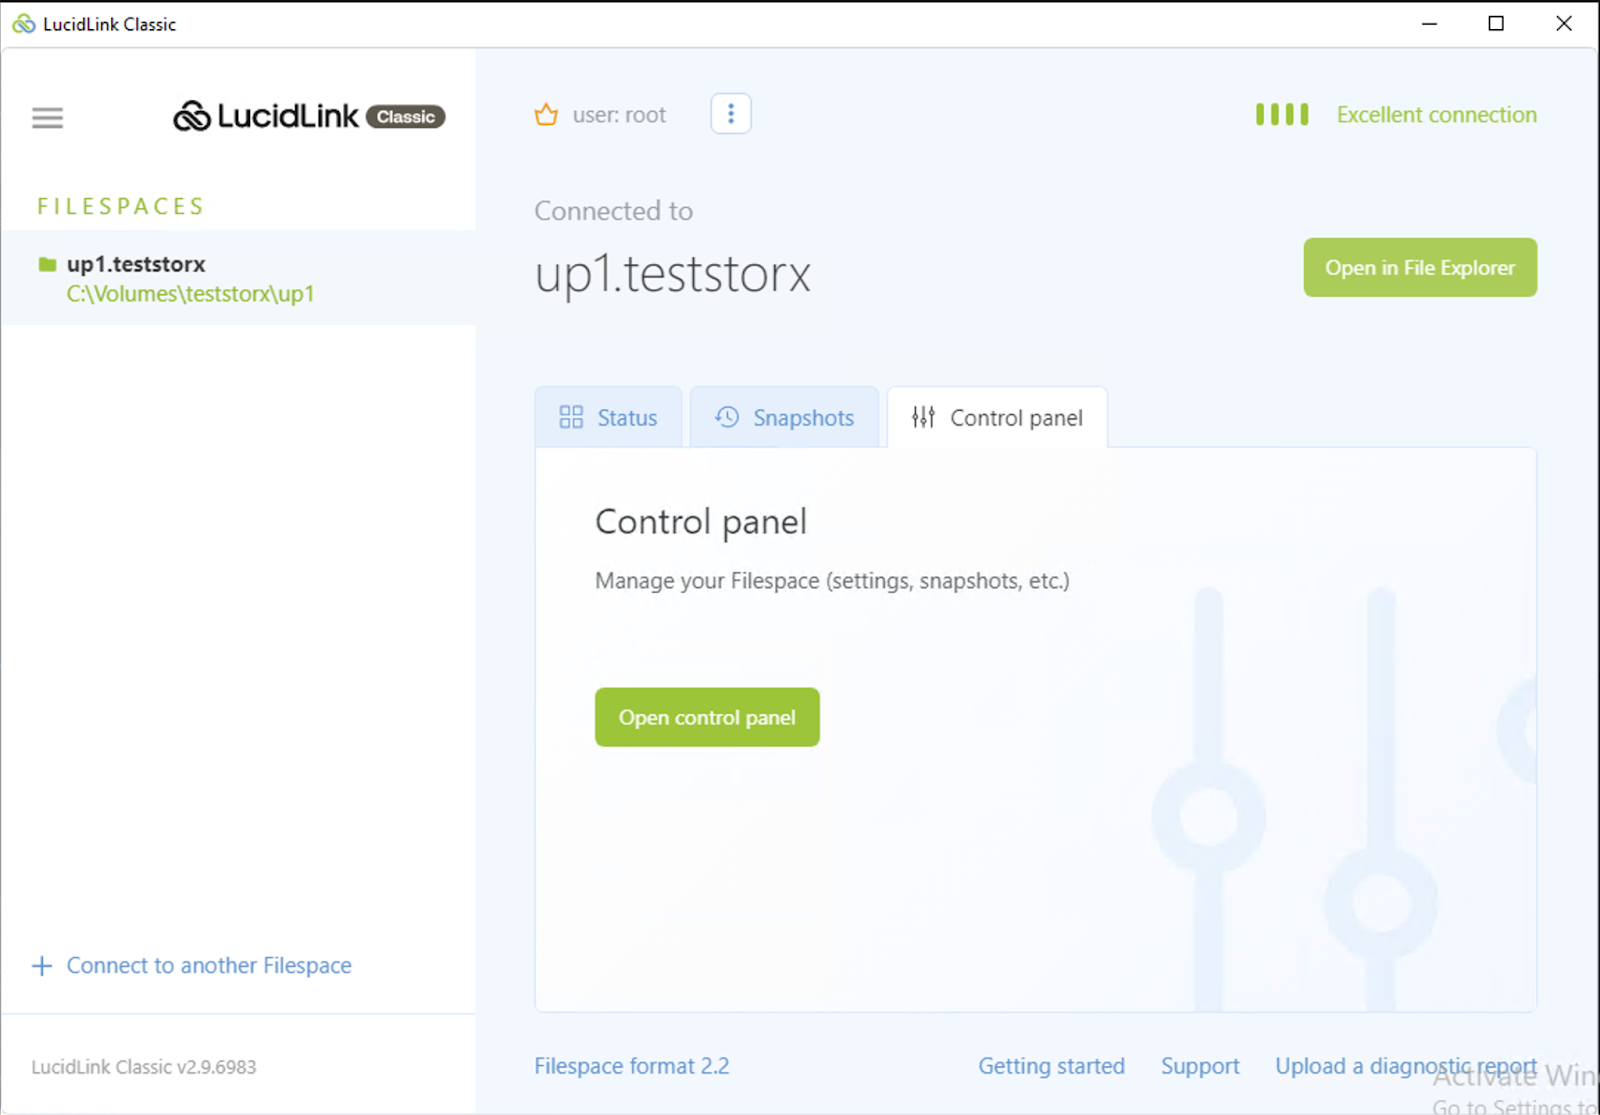
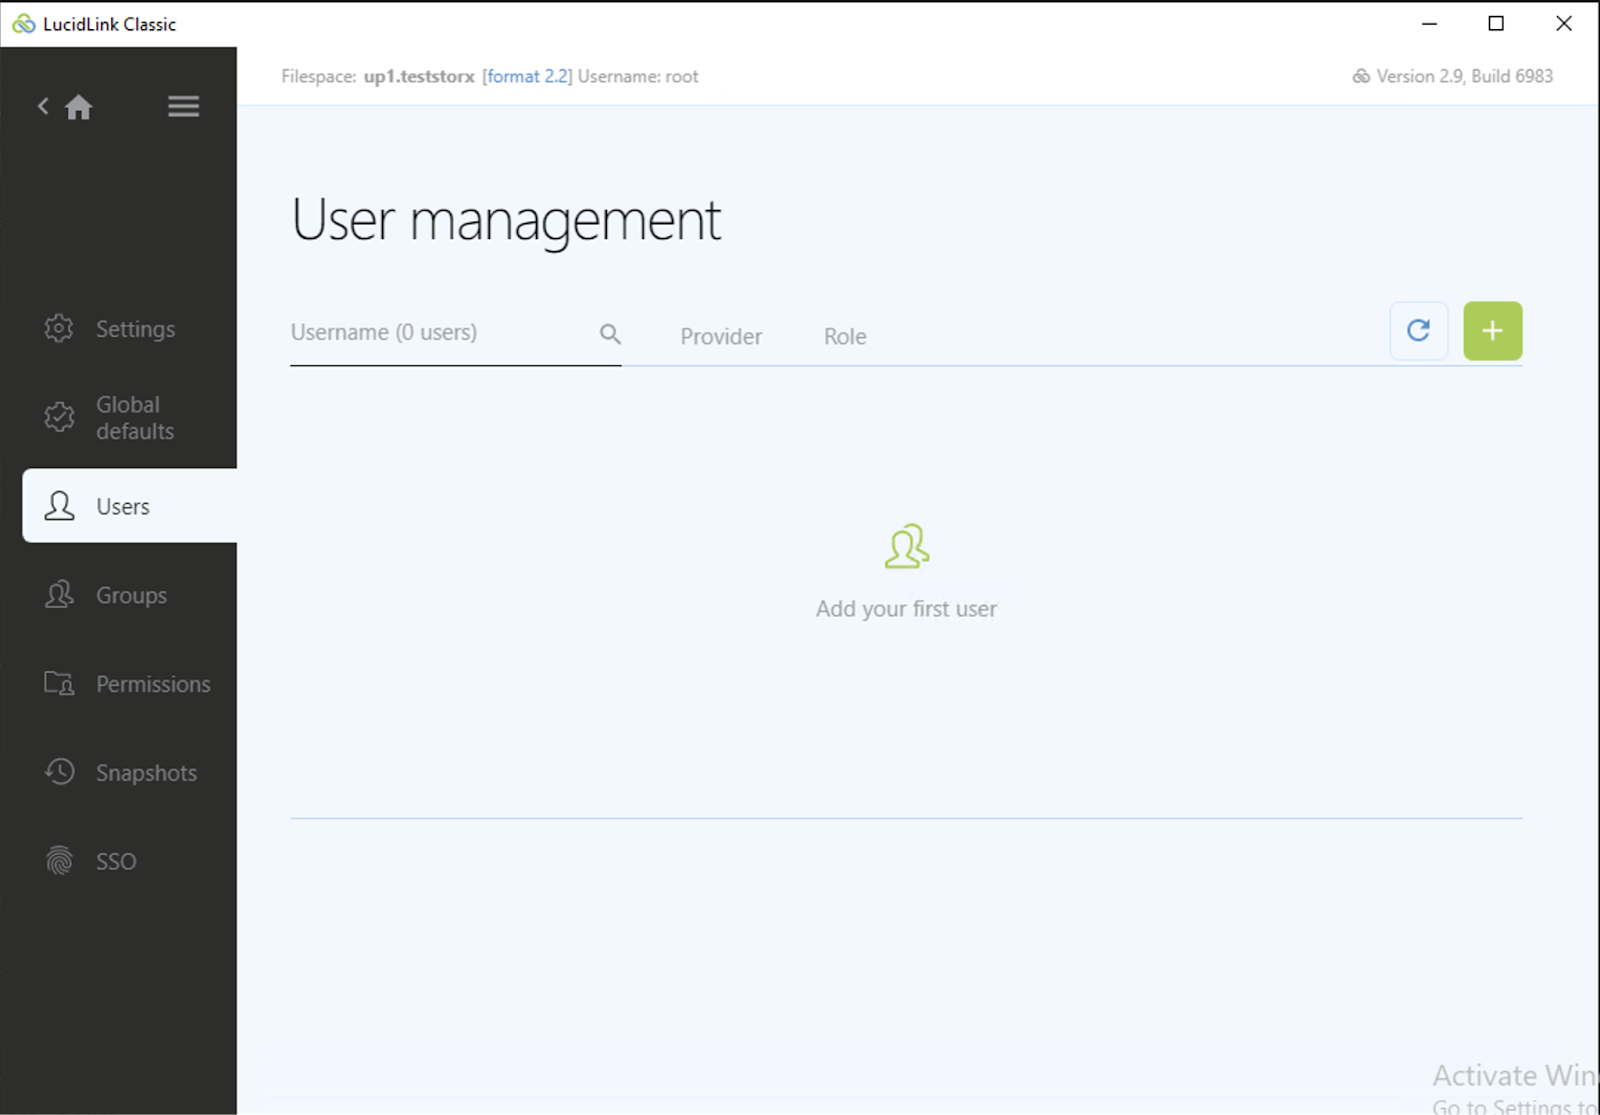
15. Here is how it's achieved: Log in to your filespace using the root user account. Click Open control panel to manage the filespace and create users.
16. In the Control panel, navigate to the Users tab.
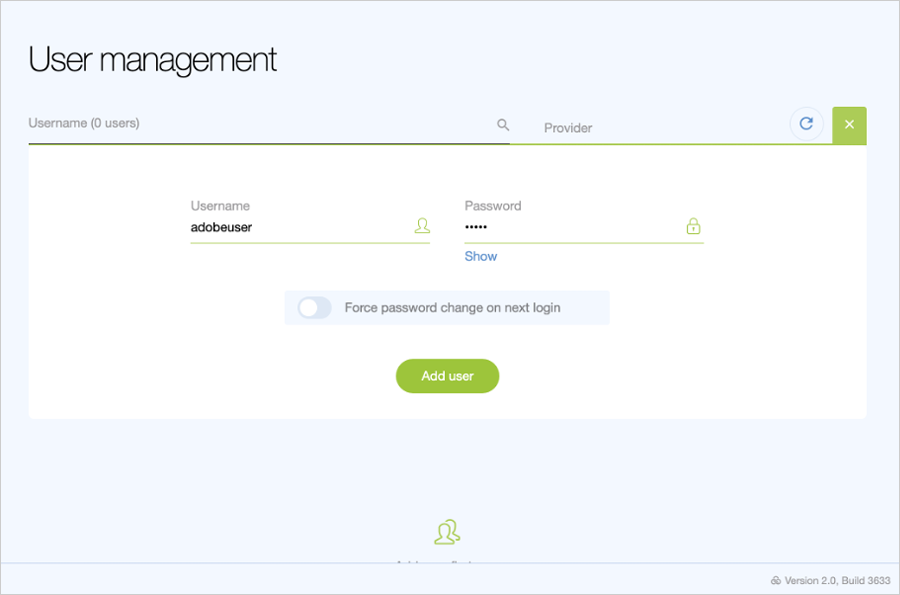
17. Click on + to add user.
18. Provide a username and password and click Add user.
19. The user will be listed under the users. To provide the user access to the required folder, expand add share. Select the desired path under Share path. Check the desired access level - Read or Read and Write and click on the +.
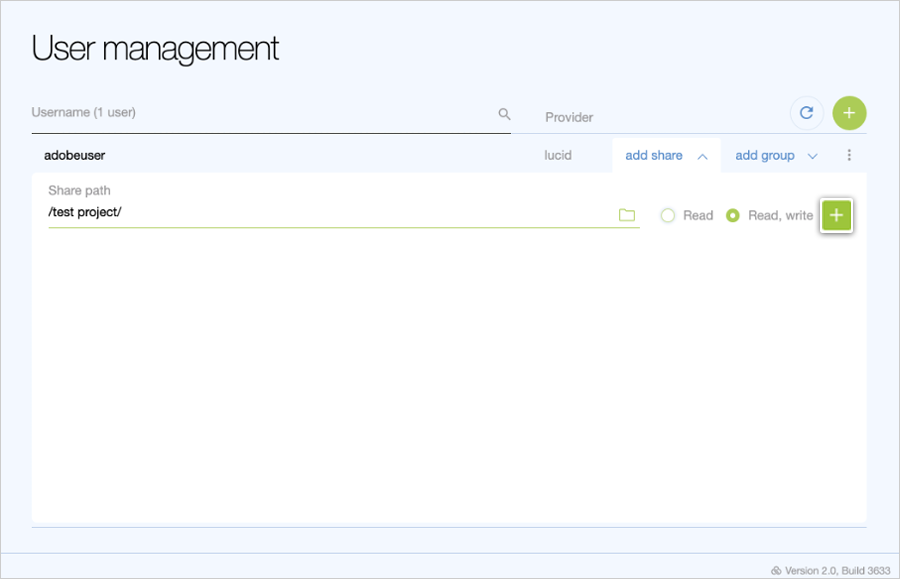
You can follow the above steps to create multiple users.
Quick access to video segments
Uploading data to StorX account via the LucidLink application has several benefits:
- LucidLink application chunks up the data into 256KB objects before uploading data to StorX.
- LucidLink is a distributed file system that splits the data and the metadata layers allowing simultaneous user access.
- LucidLink streams, prefetches data, and offers caching support.
- StorX re-encrypts once the data makes its StorX storage.
20. With this flow in mind, when a video asset is being altered, the LucidLink application only downloads the segments that require alteration - this behavior makes accessing the asset to be altered and re-uploading much quicker than traditional methods.
Active archive of data
StorX cloud storage services are 100% hot. With no tiers in service and complications of lifecycle policy, all of your video assets are available 100% of the time. With traditional designs, video assets are aged out to low-cost storage via lifecycle policies and have a long retrieval time. With our joint offering, customers will benefit from active archiving ability with instant data availability.