
We are excited to announce that StorX Network is now integrated with Ahsay, Anchorpoint, and Arq7, offering new possibilities in the DePIN space. With this integration, users will not only take advantage of such advanced tools but also enjoy the properly secured, decentralized, and highly available storage network that StorX offers.
Ahsay's technological race for backup solutions, Anchorpoint's organizational intelligence, and Arq7's smart data placement gained the new dimensions of scalability, confidentiality, and data protection provided by StorX. This allows companies and individuals to manage and store the data in the most optimized way that had not been available before. Let's explore the more efficient, more secure, and more decentralized world of StorX with its new integrations!
What is Ahsay?
Ahsay offers backup and recovery solutions that support Microsoft 365, VMware, Hyper-V, Linux Bare Metal, Microsoft Exchange, Microsoft SQL Server, Oracle, MySQL, MariaDB, Tibero, files, QNAP/Synology NAS, and Android/iOS devices. Our solution covers everything you need to implement a complete backup solution for you and your customers. With our flexible deployment model, you can run this solution from the cloud or your hardware easily. Altogether with our competitive storage-based pricing model, Ahsay Cloud Backup is, by all standards, the best and most affordable backup solution available in the market.
Download the software from:
Setting up Ahsay backup in your environment
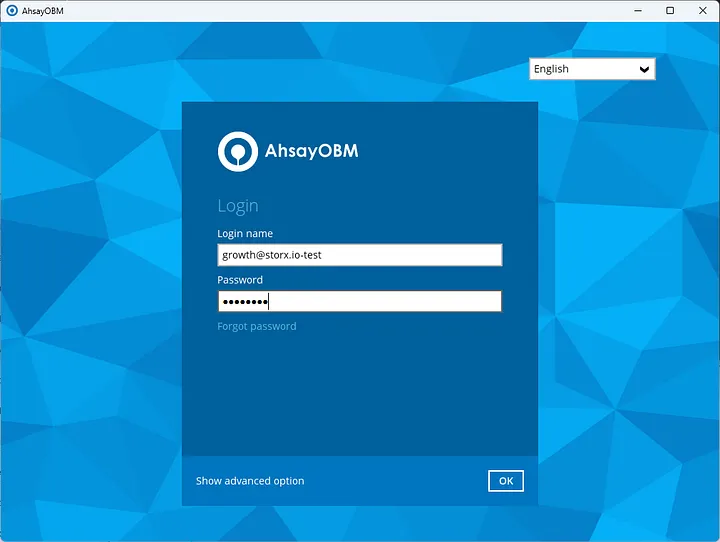
1. Once you have installed the application, log in using the credentials provided via email.
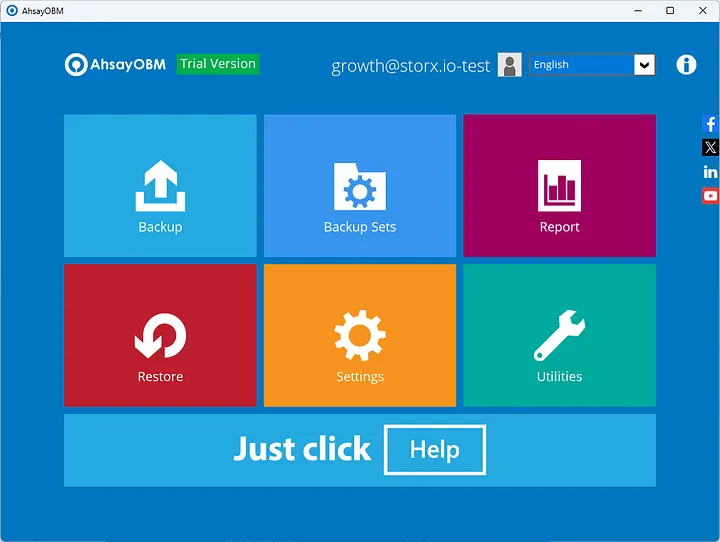
2. The interface will look as below once logged in.
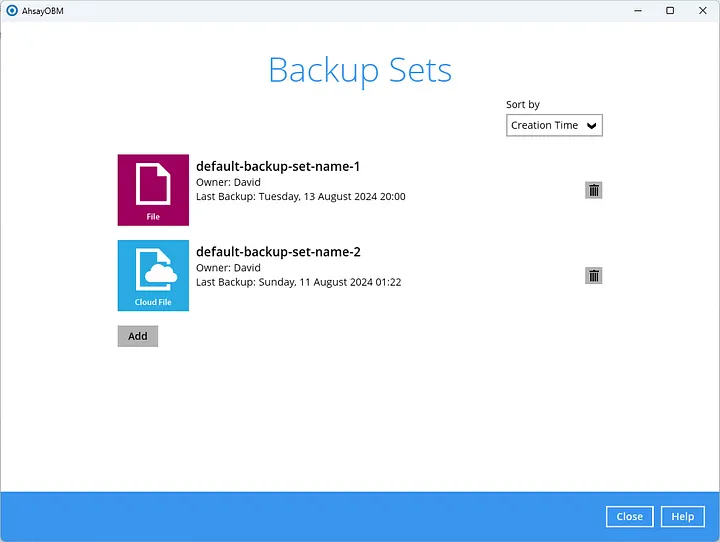
3. Click on Backup sets and provide the default backup file names.
4. Click the Add button and select Cloud Backup as the backup type.
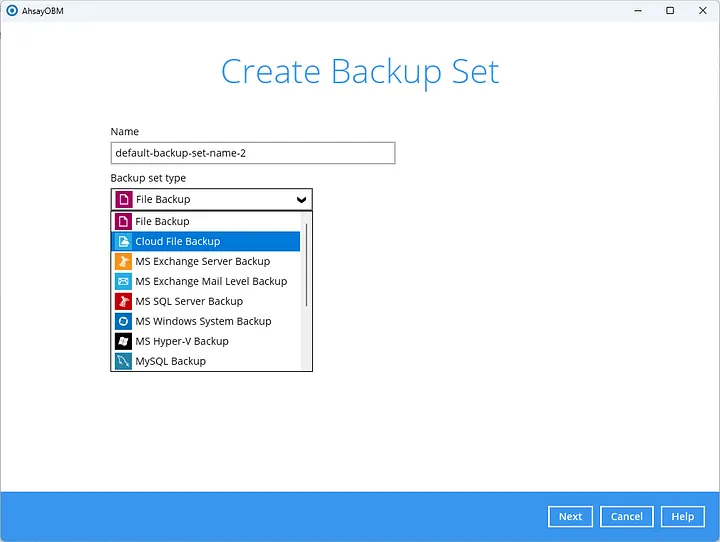
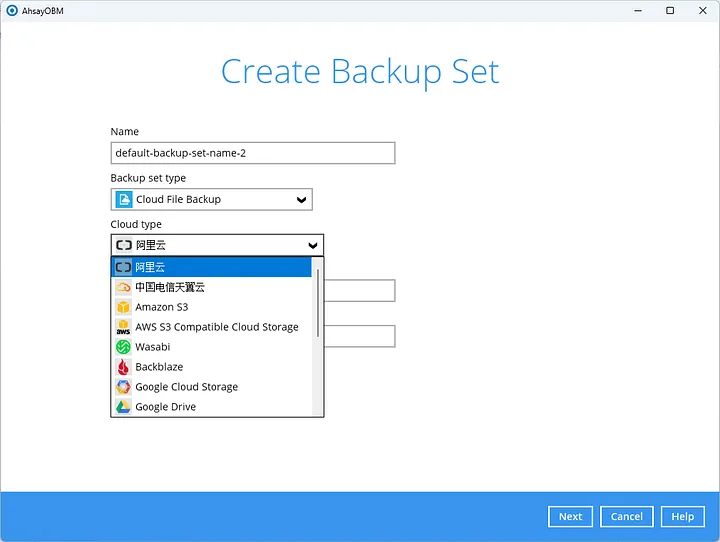
5. Choose AWS S3 Compatible as the backup destination.
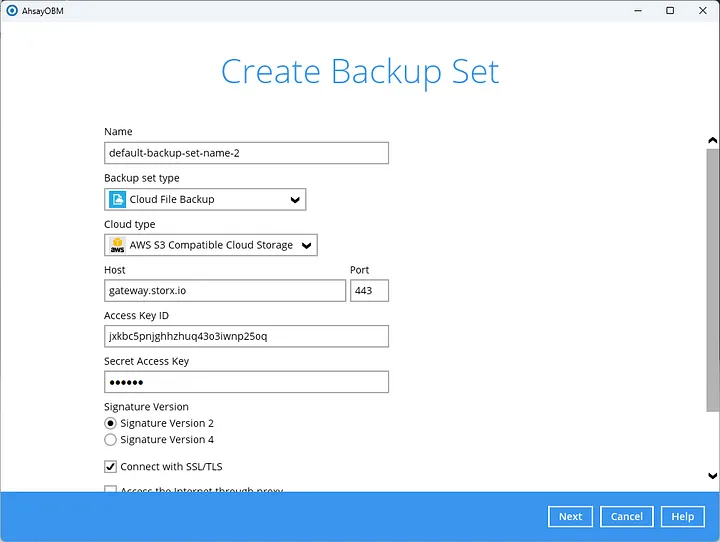
6. Provide the following details in the pop-up:
- Paste the endpoint in the Host field
- Set the port to 443
- Enter your StorX Access credentials. As shown in the image below.
7. Test the connection to verify it's valid, then proceed.
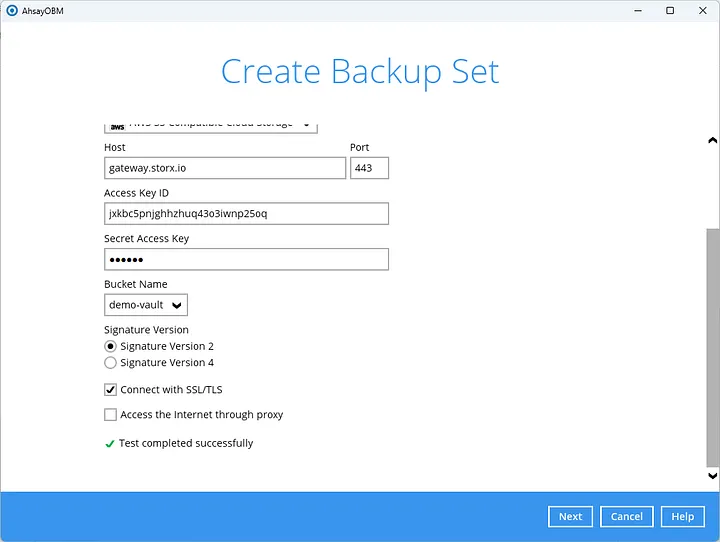
8. Check for data in the vault. Ensure the bucket name is set correctly to see files within it.
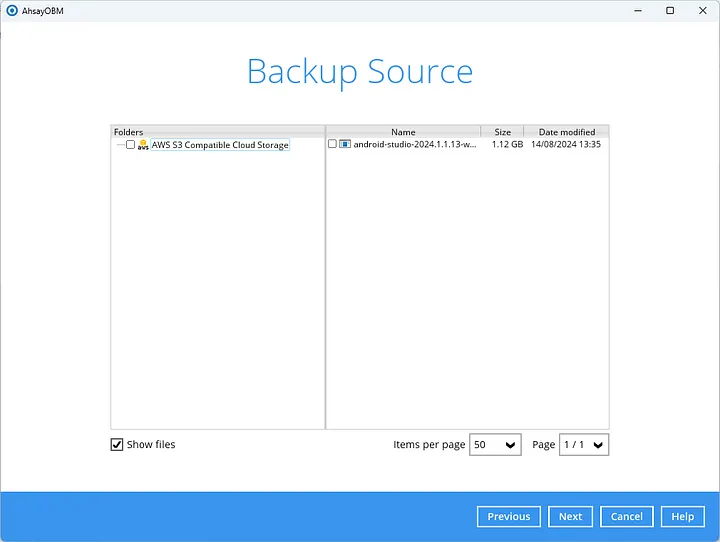
9. Select the file to back up and proceed.
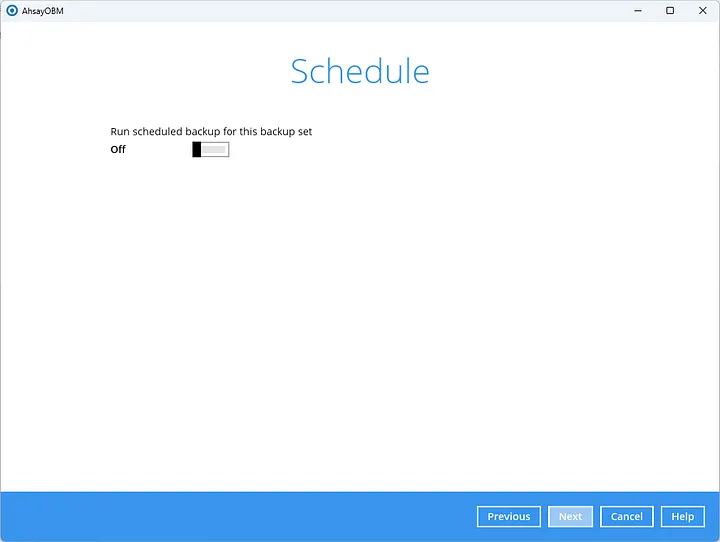
10. Provide the destination pool and set the backup path.
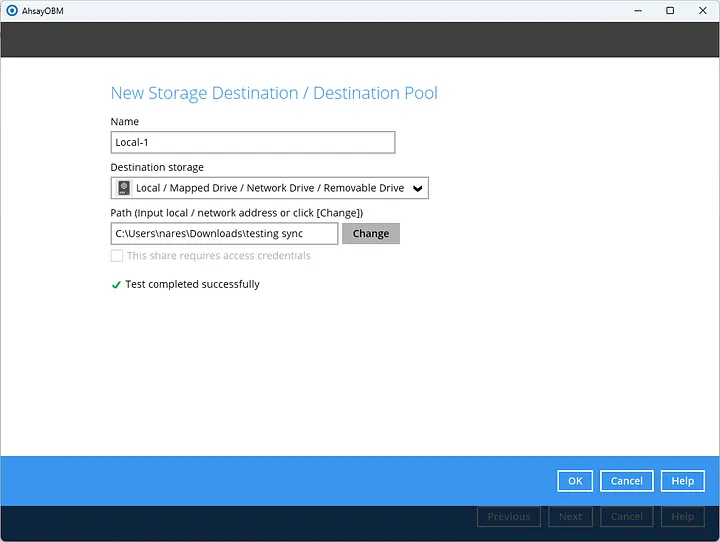
11. Once configured, click OK and then Next.
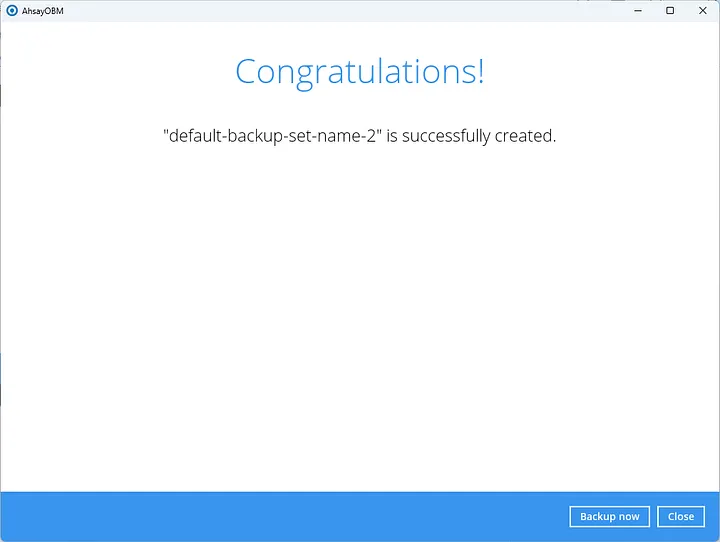
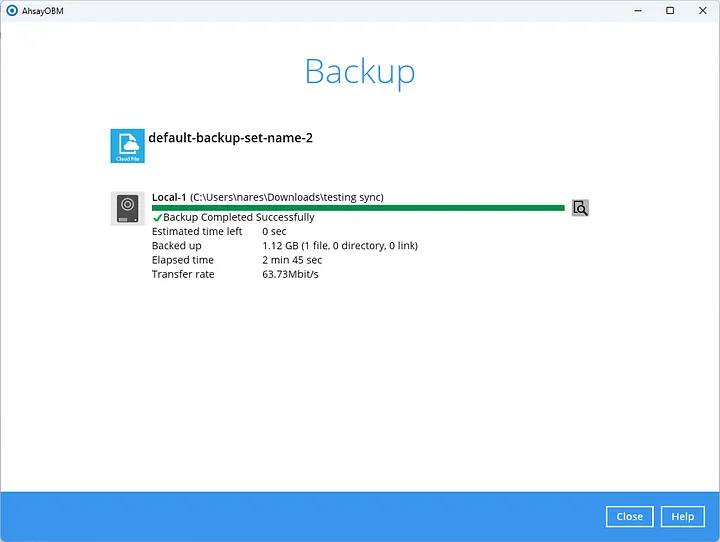
12. Click Backup Now to start the backup process.
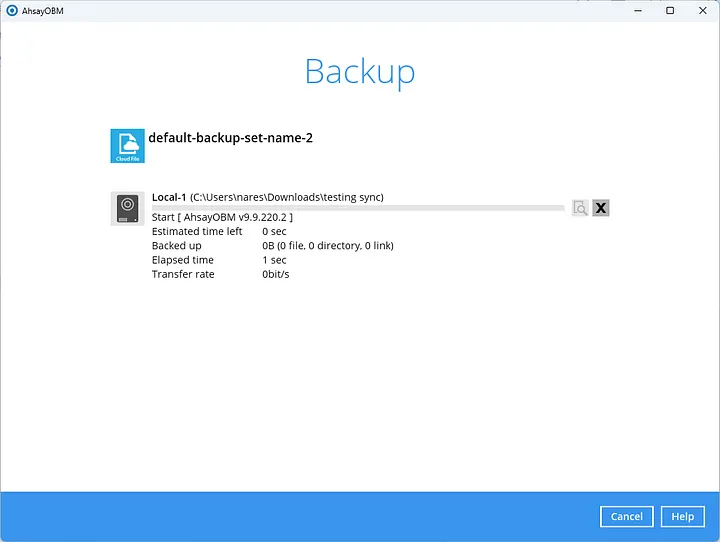
Congratulations, you have completed your first backup using StorX with Ahsay!
What is Anchorpoint?
Collaborate on Unity and Unreal Engine projects. Anchorpoint is a painless version control solution for creative people. It can be used in game development, animation, and any other real-time project.
Setting up Anchorpoint with StorX
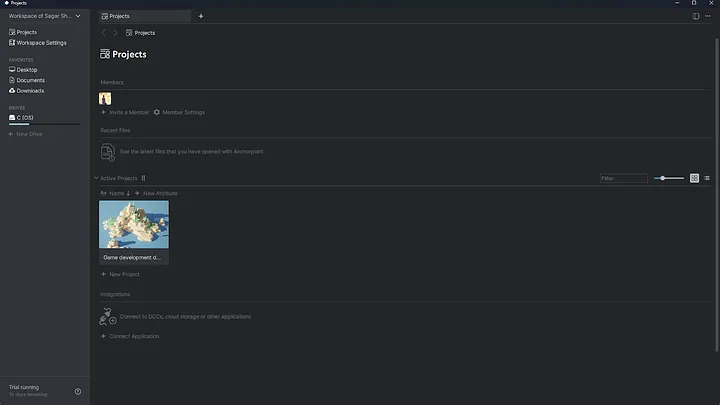
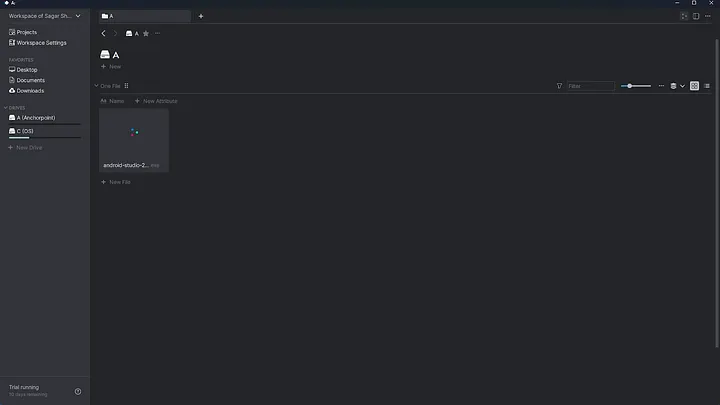
1. Install and open Anchorpoint. Here's how the interface looks:
2. Go to Workspace Settings > Actions and enable Connect Cloud Drive.

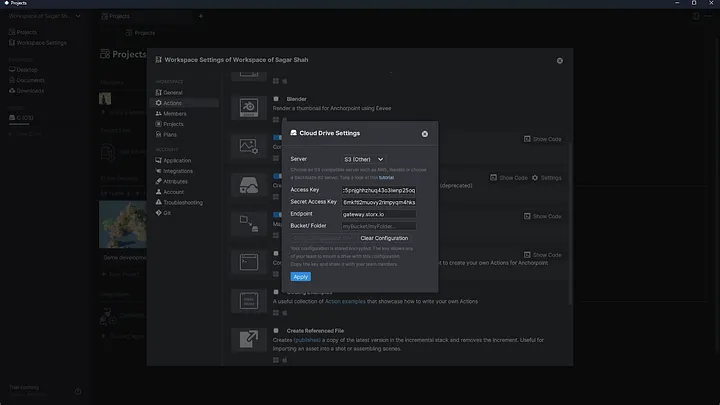
3. Click on Settings in the cloud drive option.
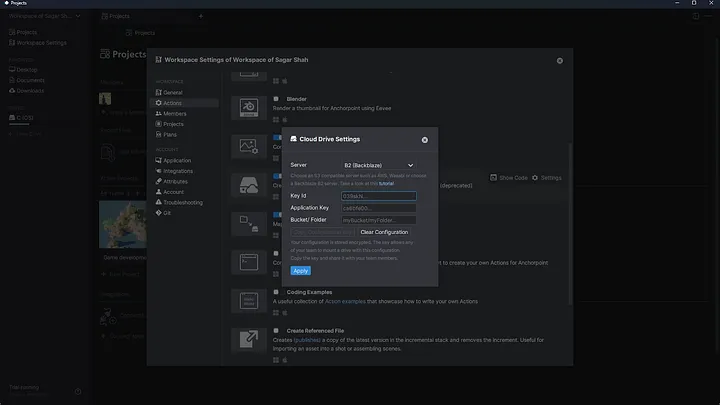
4. Enter your StorX Access credentials.
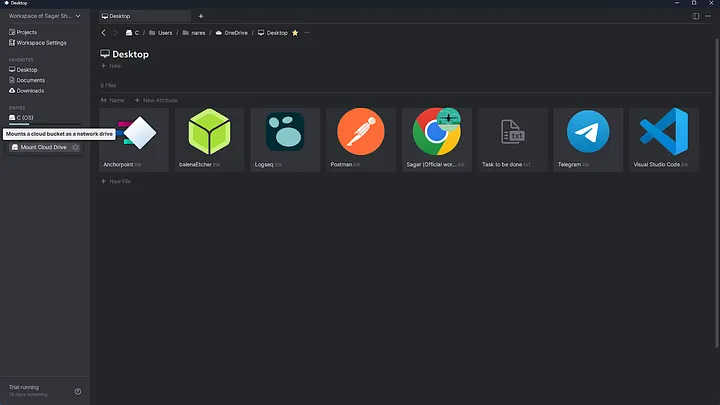
5. Click Apply, then go to the home screen and click New Drive > Mount Drive.
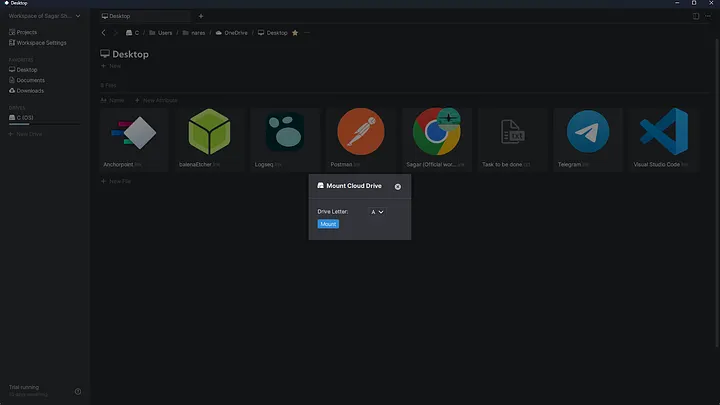
6. Complete the mount drive setup.
7. View your cloud account in the left navigation. Files created here will appear in StorX.
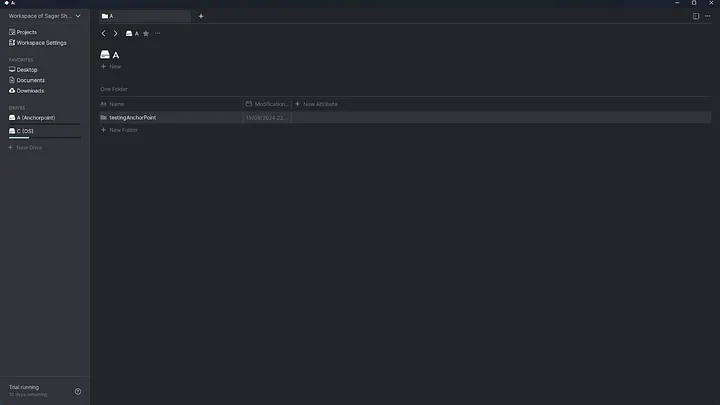
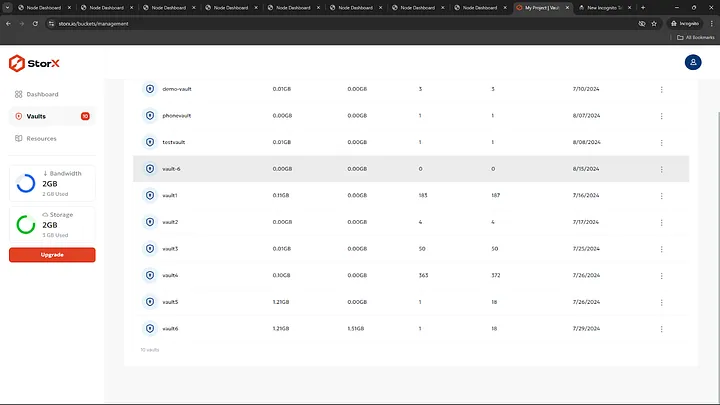
- The vault we created (vault-6)
- Files in vault-6 as shown below
What is Arq7?
Arq backs up your files. You control your data.
Download Arq7:
Setting up Arq7 backup with StorX
1. Open Arq7 after installation.
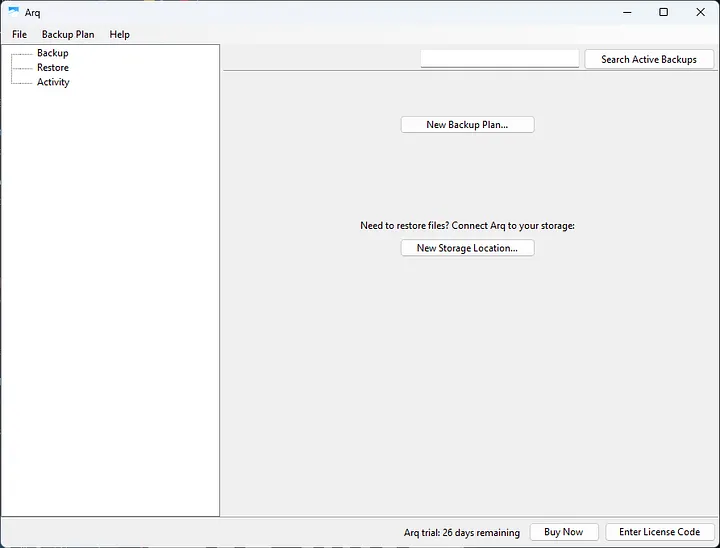
2. Click New Backup Plan and add a storage location.
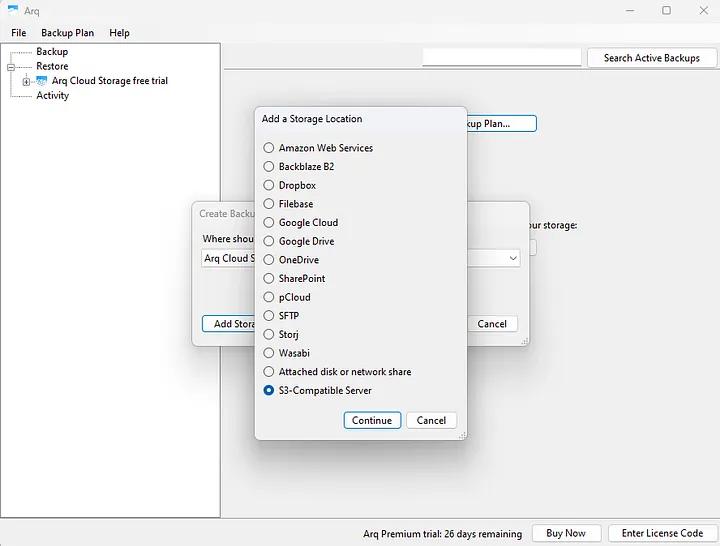
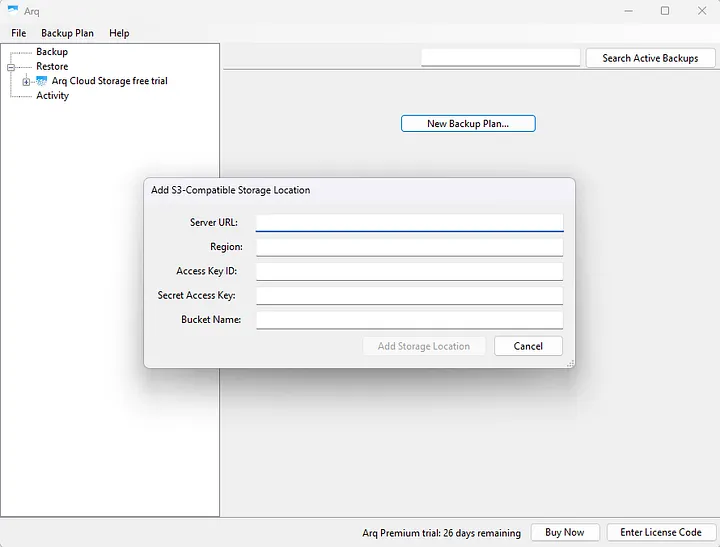
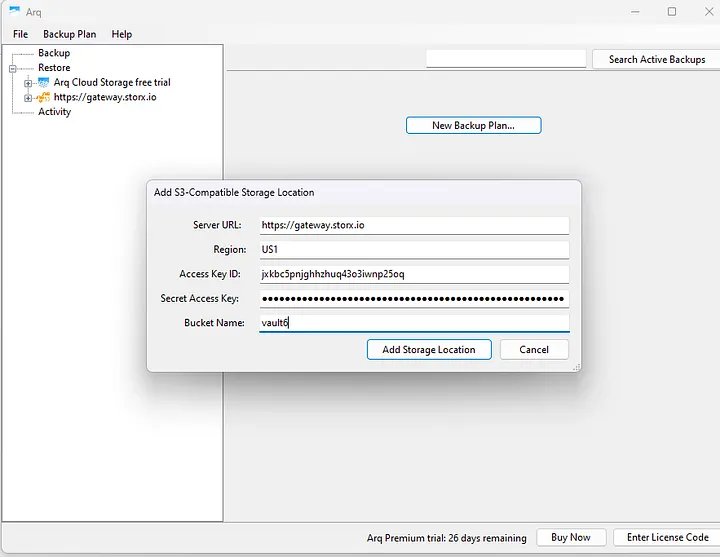
3. Select S3-Compatible Server and click Continue. Enter your StorX Access credentials.
4. Set an encryption password and click Continue.
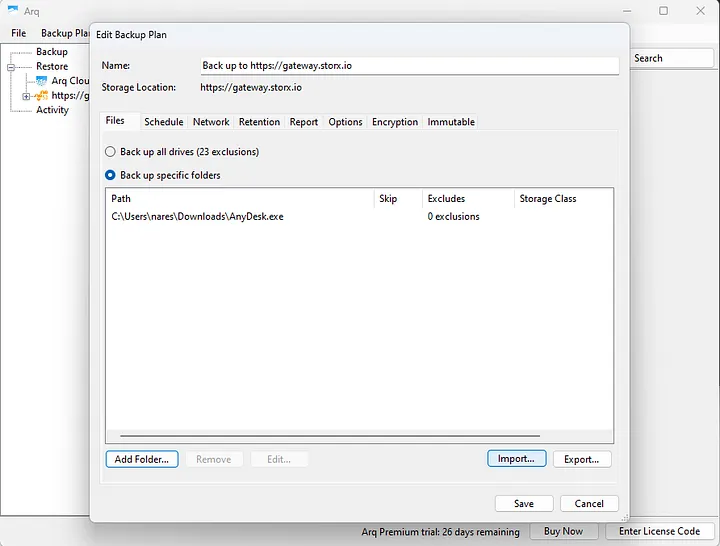
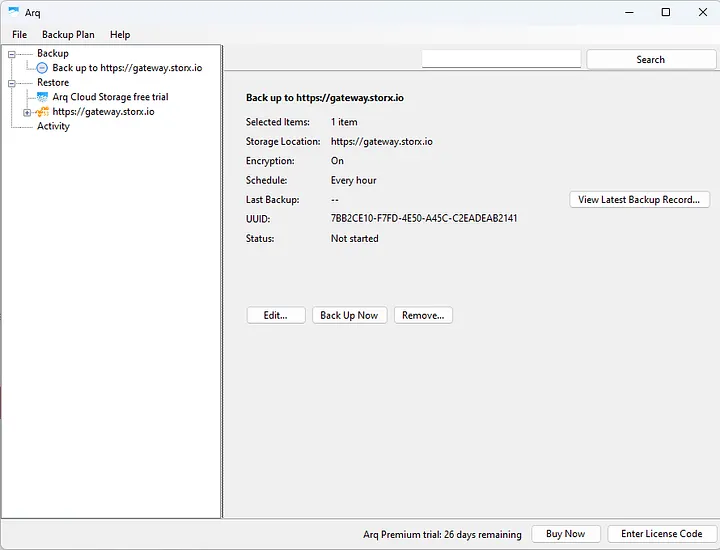
5. Add the backup plan and path, then save.
6. View your backup in the application. Manage scheduling as needed.
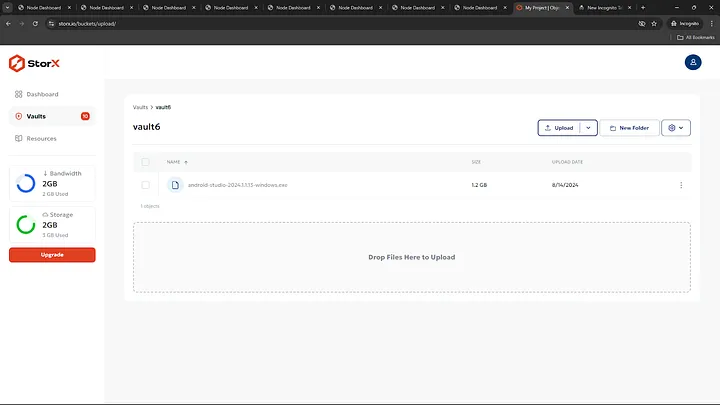
7. View the backup in StorX:
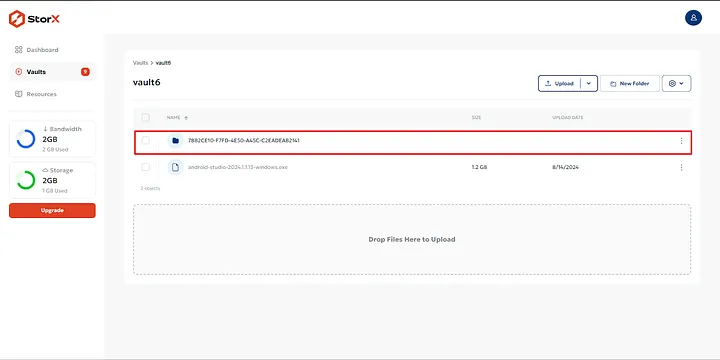
Congratulations! You have successfully completed the backup in StorX using Arq7.