
What is AWS CLI?
AWS CLI (Amazon Web Services Command Line Interface) is a command line tool developed by Amazon using Python that is used for transferring data to object storage services. This is one of the most commonly used CLI tools by IT system administrators, developers, and programmers. Even though this tool is developed by Amazon, you can use it with any S3-compatible API object storage service, including StorX, to manage your storage objects and buckets.
Advantages of AWS CLI with StorX
- Fast File Transfer: Transfer files from S3-compatible cloud storage platforms to local storage and backup data into StorX using AWS CLI's efficient data transfer capabilities.
- Flexible Storage Classes: Amazon S3 offers a range of storage classes designed for different use cases. Store mission-critical production data in StorX for enhanced data security and protection against cyber threats.
- Object Lock Support: Prevent objects from being deleted or overwritten for a fixed amount of time or indefinitely. Use Object Lock to meet regulatory requirements requiring write-once-read-many (WORM) storage or add protection against object changes.
- Replication Capabilities: Replicate objects and their metadata to multiple destination buckets for reduced latency, compliance, security, and other use cases.
Install AWS CLI: Follow the official installation guide at https://docs.aws.amazon.com/cli/latest/userguide/getting-started-install.html
Before you begin: You need an active StorX account. Join our community →
Required Credentials
Once your StorX account is set up, you'll need these credentials:
- Access Key - Your unique access identifier
- Secret Key - Your private security key
- Endpoint URL - The StorX storage endpoint (gateway.storx.io)
Integrating AWS CLI with StorX
1. Install AWS CLI from the official documentation.
2. Verify the installation by checking the AWS version:
aws --version

3. Configure AWS CLI with your StorX Access Credentials:
aws configure
You will be prompted to enter:
- AWS Access Key ID (from StorX)
- AWS Secret Access Key (from StorX)
- Default region name (leave as none)
- Default output format (optional)

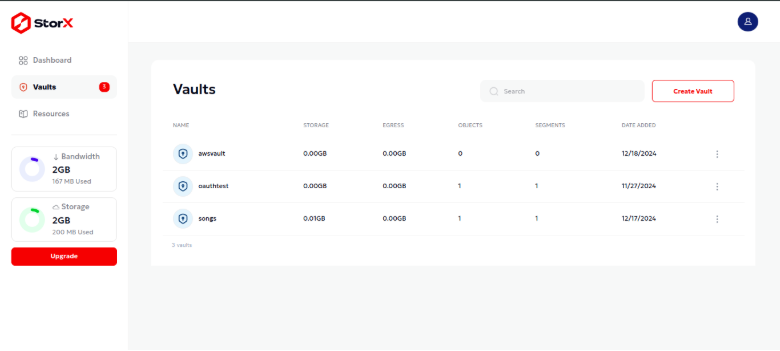
4. Create a bucket (vault) in StorX:
aws --endpoint https://gateway.storx.io s3 mb s3://Your_Vault_Name

5. List all buckets in your StorX account:
aws --endpoint https://gateway.storx.io s3 ls

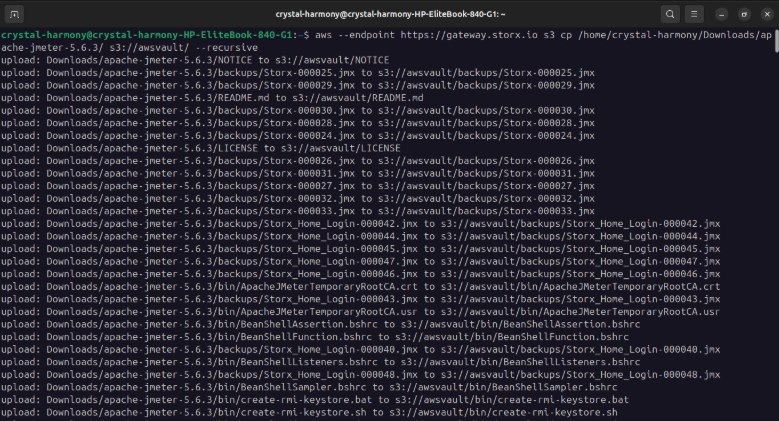
6. Upload files to your vault (use
--recursive for folders):
aws --endpoint https://gateway.storx.io s3 cp [Path to file] s3://Your_Vault_Name/
aws --endpoint https://gateway.storx.io s3 cp [Path to folder] s3://Your_Vault_Name/ --recursive
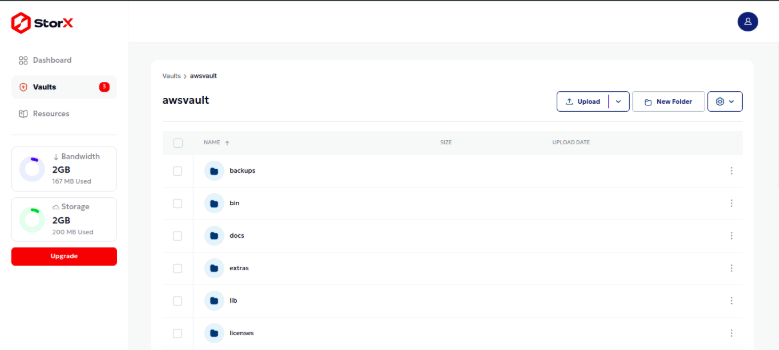
7. Verify the uploaded files in the StorX web interface:
✓ Integration Complete! You have successfully integrated AWS CLI with StorX. You can now manage your decentralized storage using familiar AWS CLI commands.
Additional Useful Commands
# Download files from StorX
aws --endpoint https://gateway.storx.io s3 cp s3://Your_Vault_Name/file.txt ./
# List files in a vault
aws --endpoint https://gateway.storx.io s3 ls s3://Your_Vault_Name/
# Delete a file
aws --endpoint https://gateway.storx.io s3 rm s3://Your_Vault_Name/file.txt
# Sync a local folder with StorX
aws --endpoint https://gateway.storx.io s3 sync ./local-folder s3://Your_Vault_Name/