
Quick Navigation:
Duplicati
Installation
This section takes you through how to install Duplicati. For more installation instructions, see the documentation for Duplicati here.
1. Go to the download page and download the installer for Duplicati that matches your operating system.
2. Go to your downloads folder and run the downloaded file.
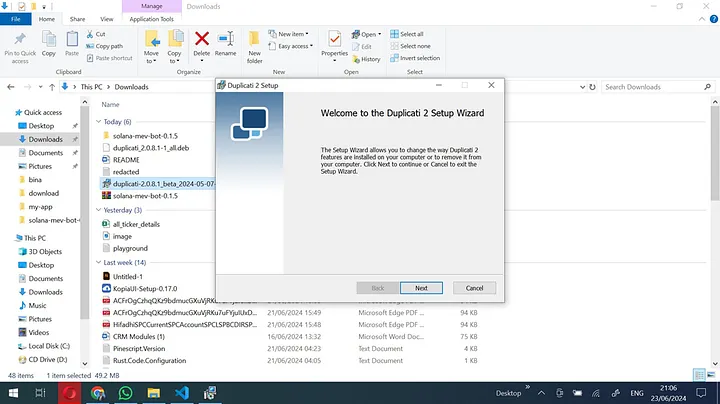
The installer will guide you through the installation steps.
Backing up files with Duplicati
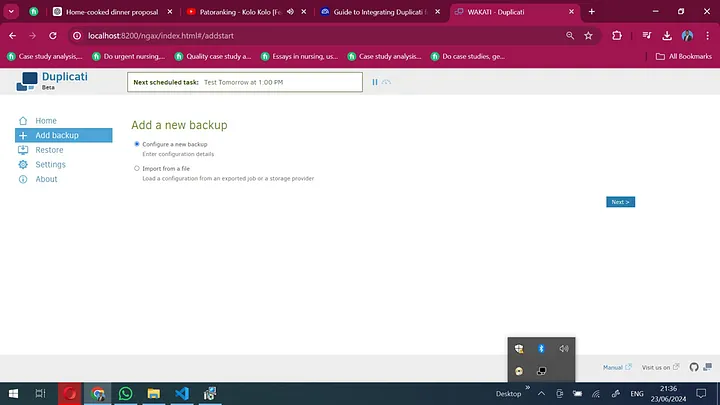
1. Navigate to the start menu and open Duplicati.
2. Duplicati runs in the background. Check the system tray. If open, go to http://localhost:8200 in your browser.
3. To create a backup, click + Add backup.
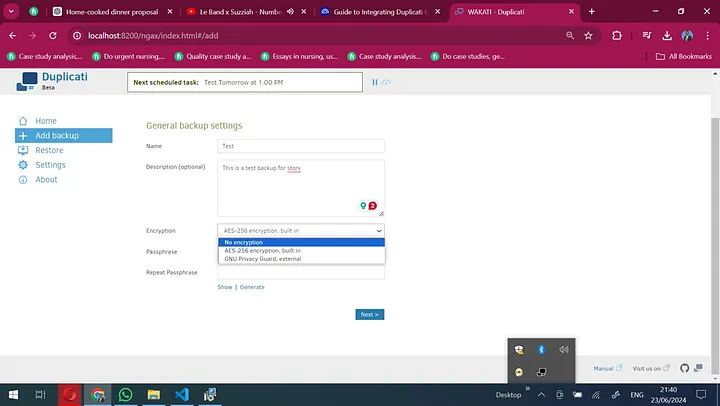
4. Configure your backup: add backup folder name, description, and preferred encryption algorithm. Encryption is highly recommended.
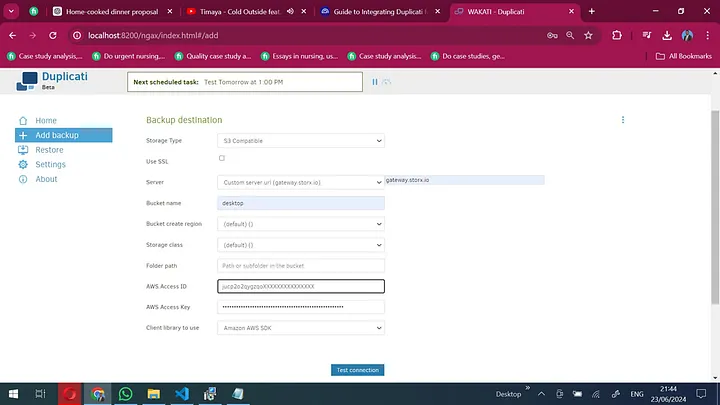
5. Select S3 Compatible as storage type. Use the custom server URL from your credentials. Fill in StorX Access Credentials.
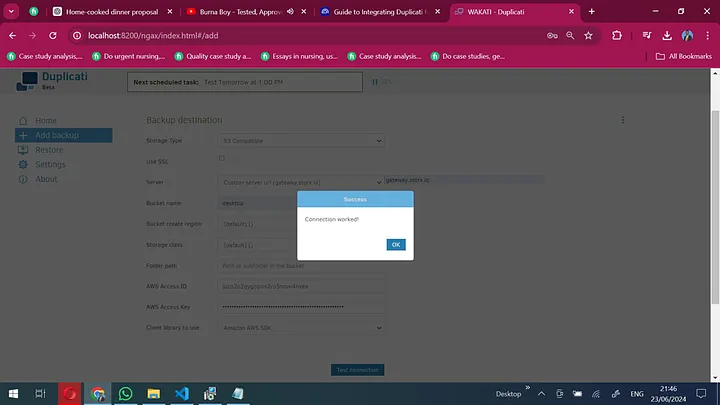
6. Click Test Connection. If successful, you'll see a confirmation.
7. Select files/folders to back up.

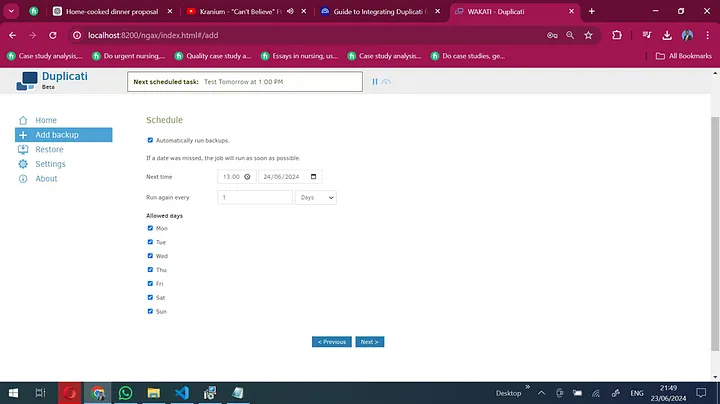
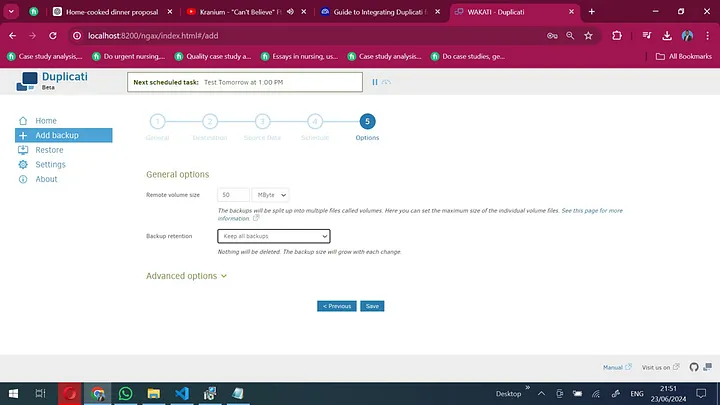
8. Configure backup schedule and frequency.
9. Review options and save.

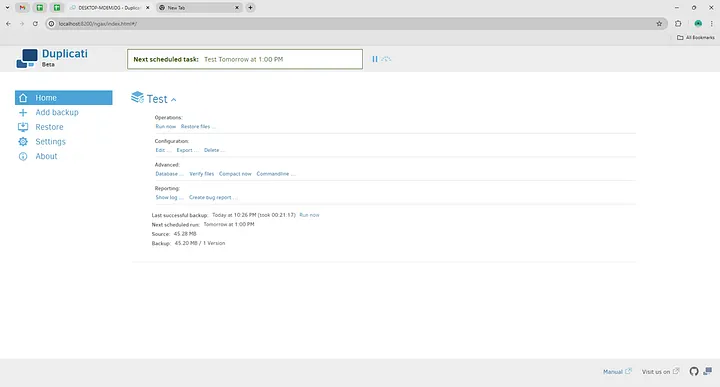
10. Return to Home section to see all backup files. Click Run to start backup.
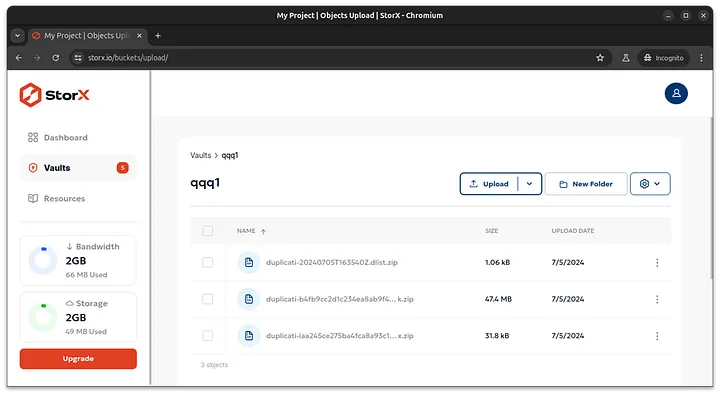
11. Verify backup in StorX dashboard.
CyberDuck
Cyberduck is an open-source client for FTP and SFTP, WebDAV, and cloud storage, available for macOS and Windows.
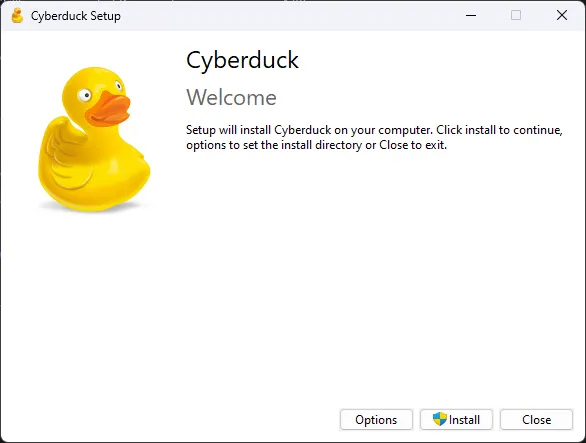
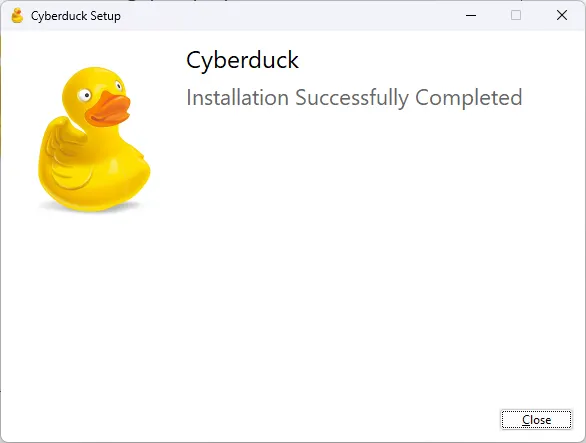
Step 1: Installation
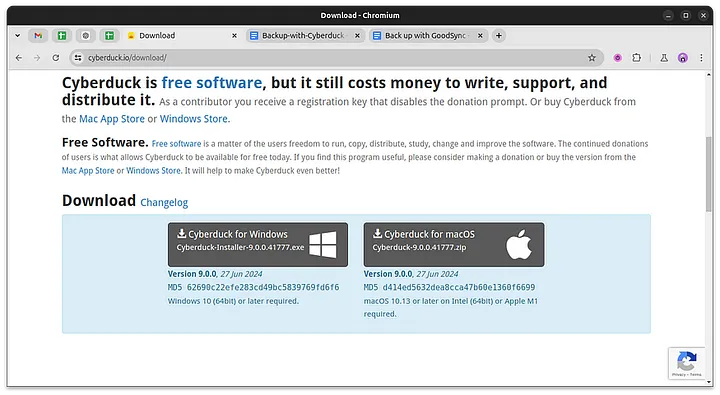
Download the latest version of CyberDuck for Windows from the download page.
Run the installer and follow the prompts.
Step 2: Get StorX Credentials
1. Open CyberDuck and click Open Connection.
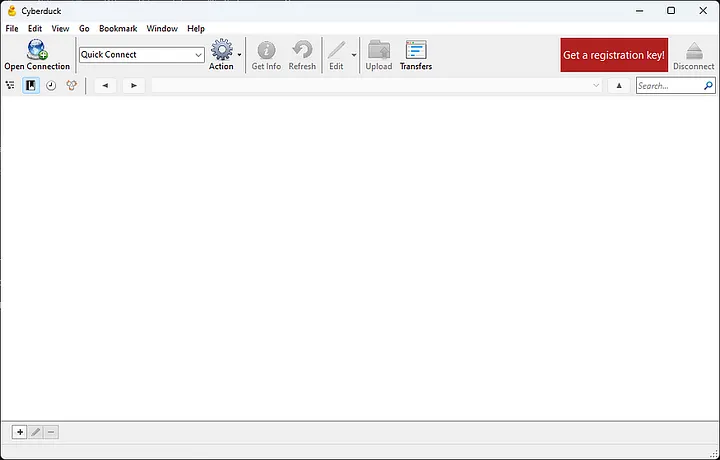
Select Amazon S3 as connection type and enter your StorX Access Credentials:
- Server:
gateway.storx.io - Access Key ID: Your StorX Access Key
- Secret Access Key: Your StorX Secret Key
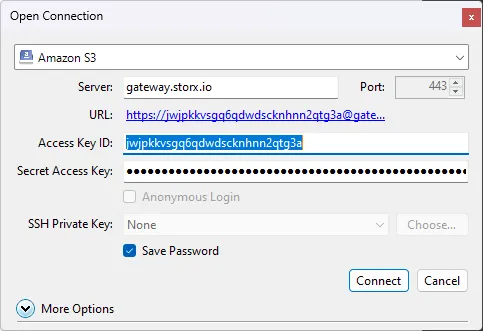
Click Connect. You will see your StorX files in CyberDuck.
What is CloudBerry Explorer?
CloudBerry Explorer provides a user interface for accessing, moving, and managing files across your local and cloud storage. It's a freeware cloud backup solution for Windows, Linux, Mac, Hyper-V, and VMware.
Key Features:
- File system backup and restore
- Support for AWS, Microsoft Azure, Backblaze B2, Wasabi, Google Cloud Storage
- Scheduling and flexible data retention policies
- Compression and encryption
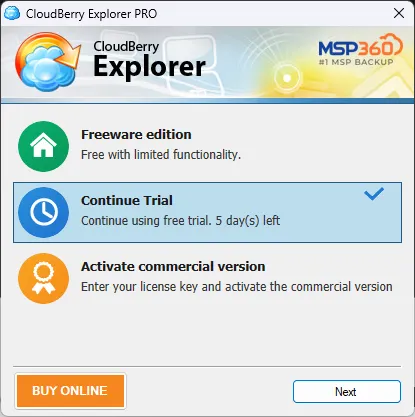
Downloading CloudBerry Explorer
Visit the MSP360 Free Products page and click the MSP360 FREE BACKUP Download button.
Install the application after download.
Once installed, launch CloudBerry Explorer.

Required StorX Credentials:
- Access Key
- Secret Key
- Endpoint:
gateway.storx.io
Setting up CloudBerry with StorX
1. Open CloudBerry Explorer.
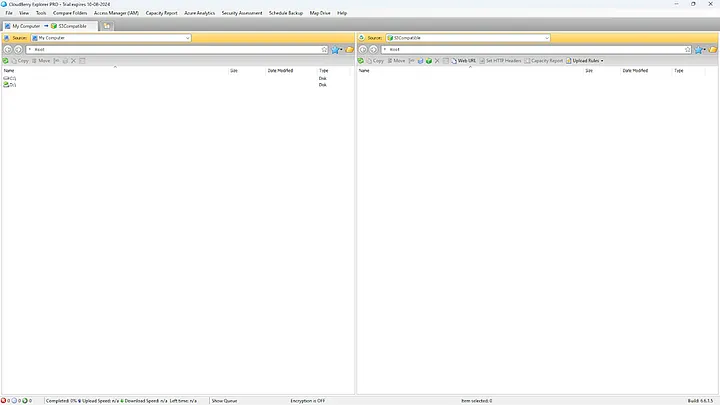
2. Select source as My Computer and target as S3 Compatible.

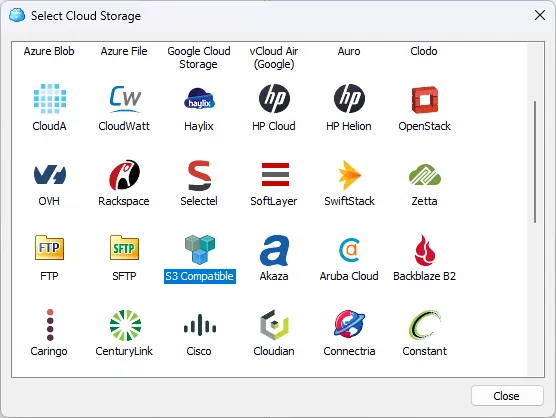
3. Click File in the top navigation and select Add Account.
4. Choose S3 Compatible.
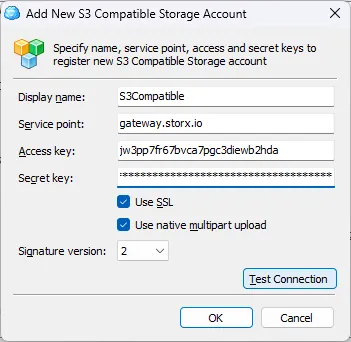
5. Enter your StorX Access Credentials:
- Access Key
- Secret Key
- Endpoint:
gateway.storx.io
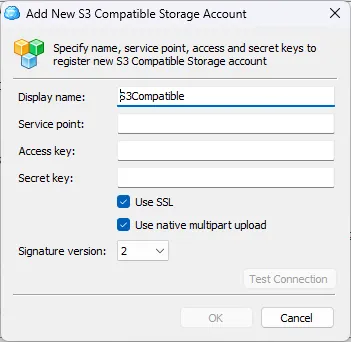
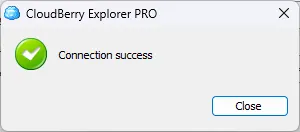
6. Click Test Connection to verify.
You should see a success message:
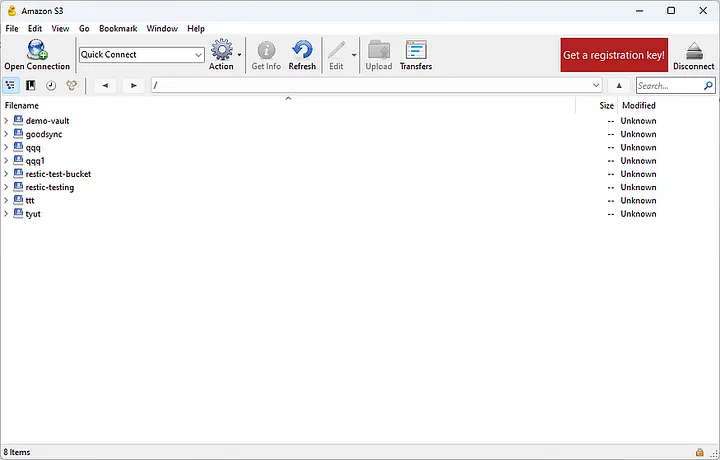
7. Once connected, you can browse your StorX files:
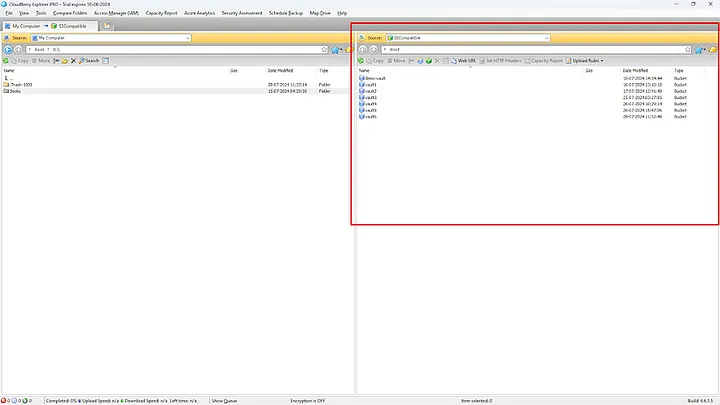
8. You can now:
- Upload files to StorX
- Download files from StorX
- Delete files
- Transfer files from other sources (Backblaze B2, Wasabi, Google Drive, etc.)
✓ Integration Complete! You have successfully configured CloudBerry Explorer with StorX. Your decentralized storage is now accessible through CloudBerry's intuitive interface.