
What is Cloudinary?
Cloudinary is a leading cloud platform that helps developers and enterprises manage the entire lifecycle of media assets—images, videos, and other rich content. From uploading and storing to optimizing, manipulating, and delivering media across web and mobile applications, Cloudinary has become a trusted solution for modern digital experiences. By integrating Cloudinary into its backup solutions, StorX empowers users with a seamless way to ensure that critical media files are securely stored on a decentralized network while still benefiting from Cloudinary's advanced optimization and delivery features. This integration not only adds an additional layer of redundancy and security but also enhances performance, scalability, and reliability—giving businesses confidence that their visual assets are both protected and primed for high-quality digital delivery.
Create an account with Cloudinary
1. Register for a free Cloudinary account.
2. Once registered, log in to your account. You'll see the dashboard below:
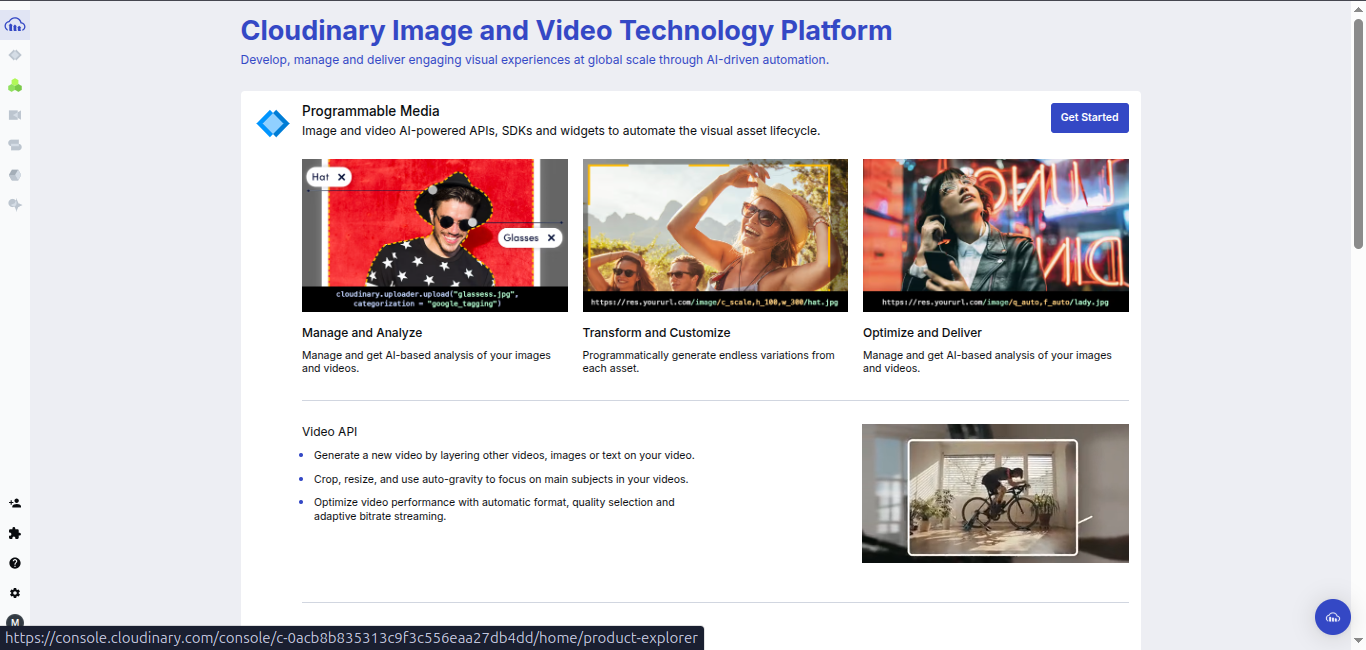
3. Click on Programmable Media from the side navigation:
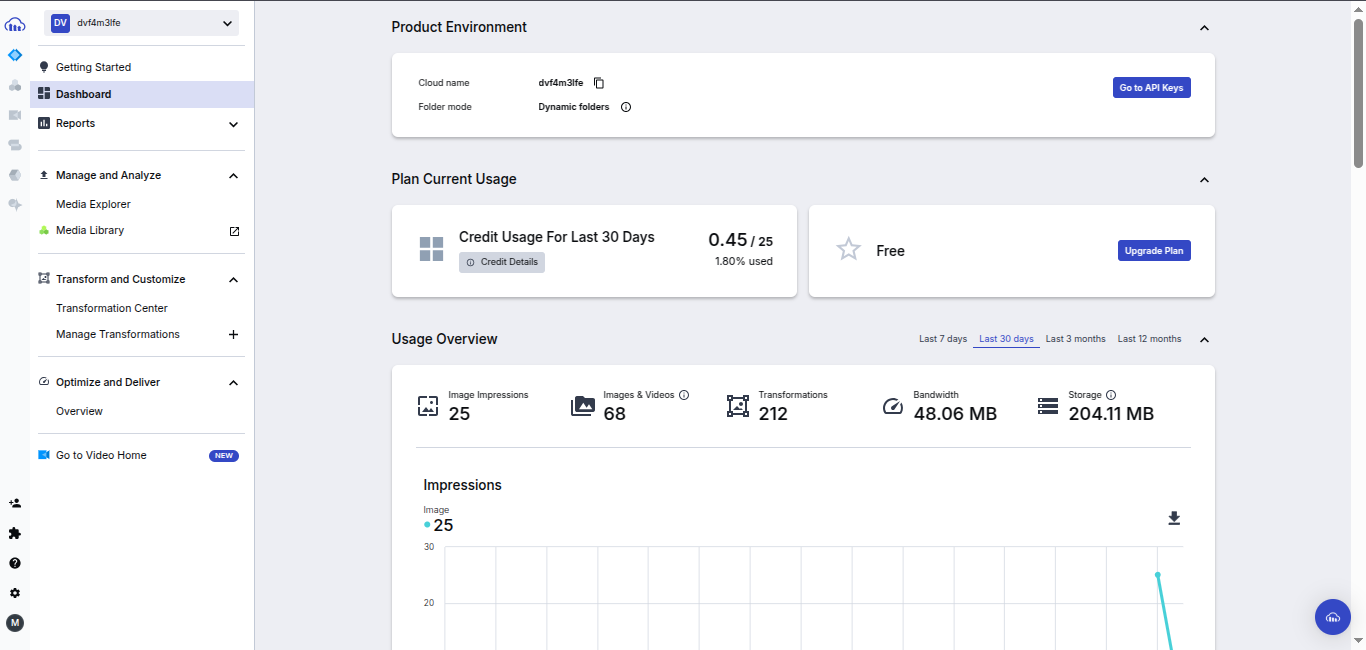
Note: You will need your Cloud Name for rclone configuration.
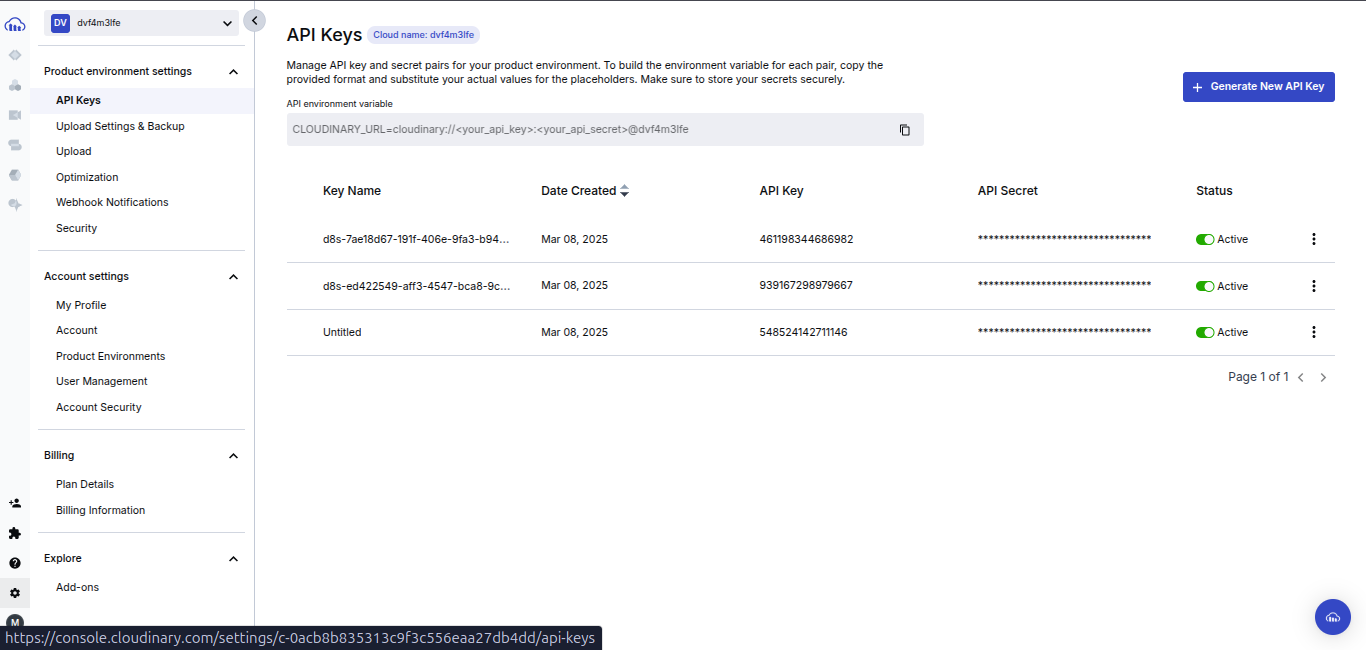
4. Click on Settings from the side navigation, then API Keys to view your API credentials:
StorX Credentials
Before you begin: You need an active StorX account. Join our community →
Required StorX Credentials
- Access Key - Your unique access identifier
- Secret Key - Your private security key
- Endpoint URL -
gateway.storx.io
Rclone Installation and Setup (Ubuntu)
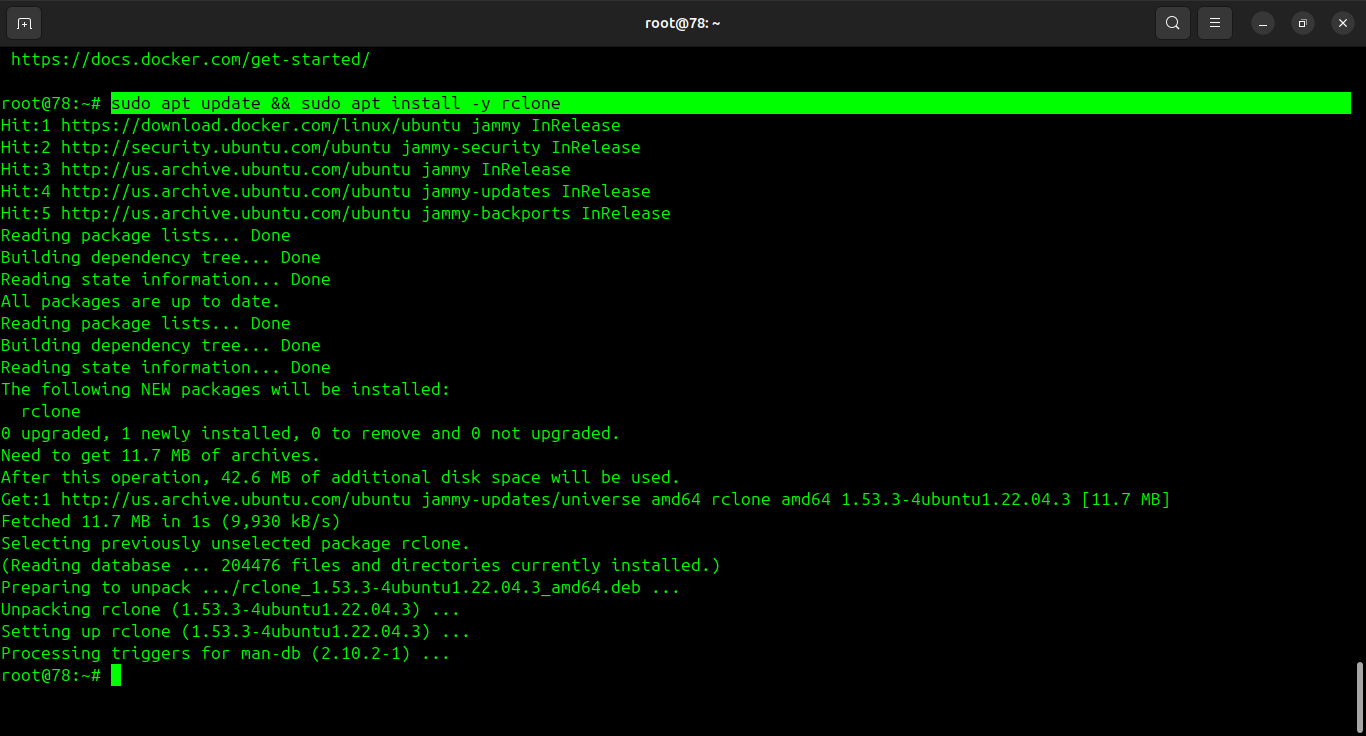
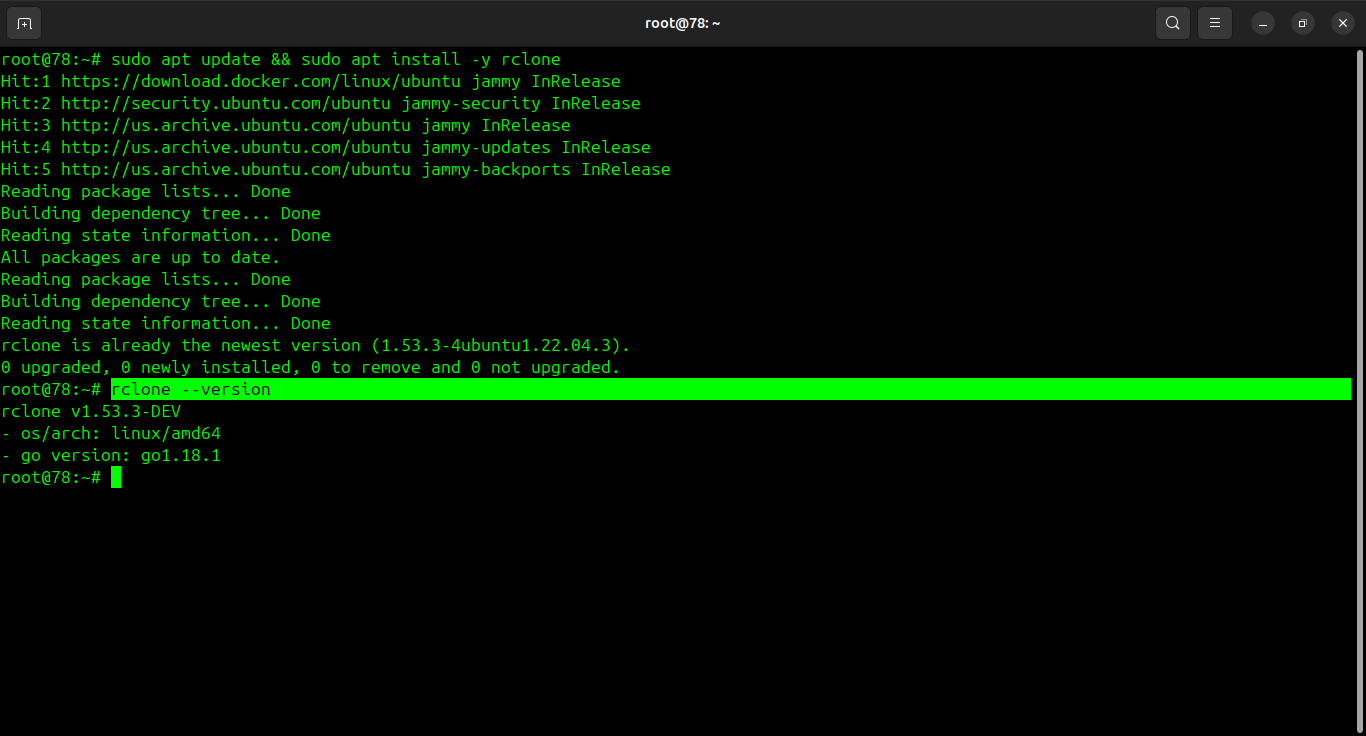
1. Install rclone:
sudo apt update && sudo apt install -y rclone
2. Verify the installation:
rclone --version
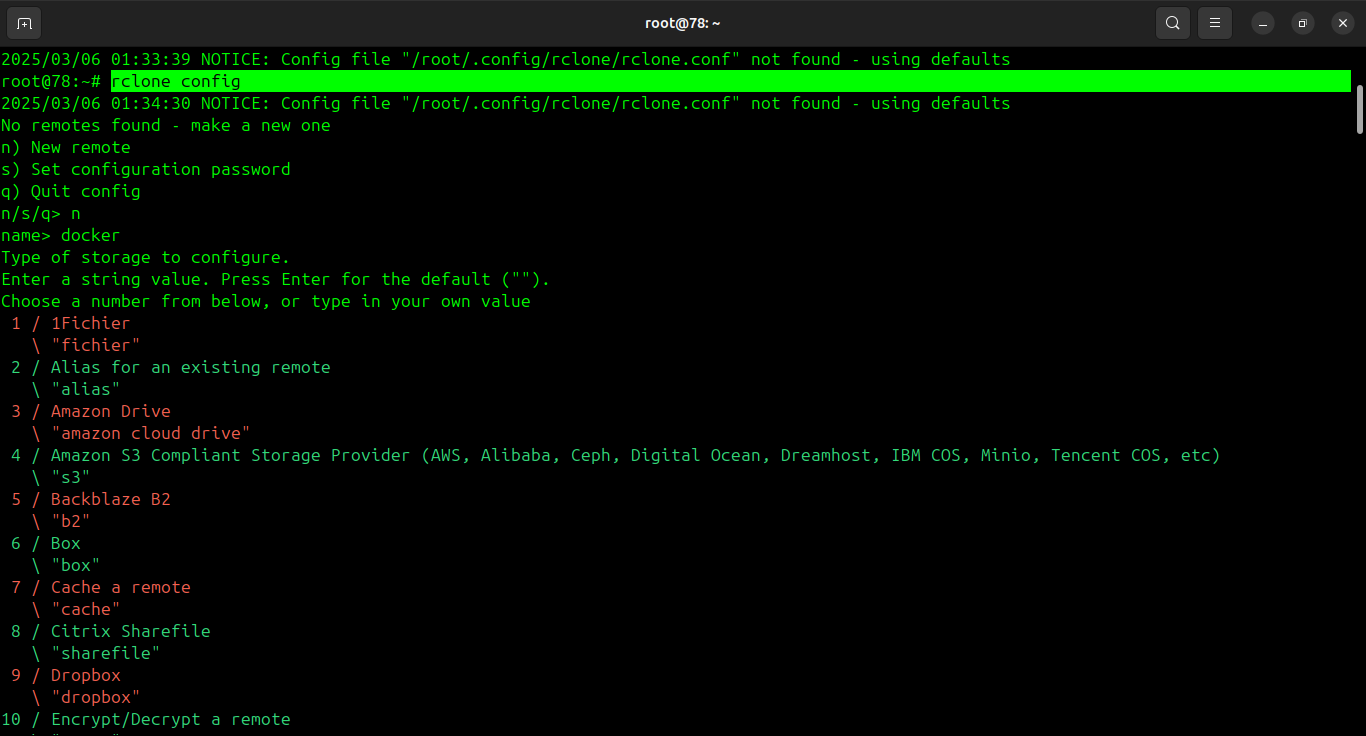
3. Configure rclone with StorX Access Credentials:
rclone config
Follow the prompts:
- Select New remote (n)
- Name your remote (e.g., "storx")
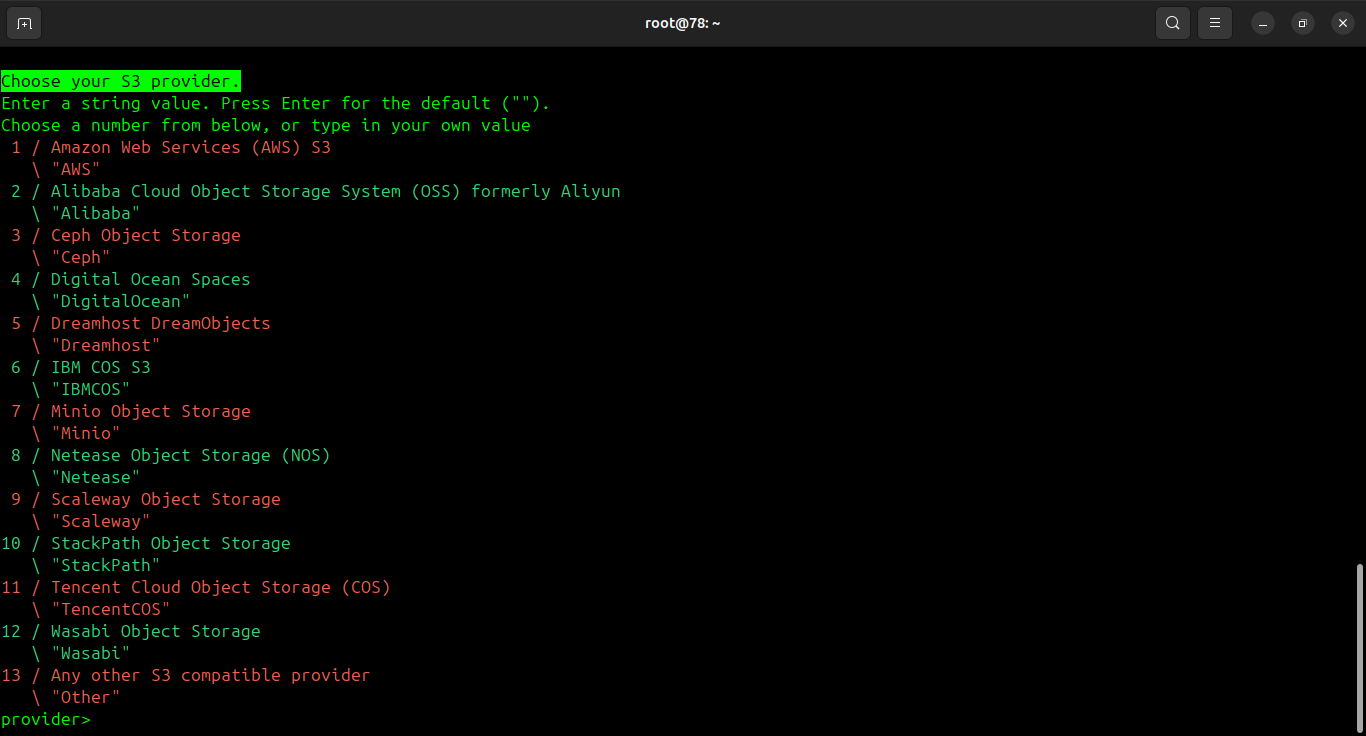
- Select storage type: Amazon S3 Compliant (4 or 5)
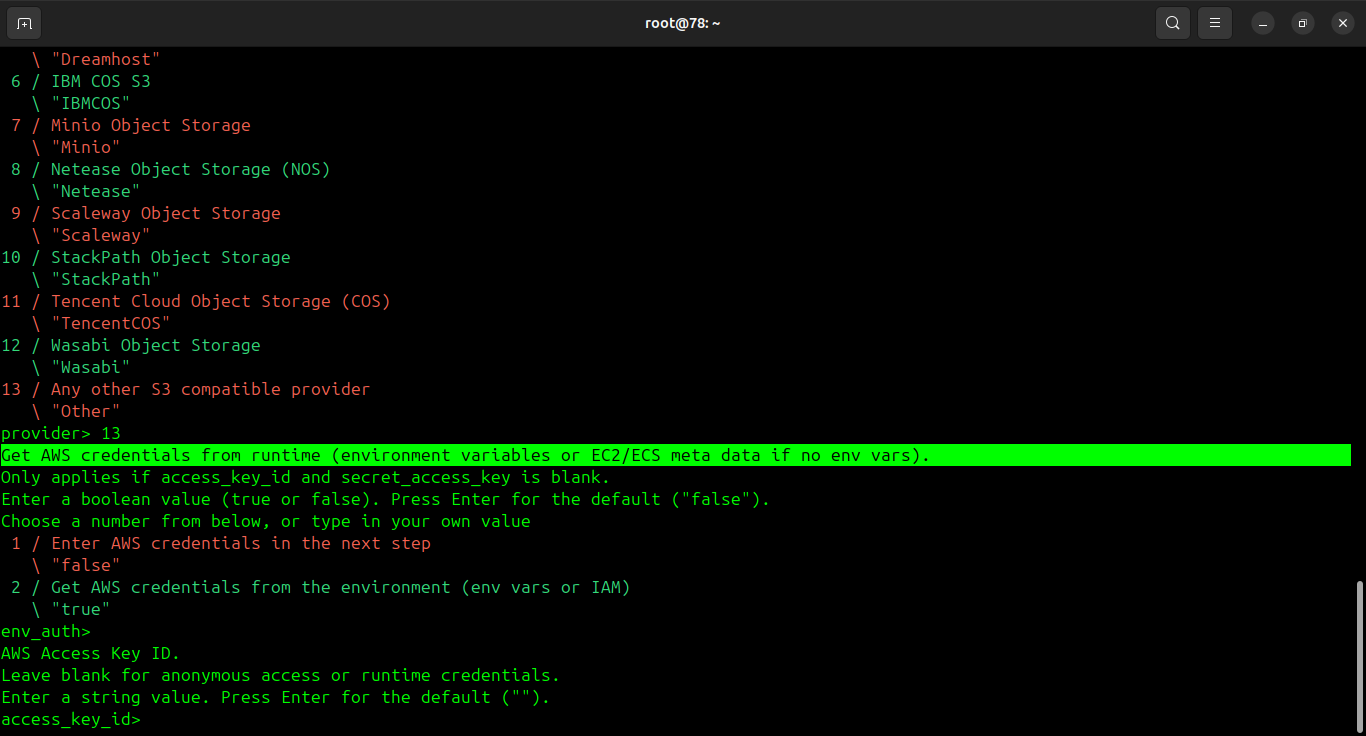
- Provider: Any S3 compatible provider
- Enter your StorX Access Key
- Enter your StorX Secret Key
- Region: us-east-1 (or leave blank)
- Endpoint: gateway.storx.io
- Leave other options as default


4. Verify the connection:
rclone ls storx:
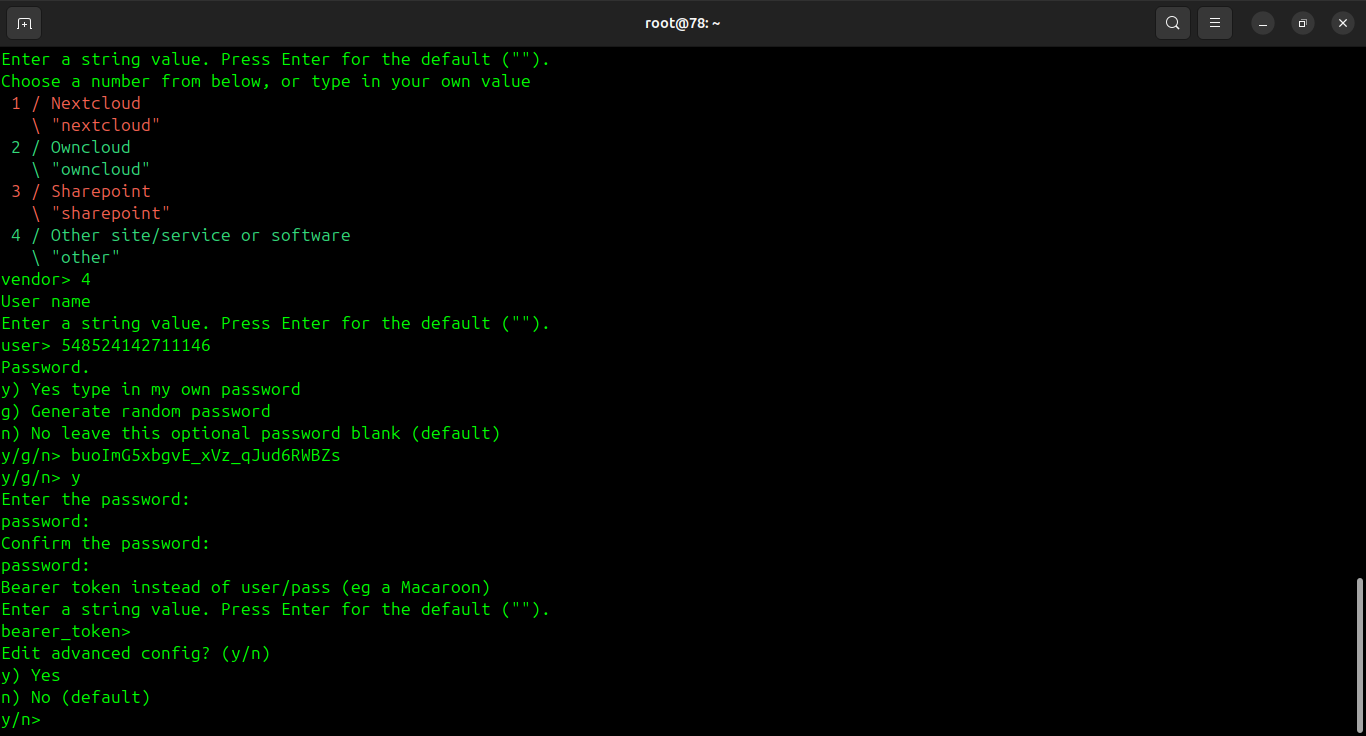
Configure Cloudinary with rclone
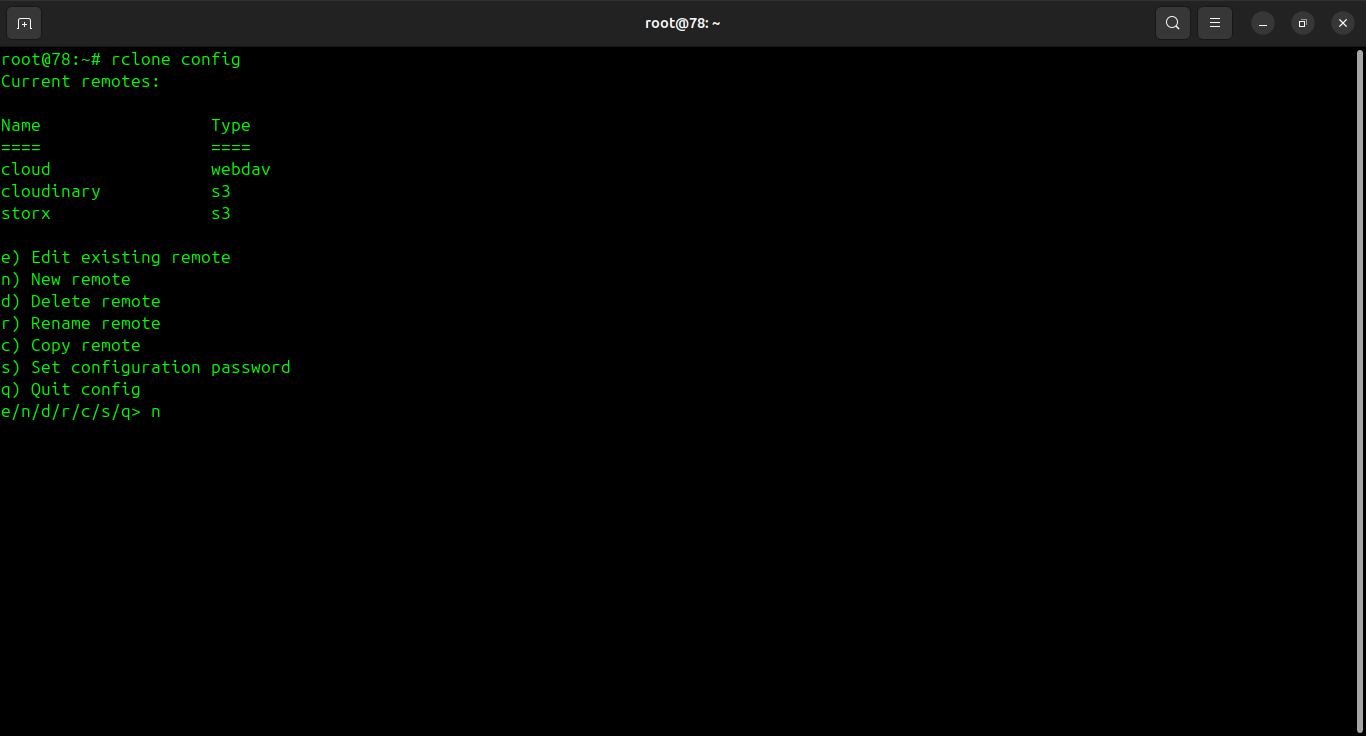
1. Set up a new rclone remote for Cloudinary:
rclone config
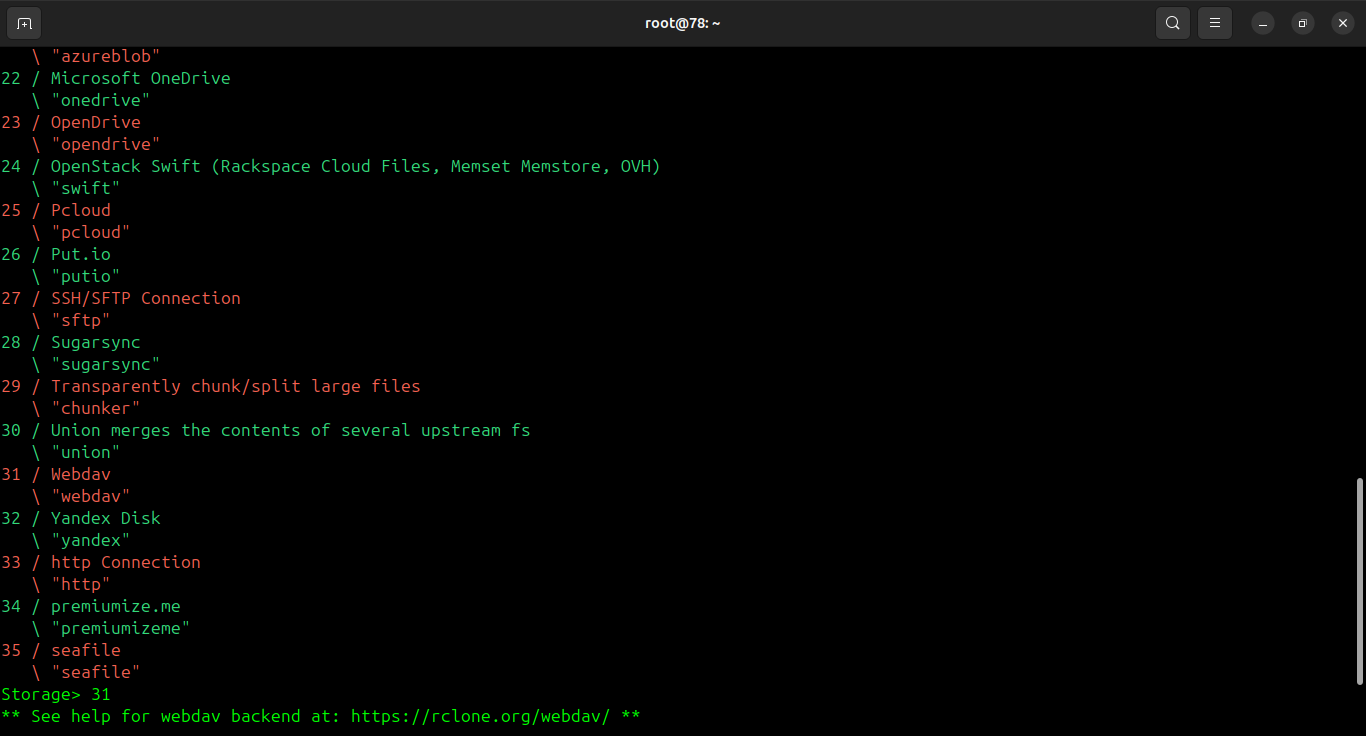
2. Create a new remote with type WebDAV:
3. Use the Cloudinary URL format:
cloudinary://api_key:api_secret@cloud_name
Replace with your actual credentials:
- api_key: Your Cloudinary API Key
- api_secret: Your Cloudinary API Secret
- cloud_name: Your Cloudinary Cloud Name
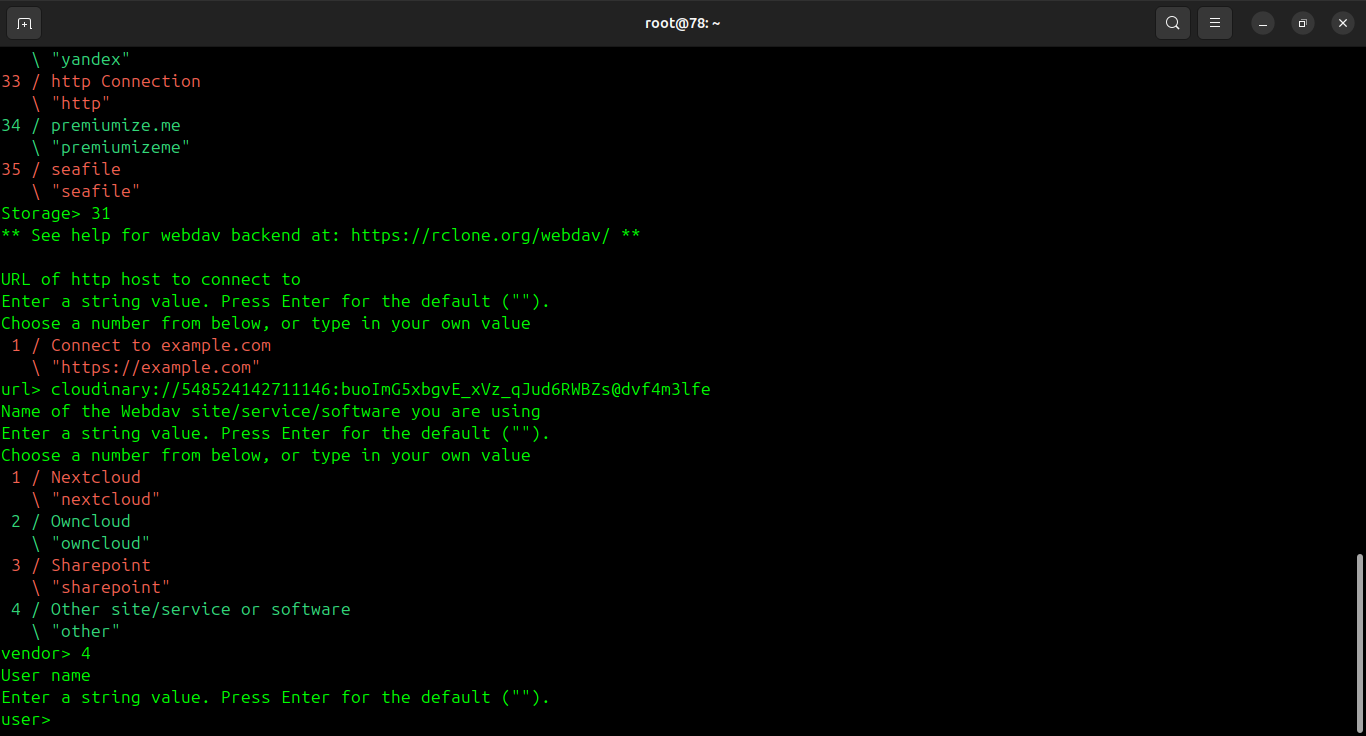
4. Enter your Cloudinary API key as username and API secret as password:
5. Verify the connection:
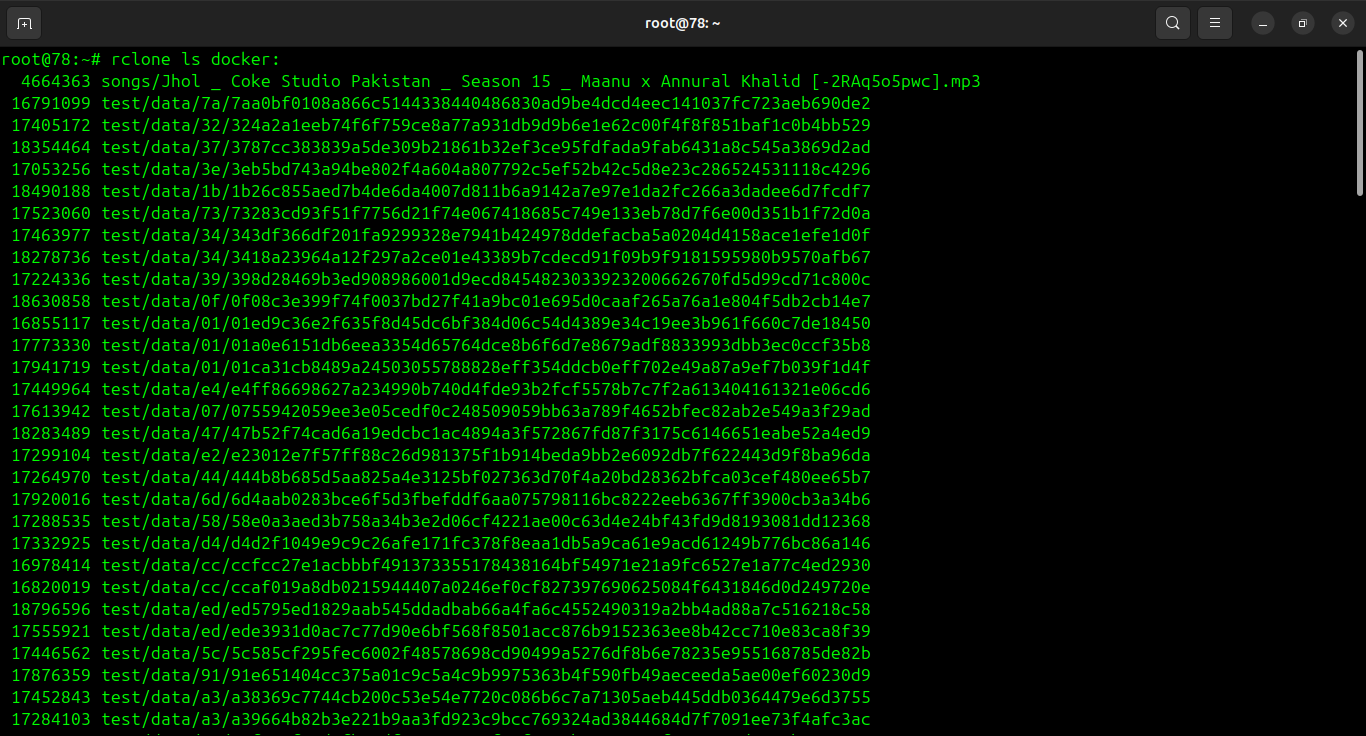
rclone ls cloudinary:

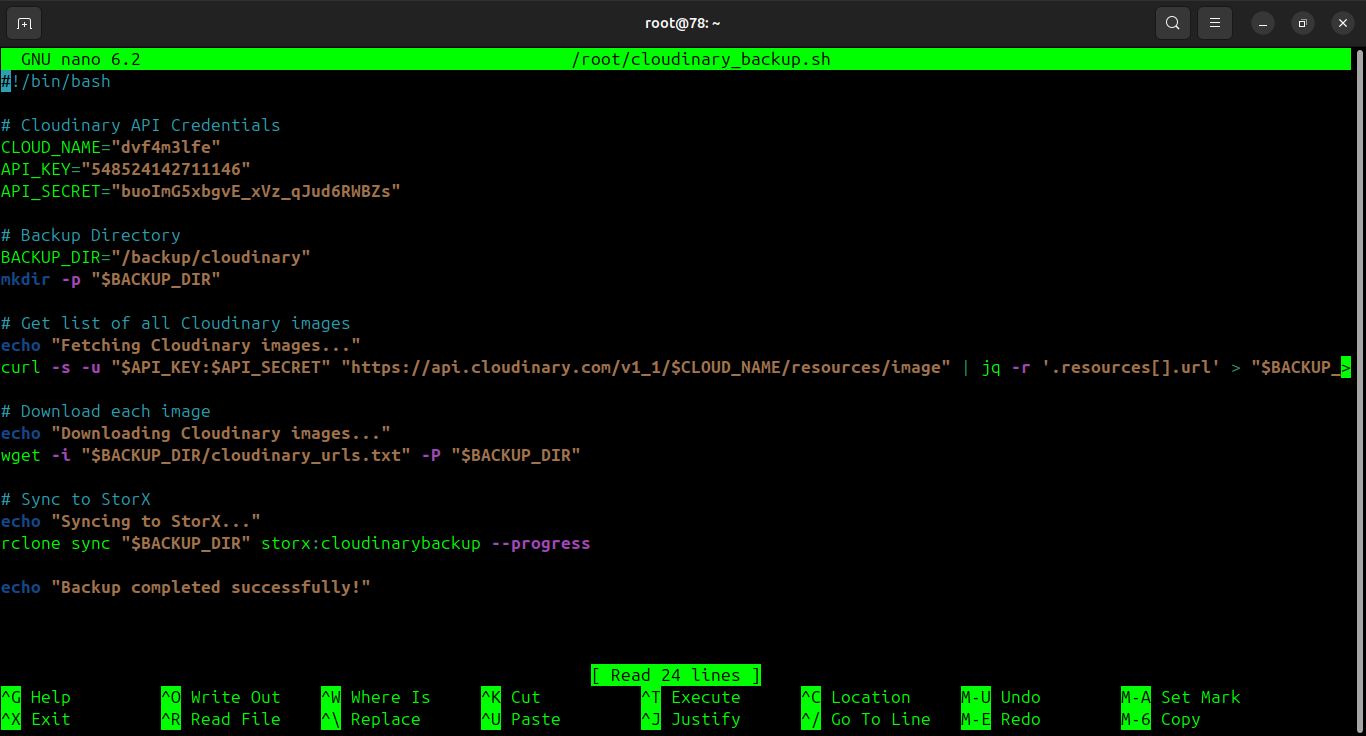
Create Backup Script
1. Create a backup script:
nano ~/cloudinary_backup.sh
Example backup script:
#!/bin/bash
# Cloudinary to StorX Backup Script
# Backup all Cloudinary assets to StorX

# Set variables
BACKUP_DATE=$(date +%Y%m%d_%H%M%S)
LOG_FILE="/home/user/cloudinary_backup_$BACKUP_DATE.log"

echo "Starting Cloudinary backup to StorX at $BACKUP_DATE" | tee -a $LOG_FILE

# Sync Cloudinary to StorX
rclone sync cloudinary: storx:cloudinary-backup/$BACKUP_DATE/ --progress --verbose 2>&1 | tee -a $LOG_FILE

# Check if backup was successful
if [ $? -eq 0 ]; then
    echo "Backup completed successfully at $(date)" | tee -a $LOG_FILE
else
    echo "Backup failed at $(date)" | tee -a $LOG_FILE
    exit 1
fi

echo "Backup process finished" | tee -a $LOG_FILE
2. Make the script executable:
chmod +x ~/cloudinary_backup.sh
3. Run the backup script:
~/cloudinary_backup.sh
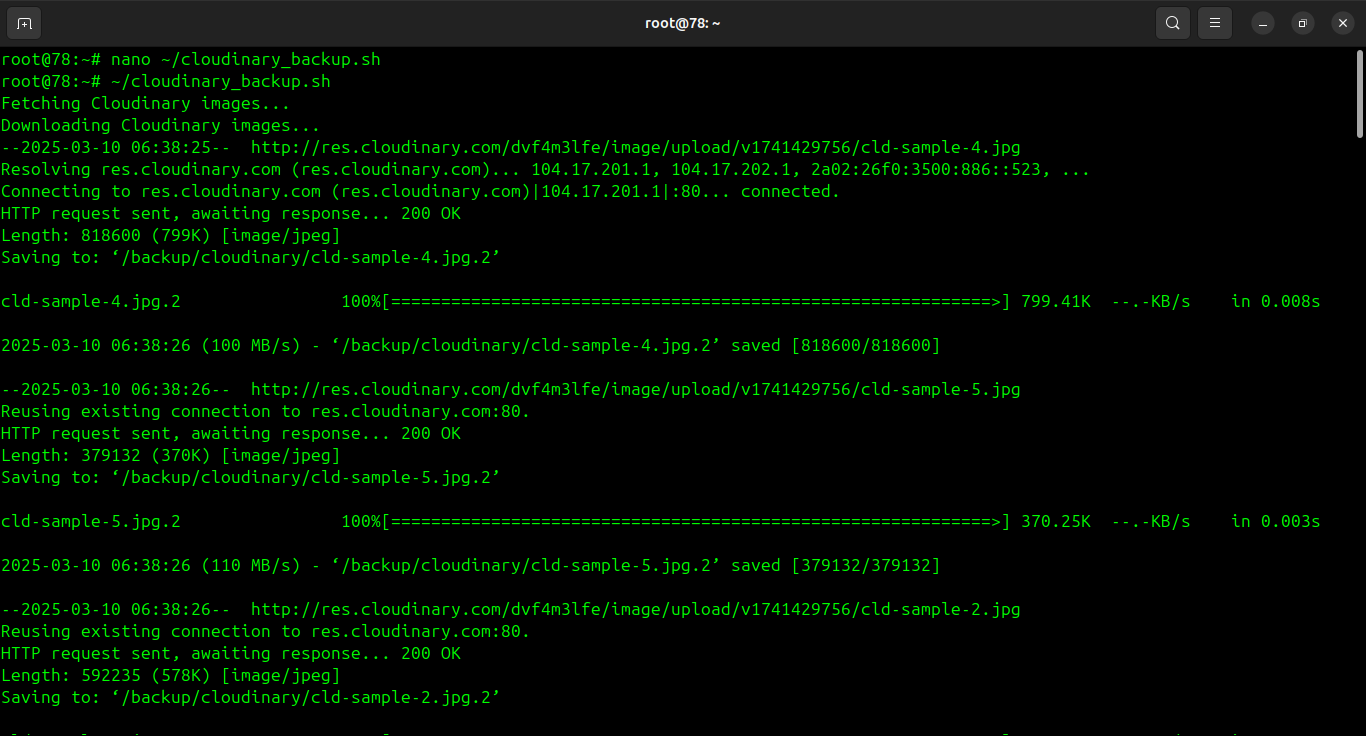
4. Verify the backup in your StorX vault:
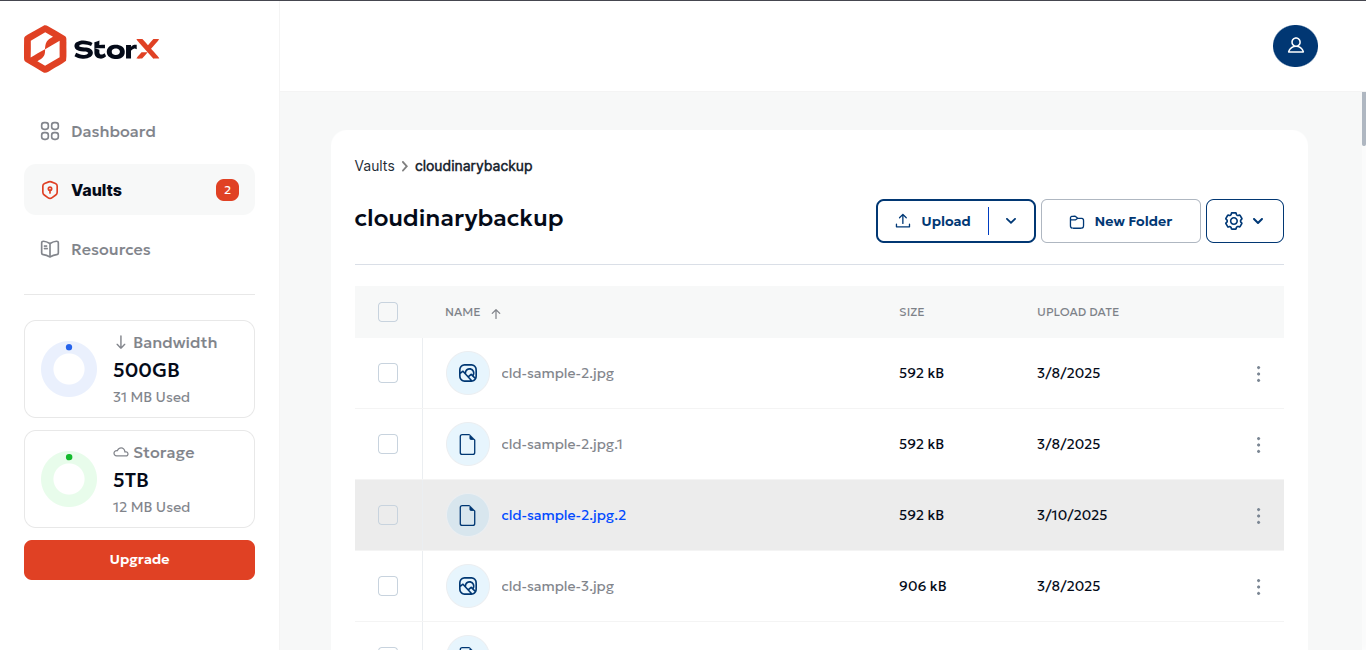
✓ Congratulations! You have successfully set up automated backups from Cloudinary to StorX. Your media assets are now securely stored in decentralized storage.
Automating with Cron
To schedule regular backups, add to crontab:
crontab -e
Add for daily backup at 2 AM:
0 2 * * * /home/user/cloudinary_backup.sh