
Quick Navigation:
What is Cloudsfer?
- Cloud-based platform that transfers data from one platform to another, such as from Google Drive to an S3-compatible system.
- Cloudsfer's cloud-to-cloud migration services & file backup services integrate with over 20 cloud storage providers.
- The on-premise to cloud migration tool offers migration from your File System, SharePoint on-premise, and various ECM systems (FileNet, eRoom, Documentum, Open Text LiveLink, DocuShare, eDocs, HP trim, Lotus Notes, and many more systems) to any cloud.
Before you begin: You need an active StorX account. Join our community →
Transfer Data from StorX to Google Drive
1. Create a Cloudsfer account and verify via email.
2. Log in to your Cloudsfer account.
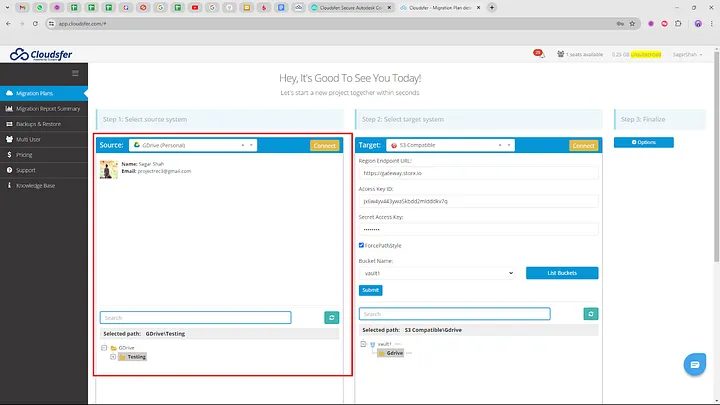
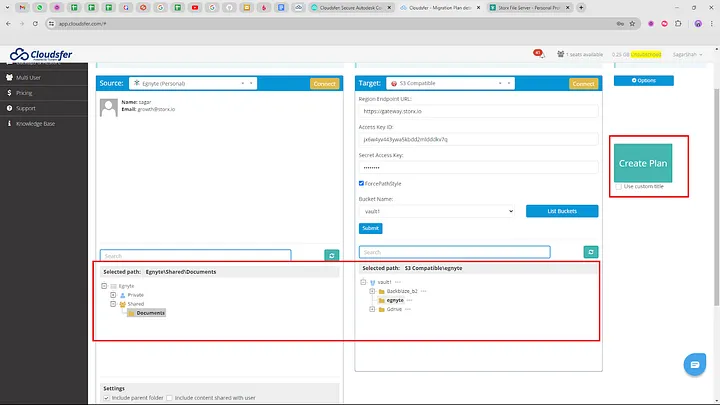
3. Select S3 Compatible as the source and Google Drive as the target.
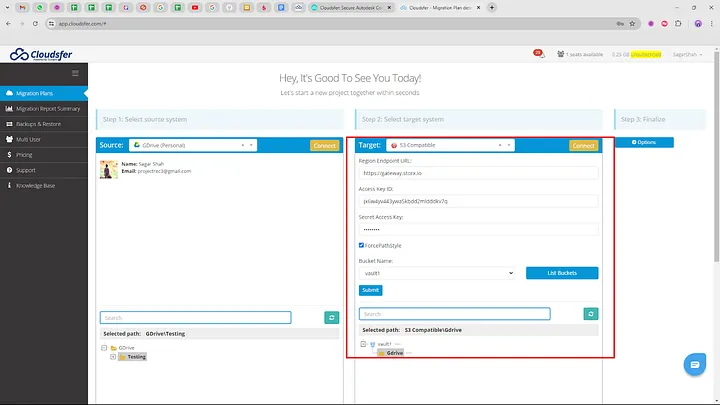
4. Enter your StorX Access Credentials:
- Access Key
- Secret Key
- Endpoint: gateway.storx.io
- Enable Force Path Style
5. Click Submit to see your files and folders.
6. Select the files/folders to transfer.
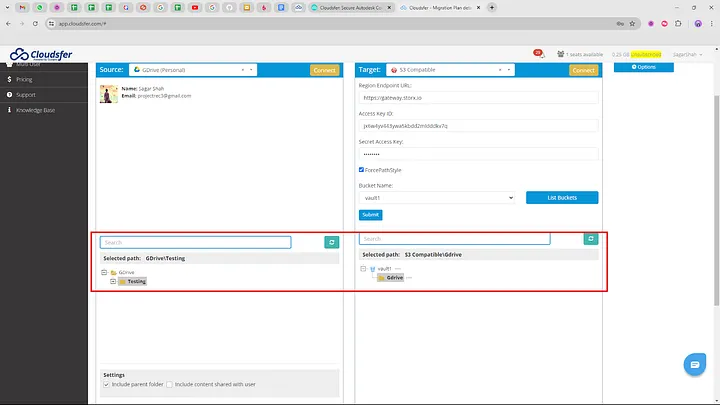
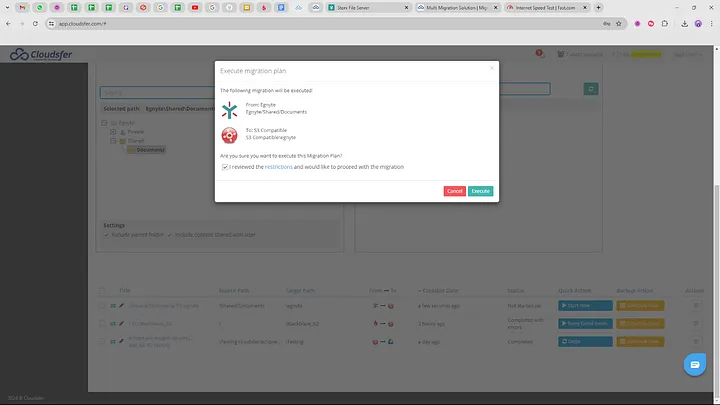
7. Click Create Plan and scroll down to start the transfer.
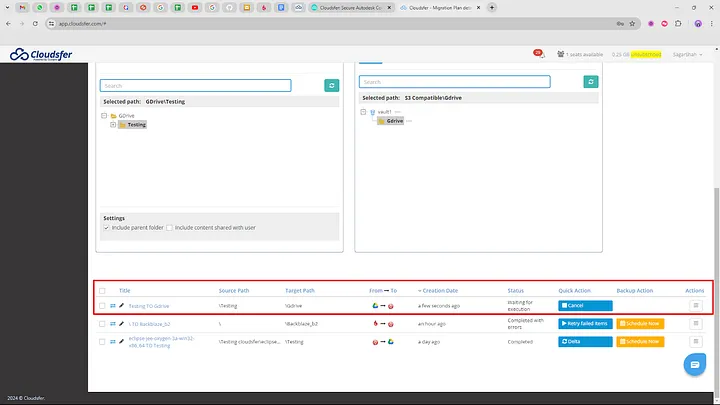
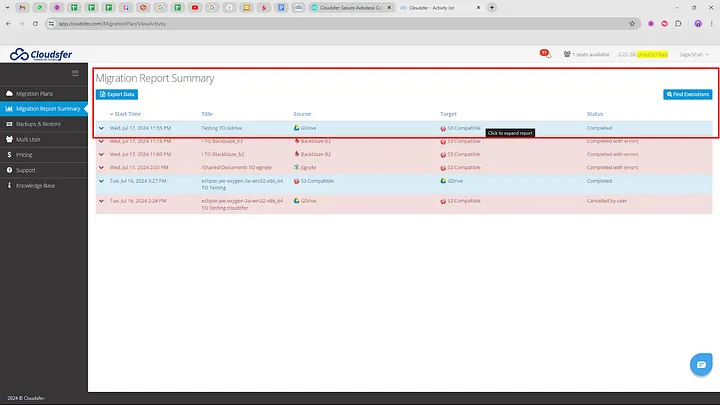
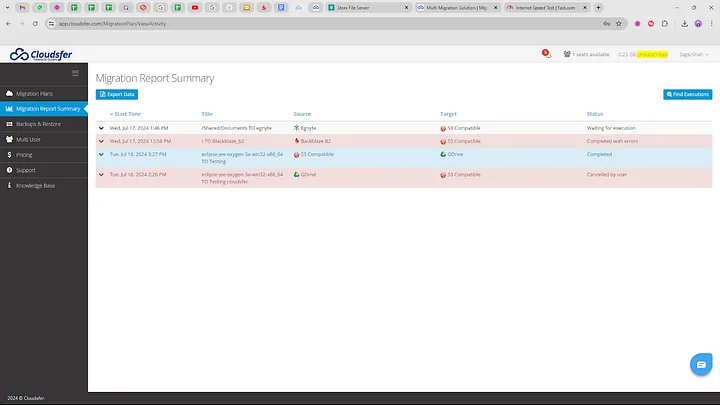
8. Monitor progress in the Migration Report Summary.
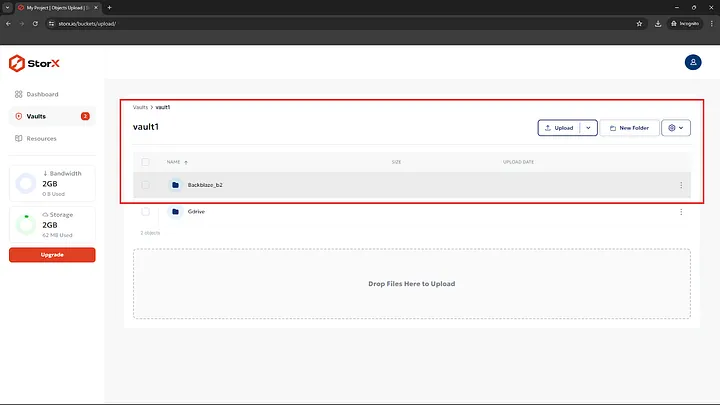
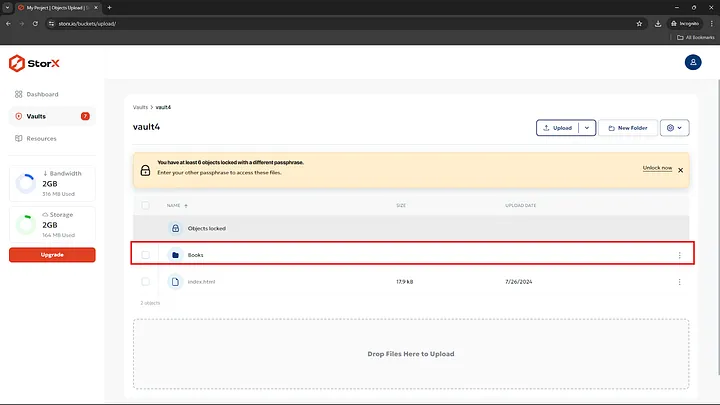
9. Verify transferred files in your StorX vault:
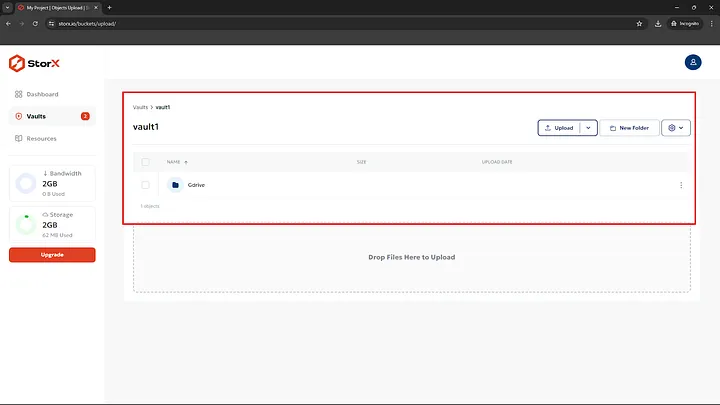
✓ Transfer Complete! Your files have been successfully transferred between StorX and Google Drive using Cloudsfer.
Transfer Data from Backblaze B2 to StorX
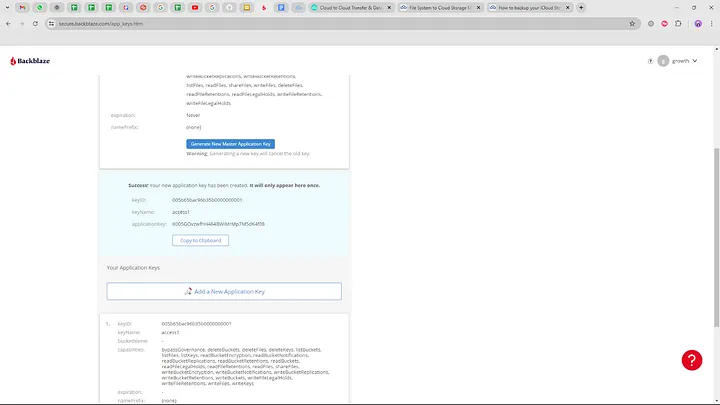
1. Create a Backblaze B2 account and bucket.
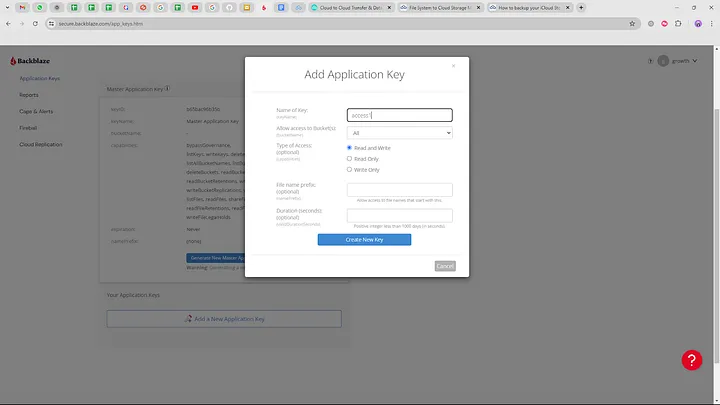
2. Generate access keys in Backblaze B2.
3. In Cloudsfer, set source as Backblaze B2 and target as S3 Compatible (StorX).
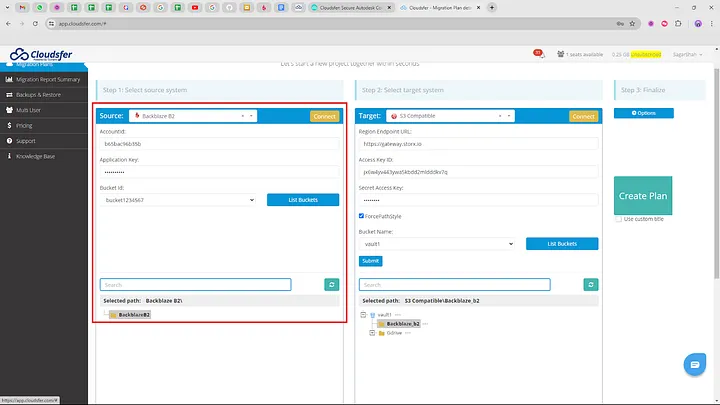
4. Enter Backblaze B2 credentials:
- Account ID
- Application Key
- Bucket name
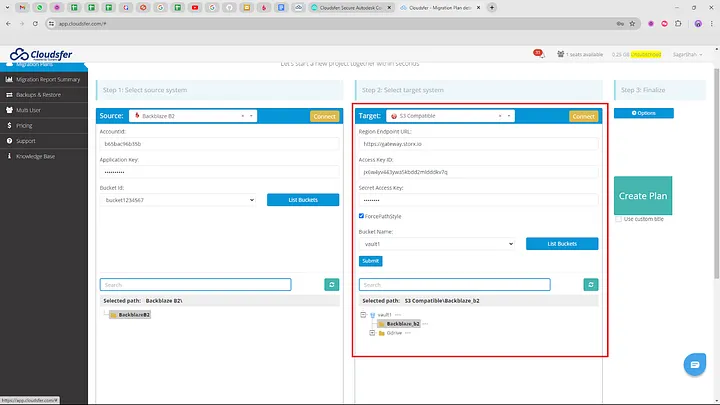
5. Enter StorX Access Credentials as target:
- Access Key
- Secret Key
- Endpoint: gateway.storx.io
- Vault name
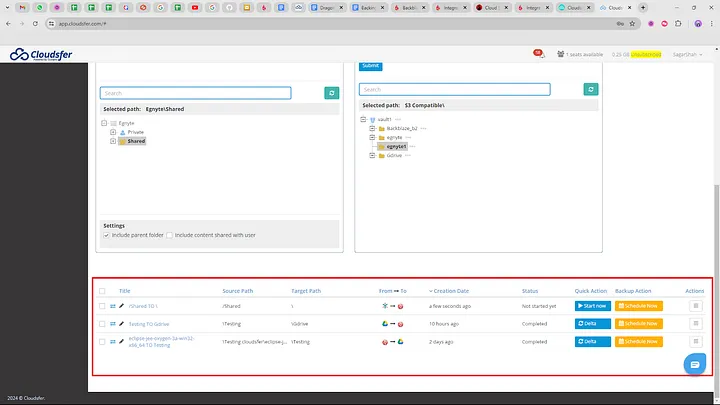
6. Set source and target paths.
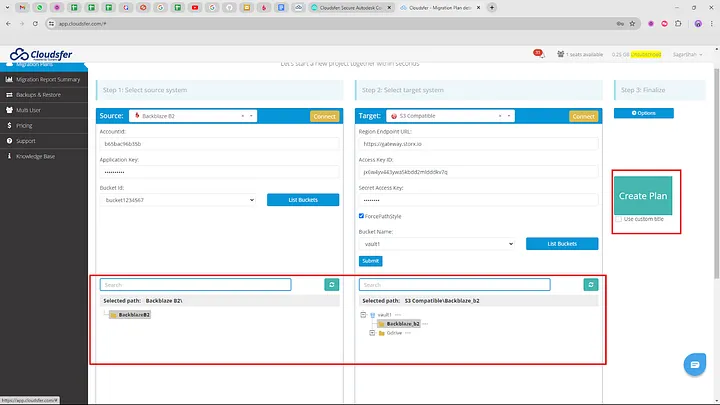
7. Click Create Plan and Start Now to begin migration.
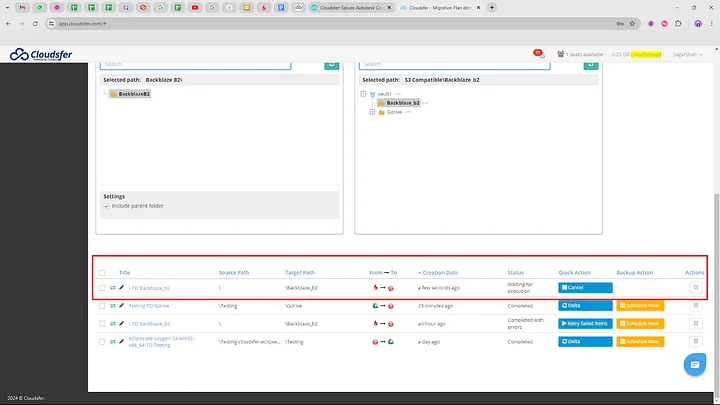
8. Monitor progress and verify files in StorX.
Transfer Data from Egnyte to StorX
1. In Cloudsfer, set source as Egnyte (Admin).
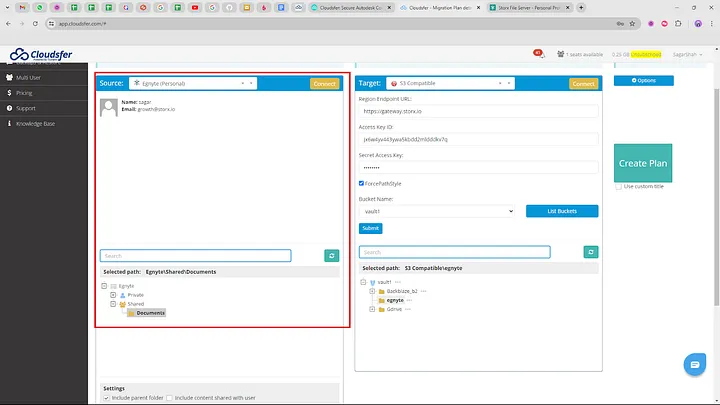
2. Enter Egnyte credentials (domain, API key if available).
3. Set target as S3 Compatible (StorX).
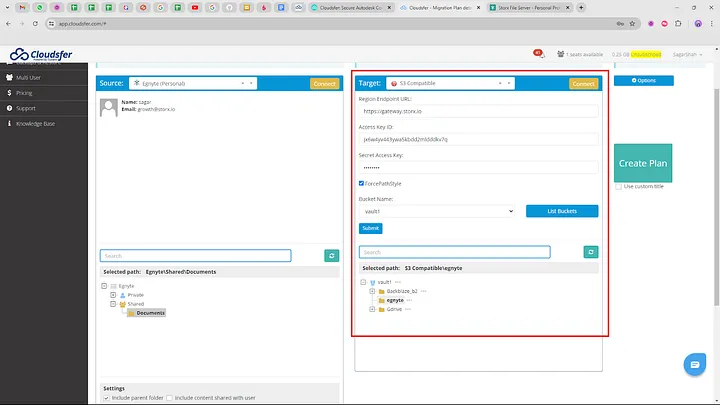
4. Enter StorX Access Credentials and vault name.
5. Click Create Plan and start migration.
6. Monitor progress in Migration Report Summary.
✓ Migration Complete! Your files have been successfully migrated from Egnyte to StorX using Cloudsfer.
What is TNT Drive?
TntDrive is a new Amazon S3 Client for Windows. With TntDrive, you can easily mount an Amazon S3 Bucket as a Network or Removable Drive under Windows. Unlike many other Amazon S3 Clients, TntDrive offers incredible simplicity in accessing your Amazon S3 Buckets and files. You can work with your Amazon S3 files as efficiently as if they were on your local drive.
Download TNT Drive 6.0.1
For Windows XP/Vista/7/8/10/11 and Windows Server 2003/2008/2012/2016/2019/2022
Installation Steps
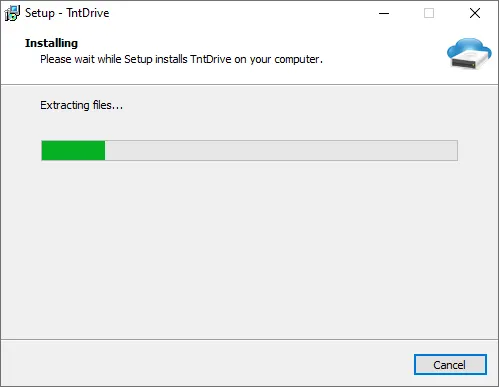
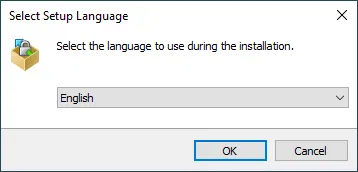
1. Click the Download link and run the installer.

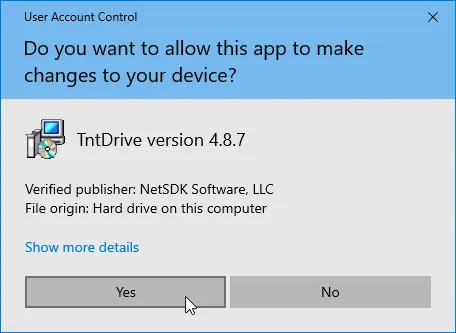
2. Click Yes on UAC prompt.
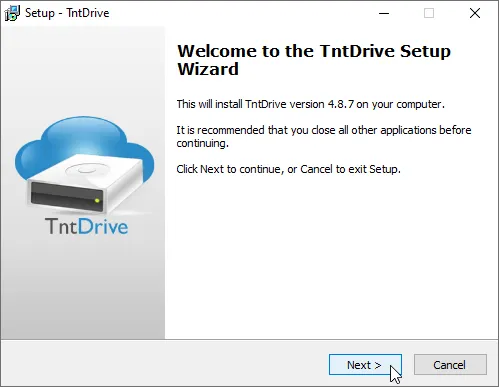
3. Click Next to continue.
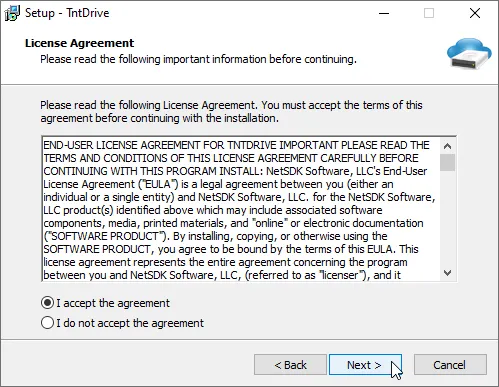
4. Agree to license terms.
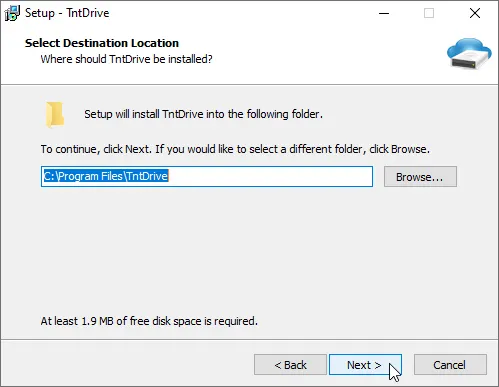
5. Choose installation location.
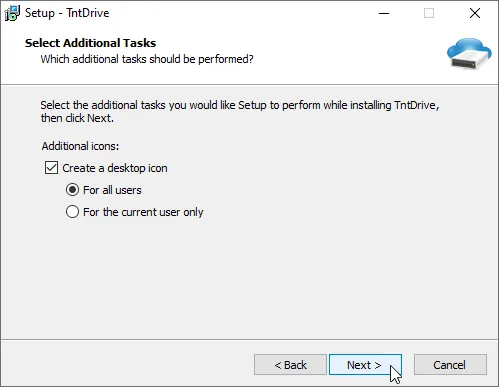
6. Select additional tasks.
7. Click Finish to complete.
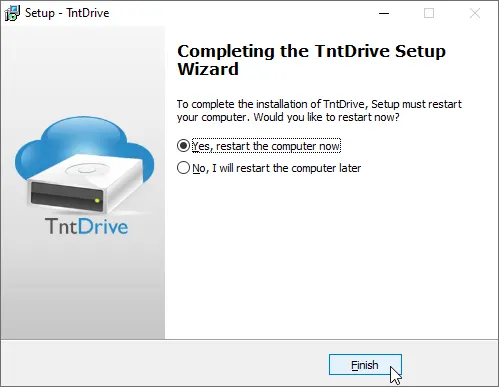
Note: It is recommended to reboot your computer after first installation. Virtual drives may only appear after restart.
Configure TNT Drive with StorX
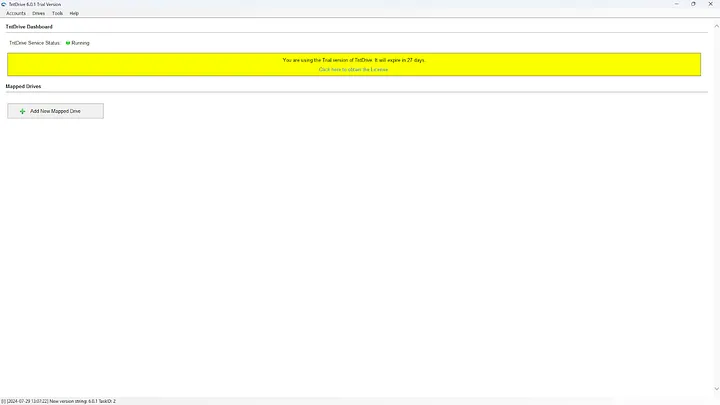
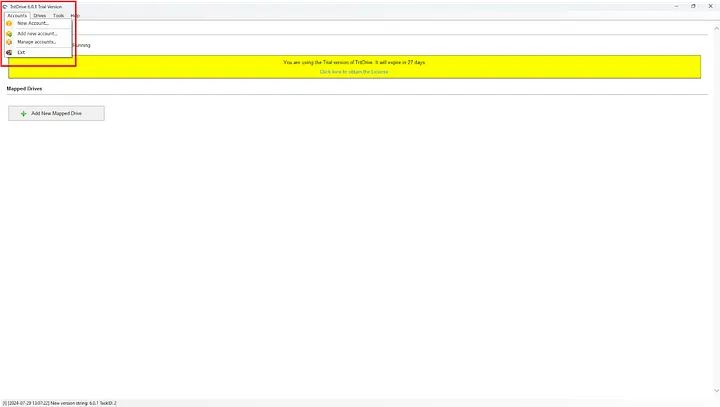
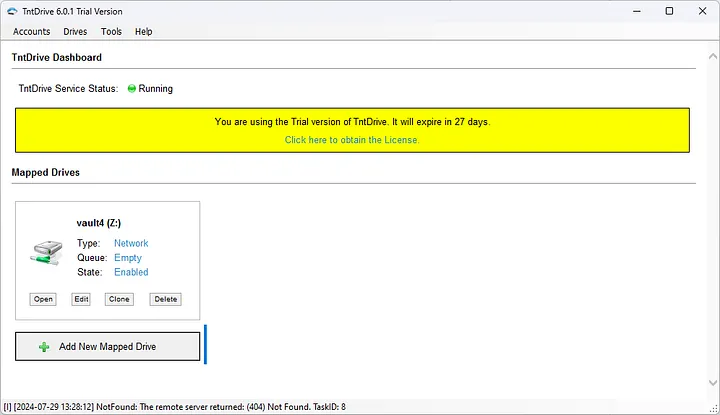
1. Open TNT Drive application.
2. Click Add New Account.
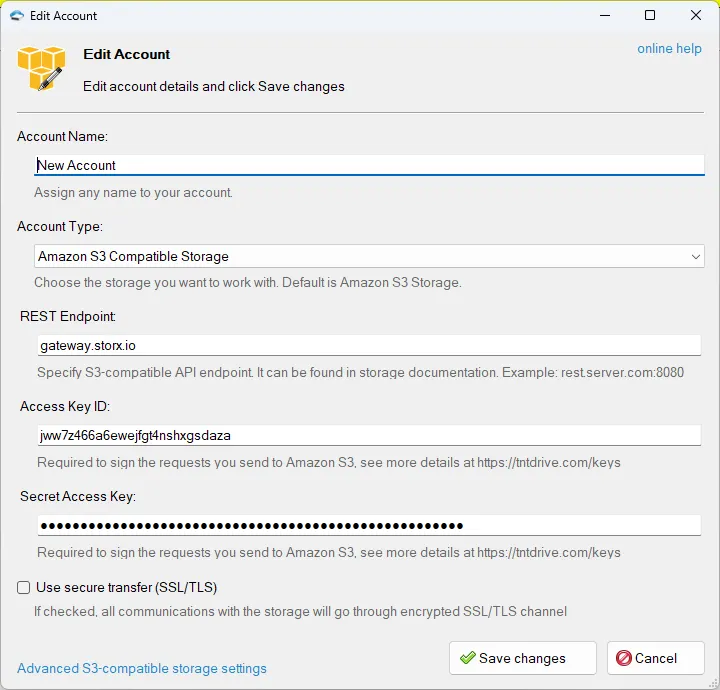
3. Enter your StorX Access Credentials:
- Account Name: StorX
- Account Type: S3 Compatible
- REST Endpoint: gateway.storx.io
- Access Key: [Your Access Key]
- Secret Key: [Your Secret Key]
Important: Unmark SSL/TLS if using HTTP, or ensure proper configuration for HTTPS.
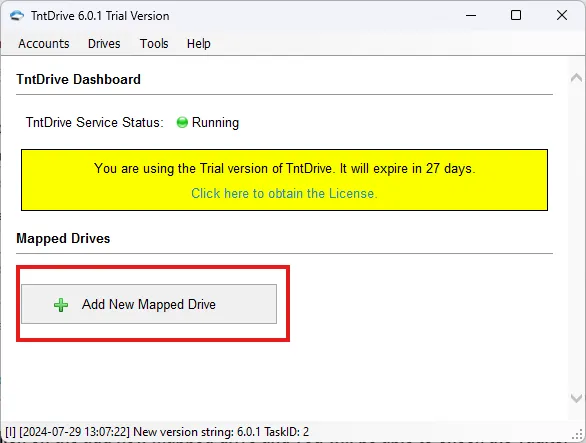
4. Click Add New Mapped Drive.
5. Select your StorX vault/bucket.
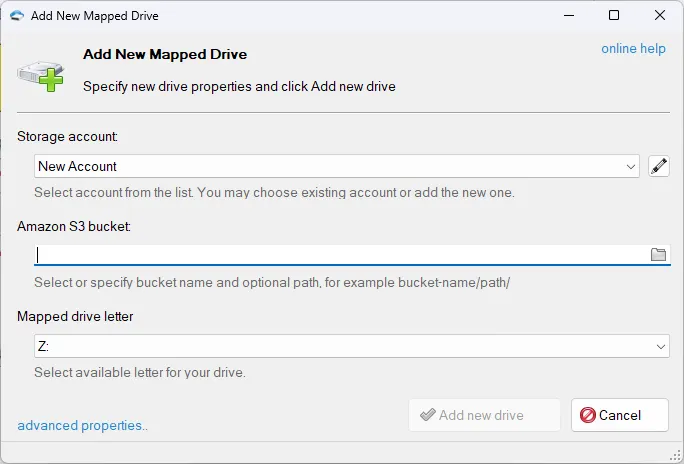
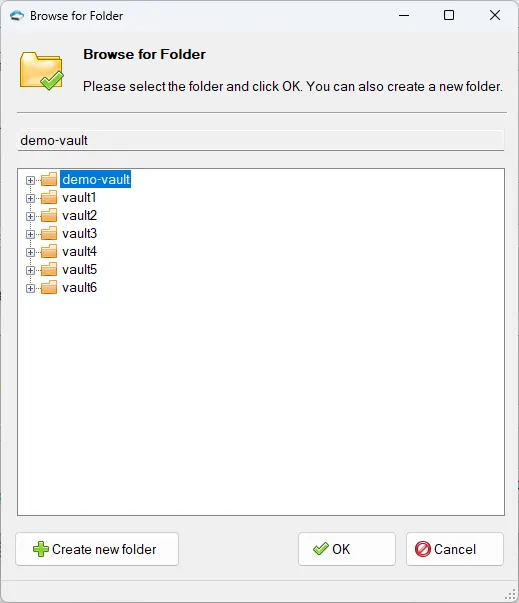
6. Complete the drive mapping.
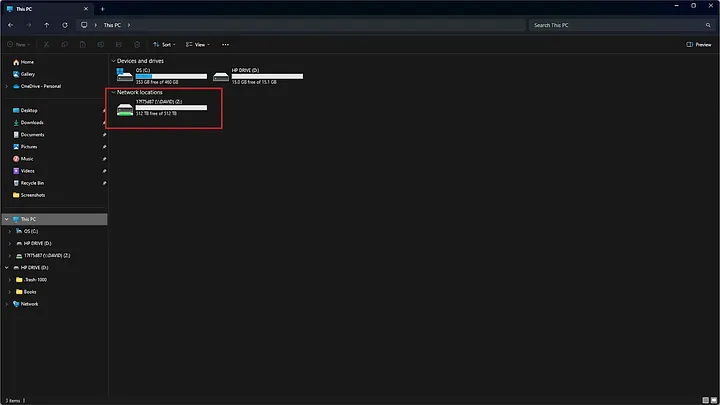
7. Open My Computer to see your new drive.
Test the Integration
1. Add a file to your mapped drive.
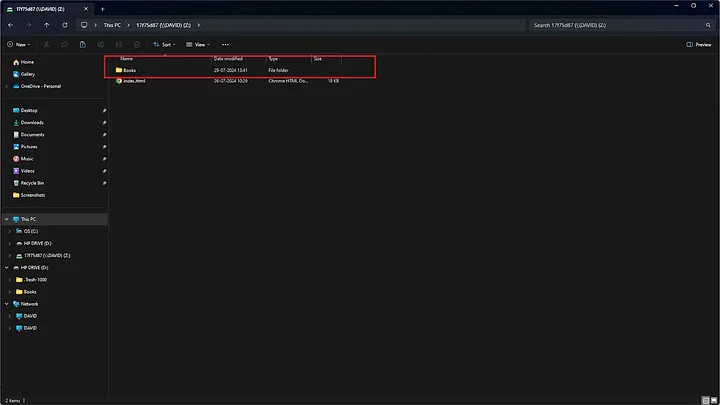
2. Verify the file appears in your StorX vault.
✓ Setup Complete! Your StorX storage is now mounted as a local drive using TNT Drive.
What is WinSCP?
WinSCP is a popular SFTP client and FTP client for Microsoft Windows! It allows you to copy files between a local computer and remote servers using FTP, FTPS, SCP, SFTP, WebDAV, or S3 file transfer protocols.
Installation Steps
1. Run the installer.
2. Accept the license agreement.
3. Choose Typical Installation.
4. Select user interface style (Commander or Explorer).
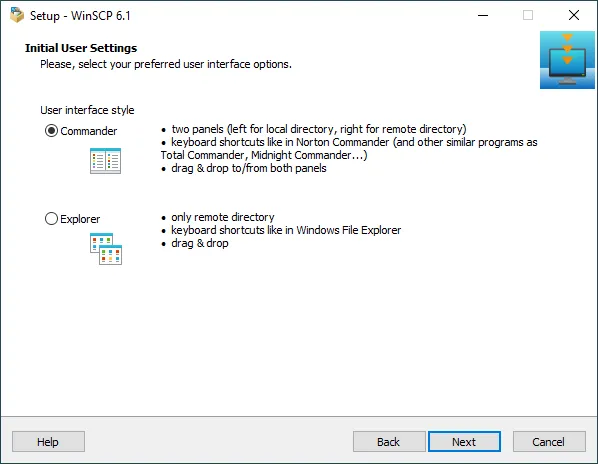
5. Click Install and complete the setup.
Configure WinSCP with StorX
1. Open WinSCP.
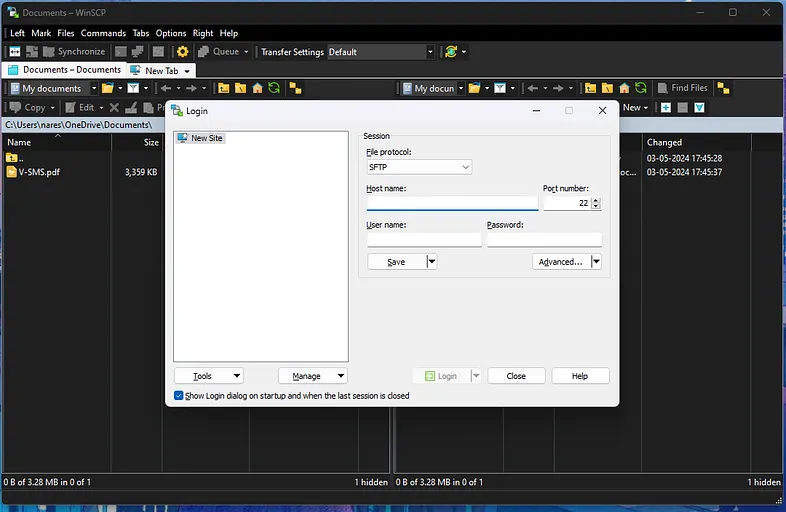
2. Select Amazon S3 as the file protocol.
3. Enter your StorX Access Credentials:
- Host name: gateway.storx.io
- Access Key ID: [Your Access Key]
- Secret Access Key: [Your Secret Key]
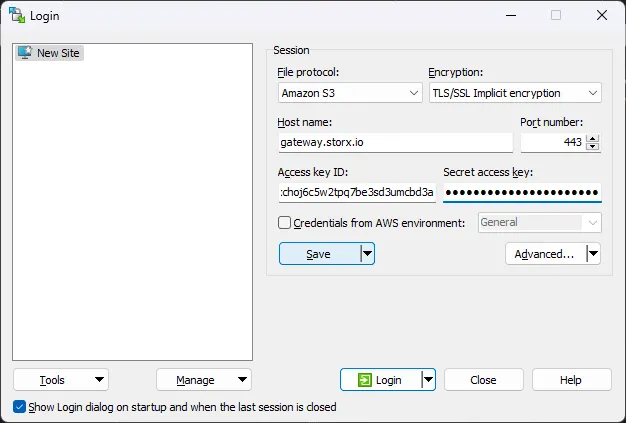
4. Click Login or Save.
5. You will see your StorX vault contents.
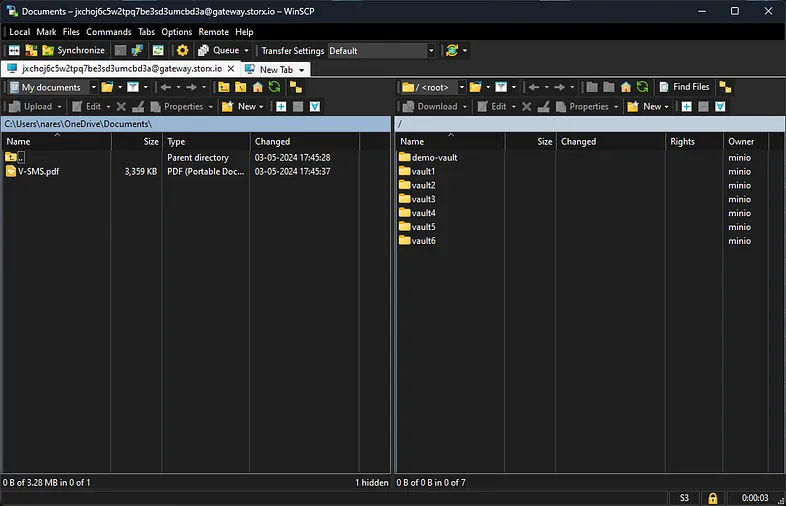
✓ Integration Complete! You can now transfer files between your local computer and StorX using WinSCP.