
Quick Navigation:
What is CrossFTP?
CrossFTP is a free file transfer protocol (FTP) and cloud storage client for Windows, Mac, and Linux that you can configure with StorX Cloud Storage.
Download CrossFTP: https://www.crossftp.com/download.htm
Before you begin: You need an active StorX account. Join our community →
Required StorX Credentials
- Access Key - Your unique access identifier
- Secret Key - Your private security key
- Endpoint -
gateway.storx.io
Setting up CrossFTP with StorX
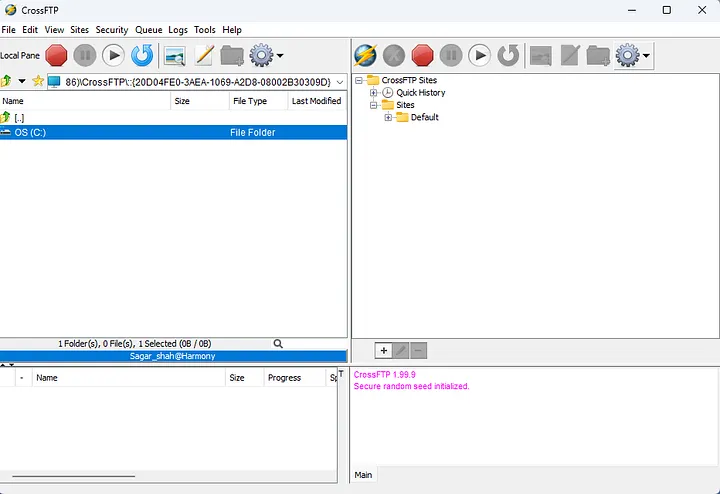
1. Install and open CrossFTP on your operating system.
2. Click on the File menu at the top left corner. Select Connect from the dropdown. In the pop-up, choose S3/HTTPS as the protocol.
3. Enter your StorX Access Credentials:
- Host:
gateway.storx.io(your endpoint) - Access Key: Your StorX Access Key
- Secret Key: Your StorX Secret Key
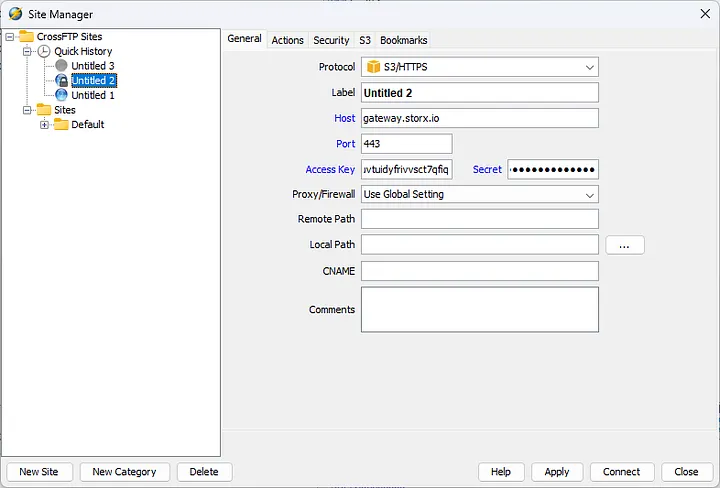
4. Click Apply followed by Connect.
5. Once connected, you will see your StorX vaults in the right section of CrossFTP.
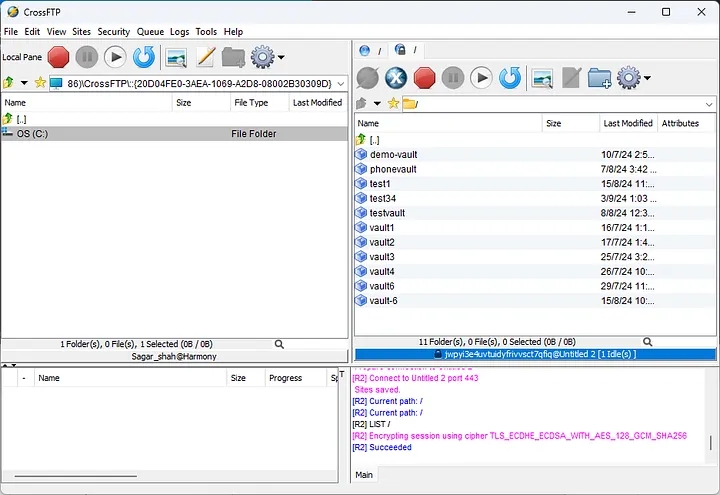
✓ Integration Complete! You have successfully connected CrossFTP with StorX. You can now perform file transfers, create folders, delete files, and manage your decentralized storage directly from CrossFTP.
What You Can Do Now
- Upload files from your local machine to StorX
- Download files from StorX to your local machine
- Create and delete folders in your vaults
- Rename and move files within StorX
- Set file permissions and metadata
What is S3 Browser?
S3 Browser is a freeware Windows client for Amazon S3 and Amazon CloudFront. Amazon S3 provides a simple web services interface for storing and retrieving any amount of data anytime from anywhere on the web.
Download S3 Browser v11.7.5: S3Browser-11-7-5.exe
Installation Steps
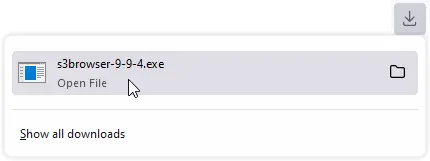
1. Run the downloaded installation file:
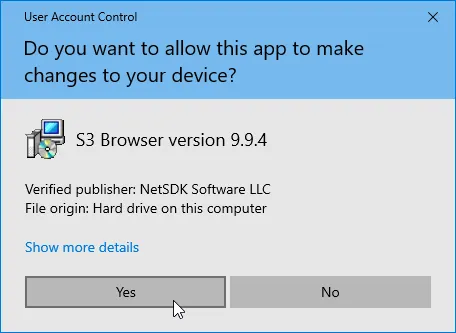
2. Click Yes on the User Account Control prompt:
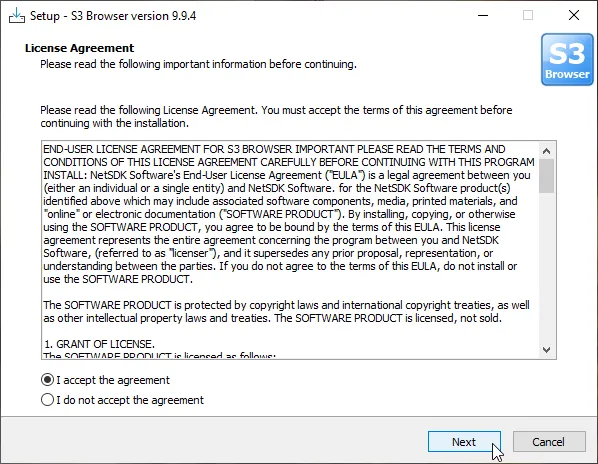
3. Accept the license agreement and click Next:
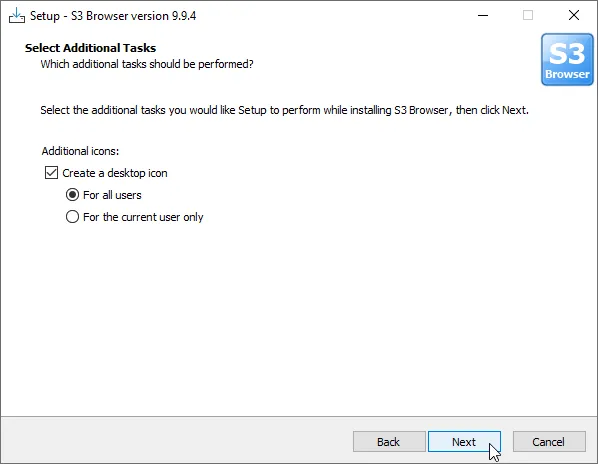
4. Select additional tasks:
5. Wait for installation to complete:
6. Click Finish to complete installation and run S3 Browser:
Configuring S3 Browser with StorX
When you start S3 Browser for the first time, you will be asked to add a new Account:
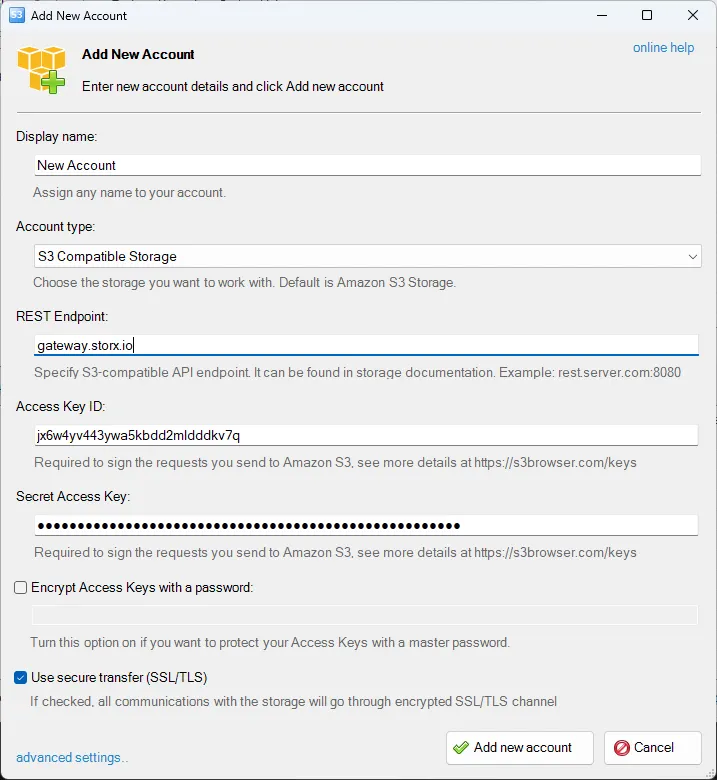
1. In the Add New Account dialog, select S3-Compatible Storage as the Account Type.
2. Fill out the StorX Access Credentials:
- Account Name: StorX (or any name you prefer)
- Account Type: S3-Compatible Storage
- REST Endpoint:
gateway.storx.io - Access Key ID: Your StorX Access Key
- Secret Access Key: Your StorX Secret Key
Note: Make sure to use the exact endpoint without https:// prefix. The S3 Browser will handle the protocol.
3. Click Add new account to save the configuration.
Once connected, you'll see your StorX vaults in the S3 Browser interface. You can now create buckets, upload files, and manage your storage.
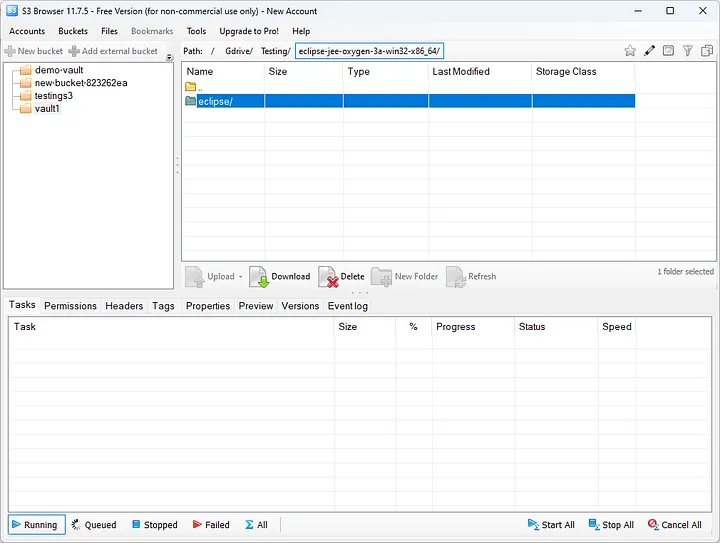
✓ Integration Complete! S3 Browser is now connected to your StorX storage. You can manage your files with the familiar Windows Explorer-like interface.
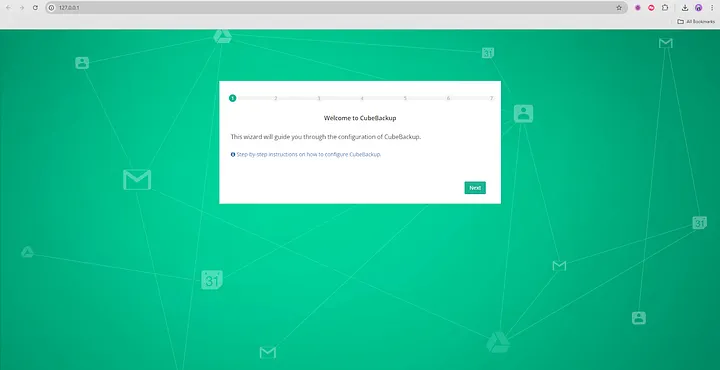
What is CubeBackup?
CubeBackup allows you to back up Gmail, Google Drive, shared drives, contacts, calendar, and website data to local storage or cloud storage destinations, including StorX Cloud Storage.
Download CubeBackup: https://www.cubebackup.com/en/download/google-workspace-backup
Before you begin: You need an active StorX account with access credentials. Join StorX →
Setting up CubeBackup with StorX
Step 1. Open the CubeBackup web console after installation.
The web console will automatically pop up in your default browser. You can also access it at
http://<server-ip>:<port>
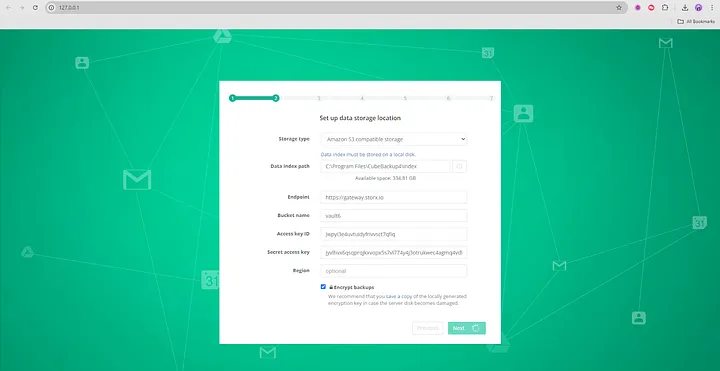
Step 2. Set backup location to Amazon S3-compatible storage.
Enter your StorX Access Credentials:
- Host/Endpoint:
gateway.storx.io - Access Key: Your StorX Access Key
- Secret Key: Your StorX Secret Key
- Bucket/Vault Name: Your StorX vault name
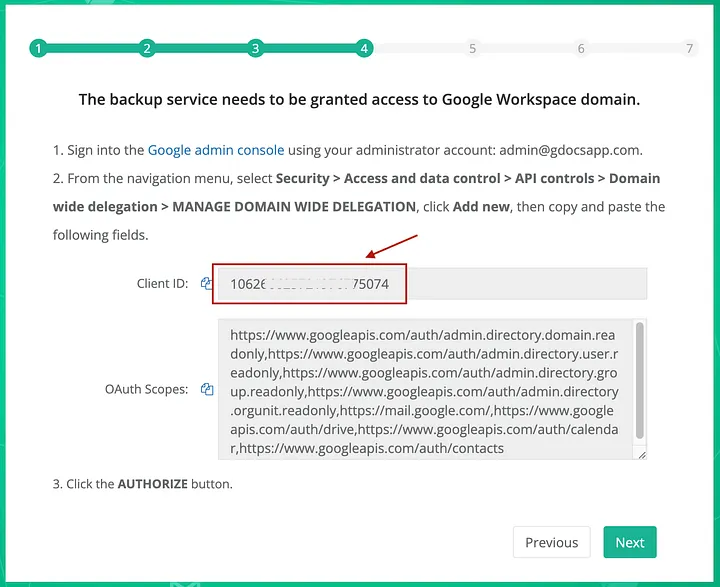
Step 3. Create a Google Service account and configure domain-wide access.
Follow the video guide: https://youtu.be/2YXLDOPSvvE
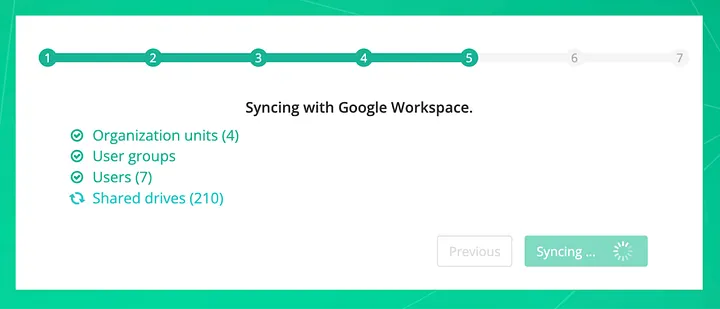
Step 4. Sync with Google Workspace to load users and shared drives.
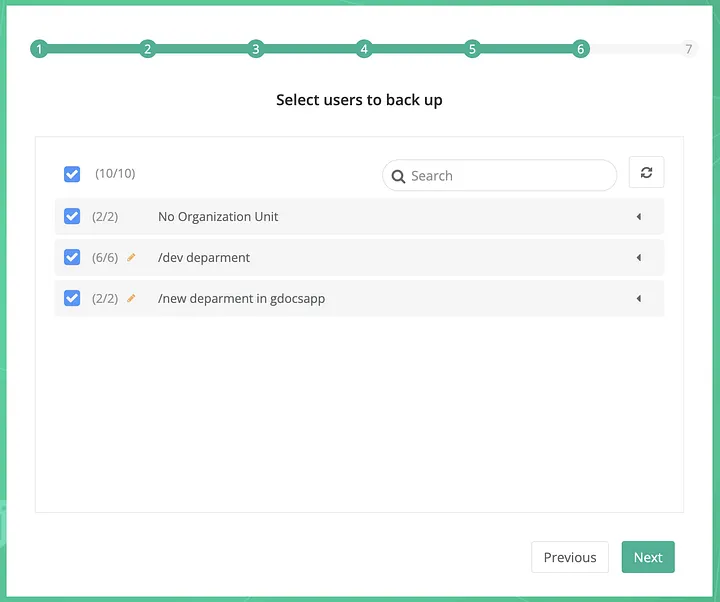
Step 5. Select users to back up.
- By default, all valid users are selected
- You can expand Organization Units to see users
- Deselect checkbox to exclude specific OUs or users
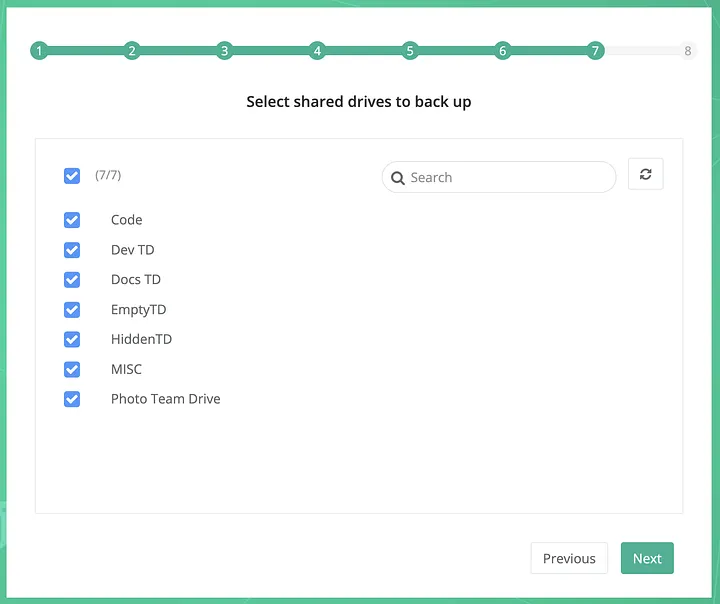
Step 6. Select Shared drives to back up (for Business/Enterprise accounts).
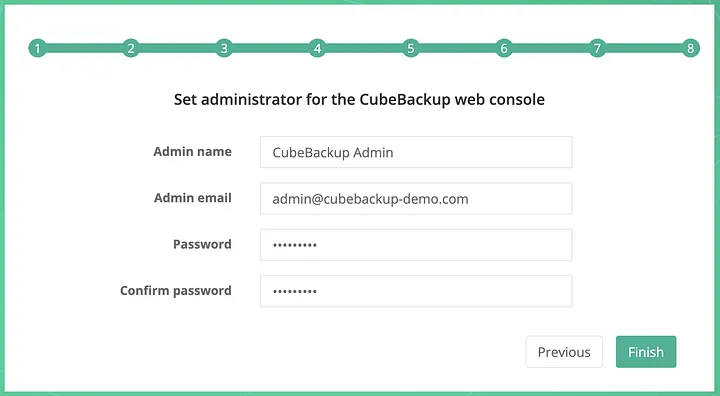
Step 7. Set administrator password for CubeBackup web console.
- This account is only for CubeBackup console access
- Not related to Google Workspace credentials
✓ Setup Complete! CubeBackup is now configured to back up your Google Workspace data to StorX. Your backups will be securely stored in decentralized storage.