
What is GoodSync?
GoodSync is software for data synchronization and backup purposes. It allows you to sync files and folders between different devices or locations, ensuring up-to-date and consistent data.
GoodSync ensures that folders and all files in synchronizing folders are the same by copying the new or updated files from the folder where they appeared to the folder where they are old or absent and propagating deletions.
Installation
Refer to the corresponding Help Center articles for comprehensive instructions on installing GoodSync on various platforms.
Download GoodSync: https://www.goodsync.com/download
Installing GoodSync Personal on Windows
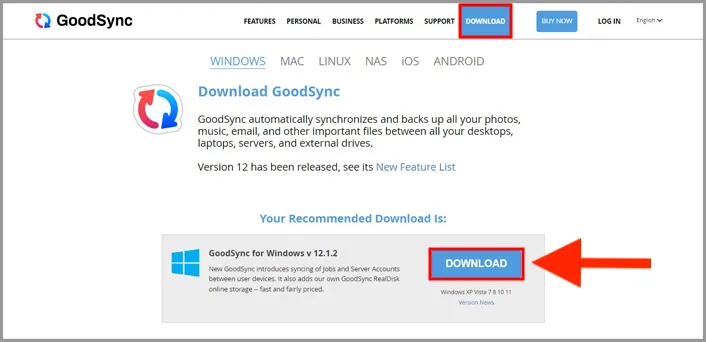
1. Download the latest version of GoodSync for Windows from the download page.
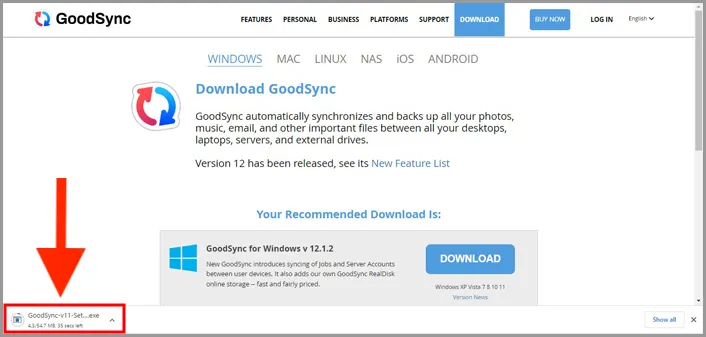
2. Once the Setup file is downloaded, click the file to begin the setup process.
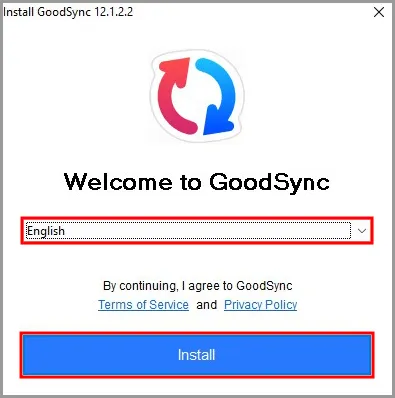
3. Select your language and click Install.
Note: By clicking Install, you agree to GoodSync's Terms of Use and Privacy Policy.
4. Log in to your existing account or sign up for a new GoodSync account.
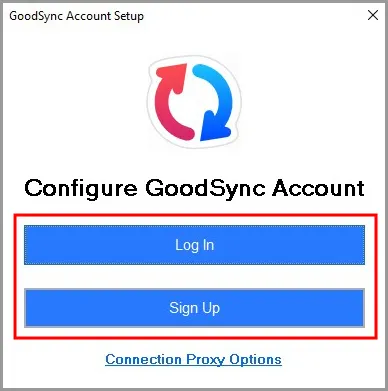
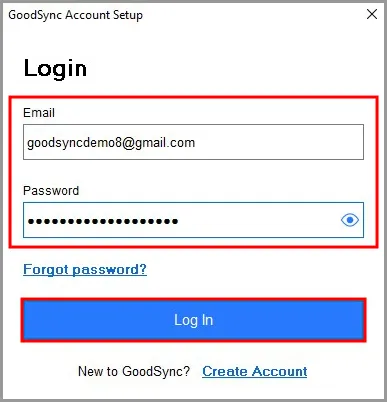
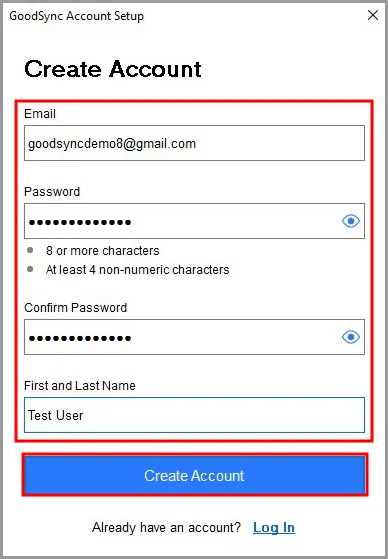
Note: If creating a new account, use a valid email address for One-Time Password (OTP) authentication.
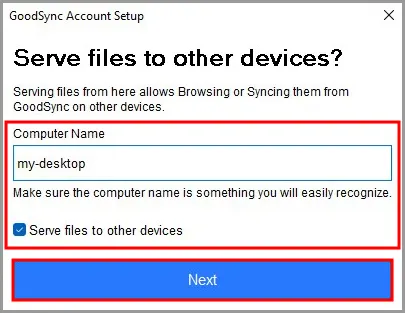
5. Choose a name for your device and select whether GoodSync can serve files from it.
- Serve files to other devices: If checked, GoodSync can accept incoming and outgoing requests
- If unchecked: GoodSync can only accept incoming files
6. Click Start Using GoodSync to complete setup.
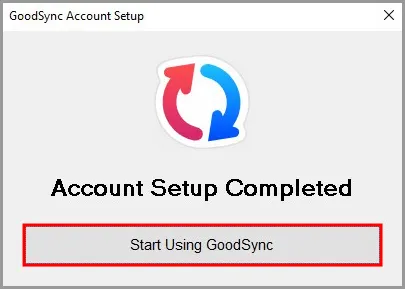
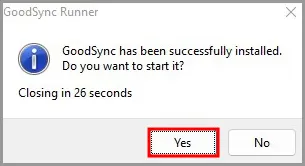
7. Click Yes to launch GoodSync.
Configuring GoodSync with StorX
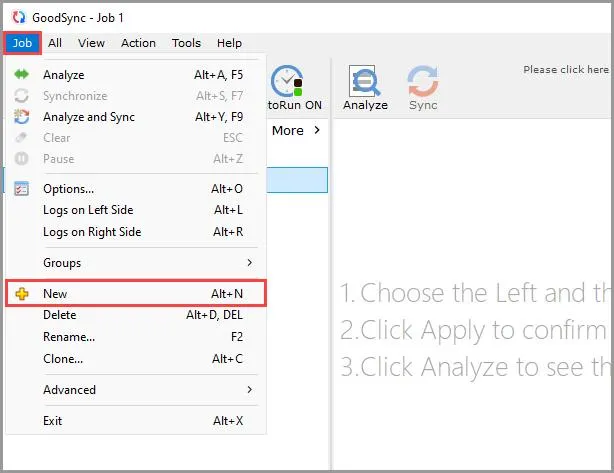
1. Open GoodSync and click New Job in the toolbar, or select Job → New from the menu.

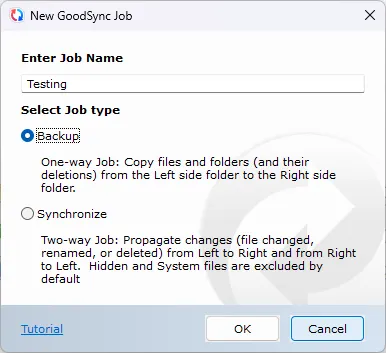
2. Enter a name for your job and select Backup or Synchronize as the job type. Click OK.
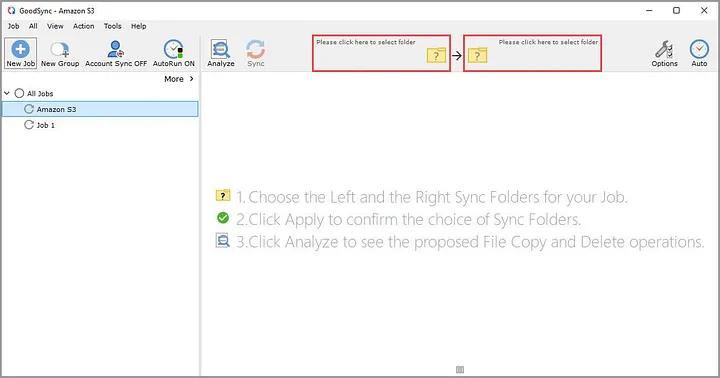
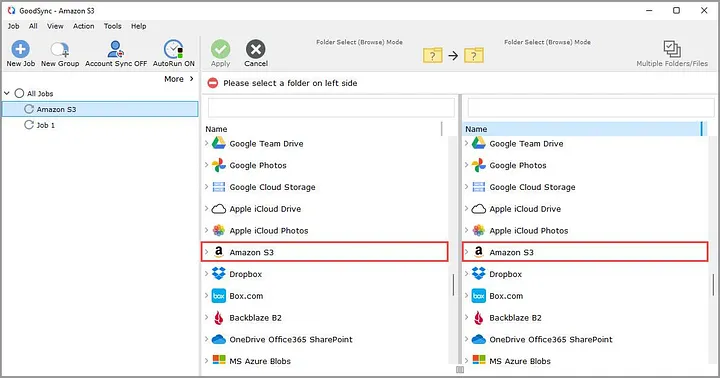
3. Click the left or right sync folder controls to select folders.
4. Scroll down and select Amazon S3 from the supported services.
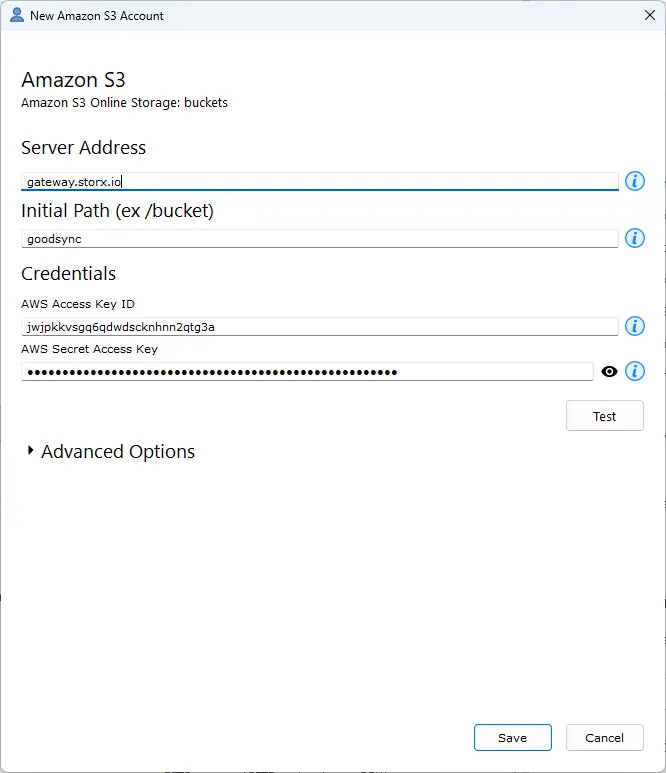
5. In the authorization window add StorX Access Credentials:
- Server Address: Leave as default
- Initial path: Enter your StorX vault/bucket name (optional)
- Access Key ID: Your StorX Access Key
- Secret Access Key: Your StorX Secret Key
Click Save.
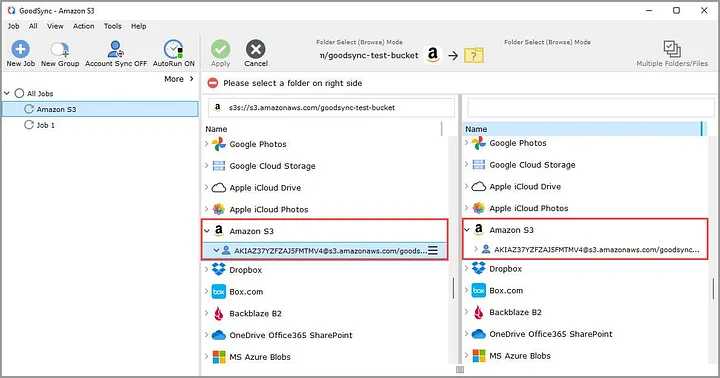
6. Your StorX storage content will be displayed in GoodSync.
7. Select the folder on the left side and the destination folder on the right side, then click the green Apply button.
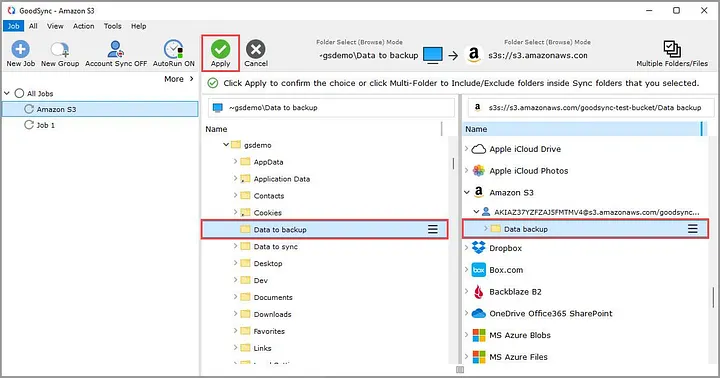
8. Your job is now ready to analyze and sync.
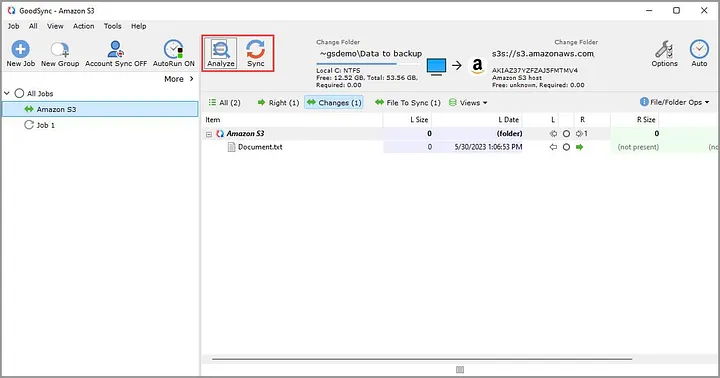
✓ Integration Complete! You have successfully configured GoodSync to work with StorX. You can now back up and synchronize your files with decentralized storage.
What You Can Do Now
- Backup: Automatically back up local folders to StorX
- Sync: Keep folders synchronized between multiple devices via StorX
- Schedule: Set up automatic sync schedules
- Versioning: Keep multiple versions of your files
Pro Tip: GoodSync supports real-time synchronization. Enable the "Auto" option to automatically sync changes as they happen.