
Quick Navigation:
What is IDrive?
IDrive helps you protect data through regular online backups. Your data is available immediately and stored safely off-site. It can also support data migration from one platform to another.
Before you begin: You need an active StorX account. Join StorX →
Setting up IDrive with StorX
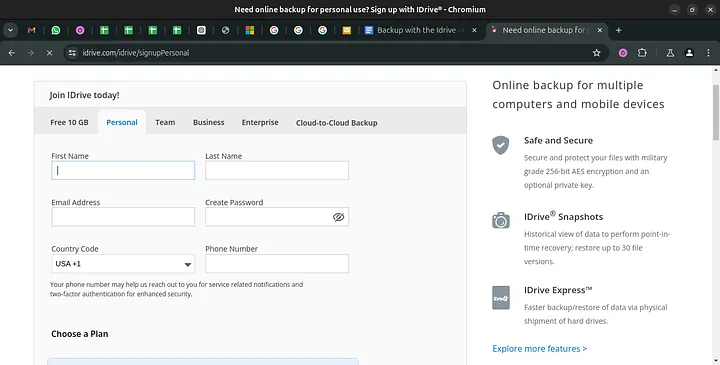
1. Sign up for IDrive at https://www.idrive.com/idrive/signupPersonal.
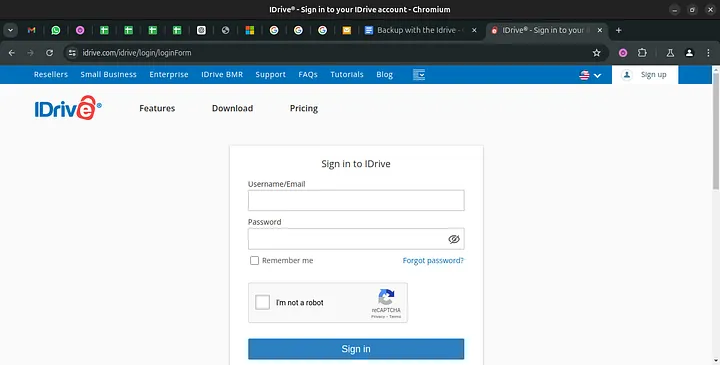
2. Log in to IDrive at https://www.idrive.com/idrive/login/loginForm.
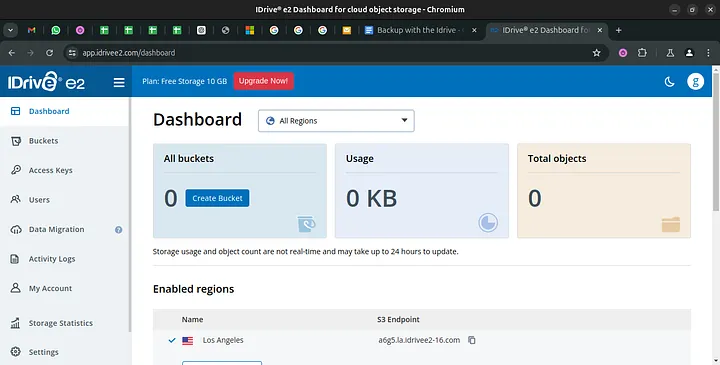
3. Select Data Migration from the sidebar menu.
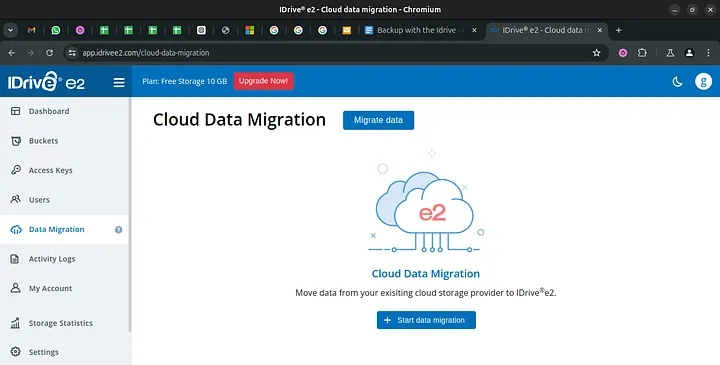
4. Start your first migration and click Configure Source with StorX Access Credentials.
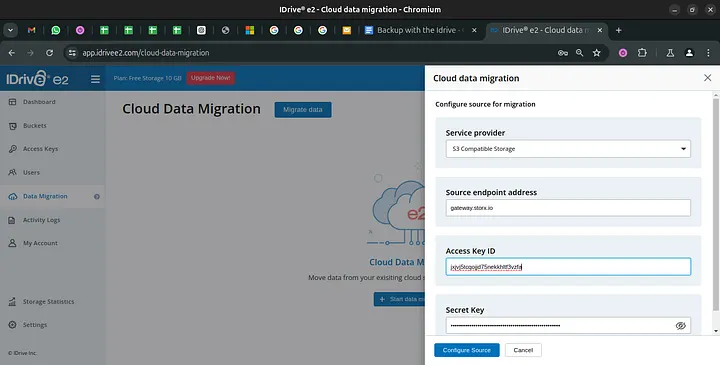
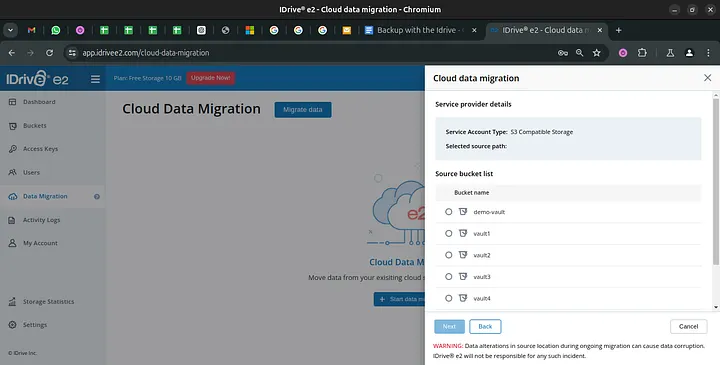
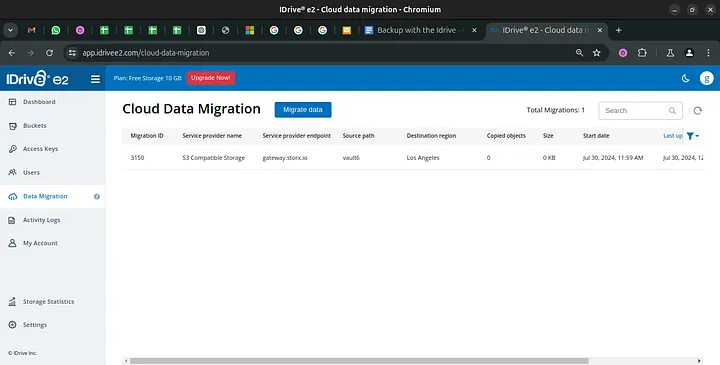
5. Configure the destination and start the data transfer from StorX to IDrive.
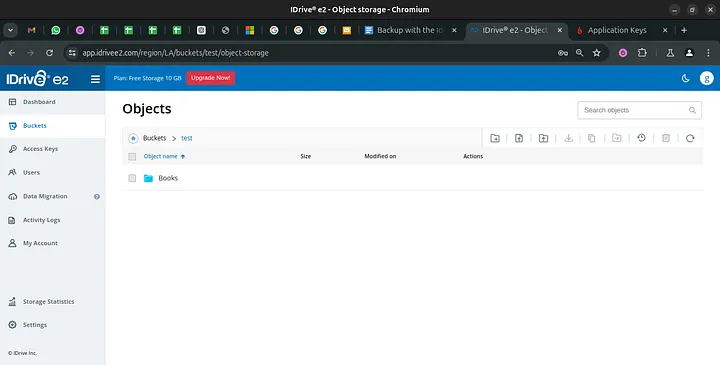
✓ Transfer Complete! Your files have been successfully transferred between StorX and IDrive.
What is Iperius Backup?
The most comprehensive and versatile backup software. Backup for PCs, Servers, Virtual Machines, Databases, Mail Servers, and Microsoft 365. Supports any destination: Cloud, S3, NAS, FTPS, Google Drive, etc. All-in-One with Perpetual License.
Download Iperius Backup: https://www.iperiusbackup.de/dsib.aspx?v=free
Setting up Iperius Backup with StorX
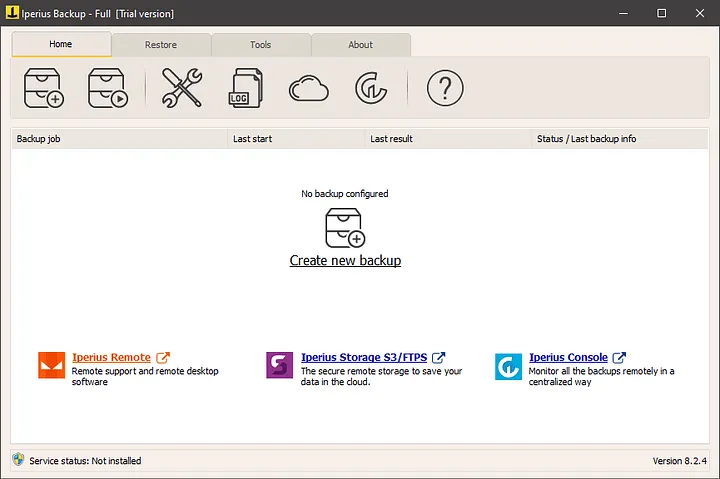
1. Install and open Iperius Backup. The interface will look like this:
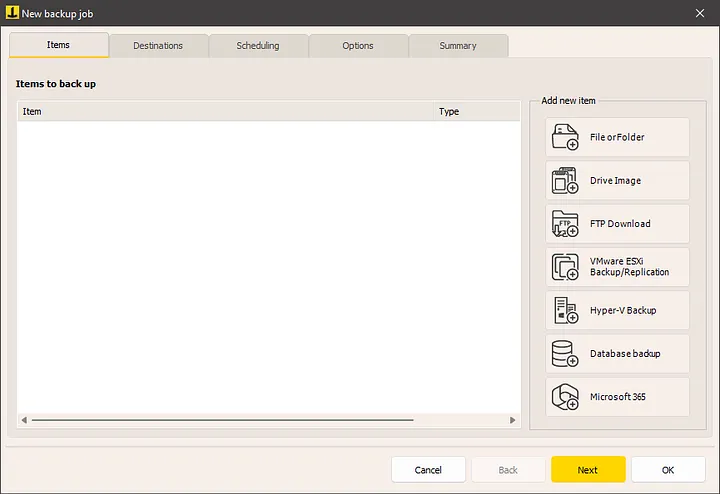
2. Click Create New Backup.
3. Go to the Destinations tab and click Add Destination on Cloud.
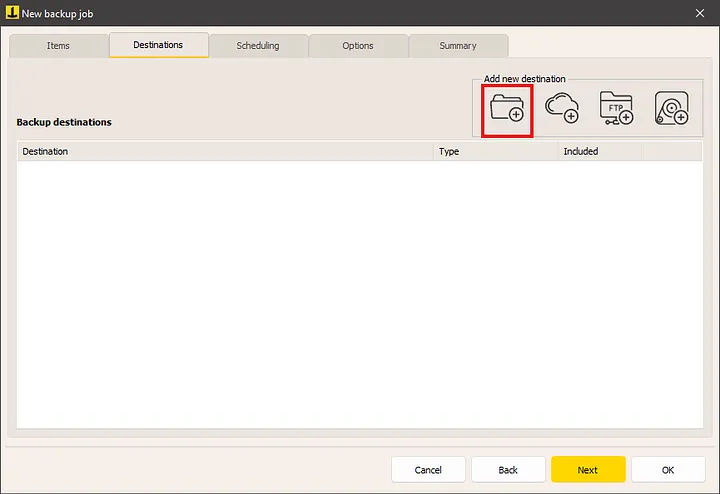
4. Add a new destination and provide a folder name for the target.
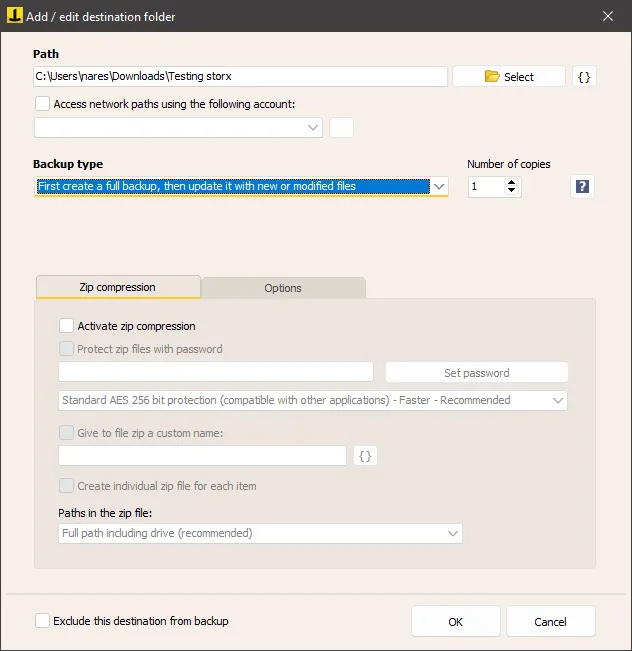
5. Select S3 Compatible as the cloud target.
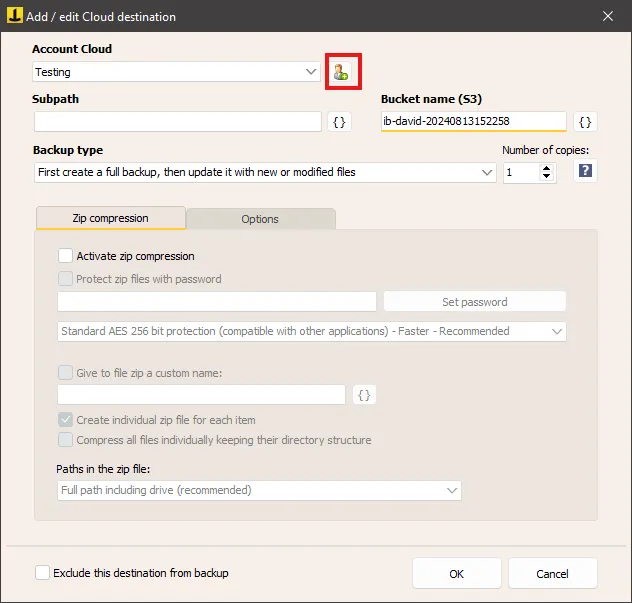
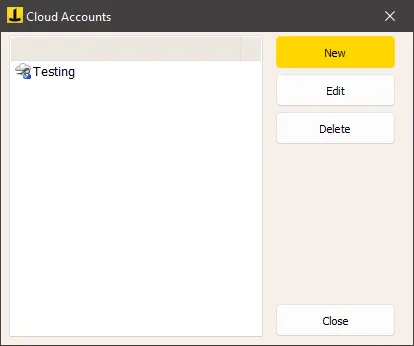
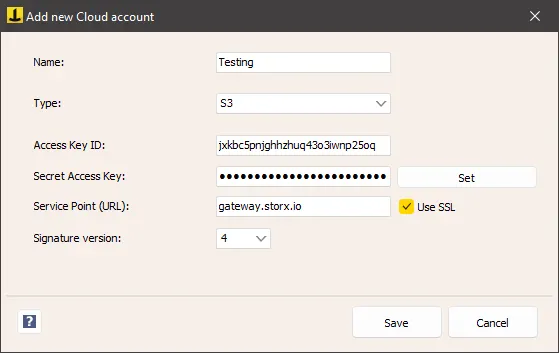
6. Click New and enter your StorX Access Credentials:
- Access Key
- Secret Key
- Endpoint:
gateway.storx.io - Bucket name
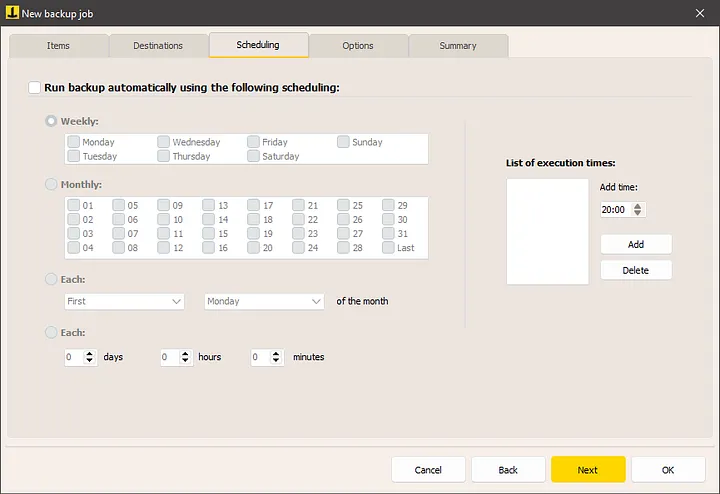
7. Configure backup scheduling as needed.
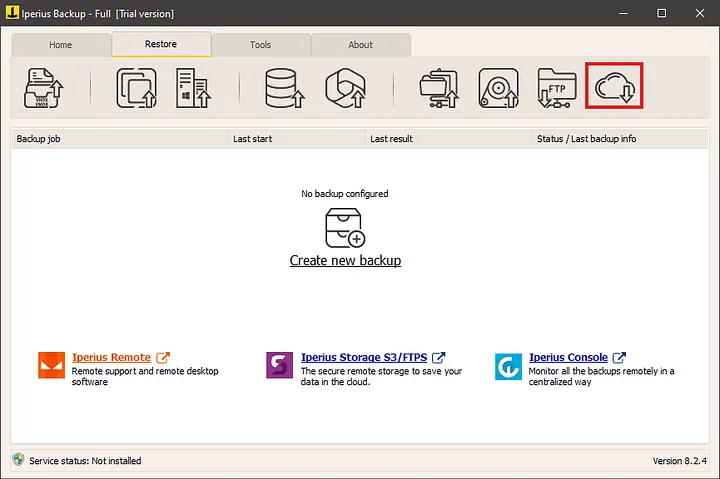
8. To restore files, click the Restore from Cloud icon.
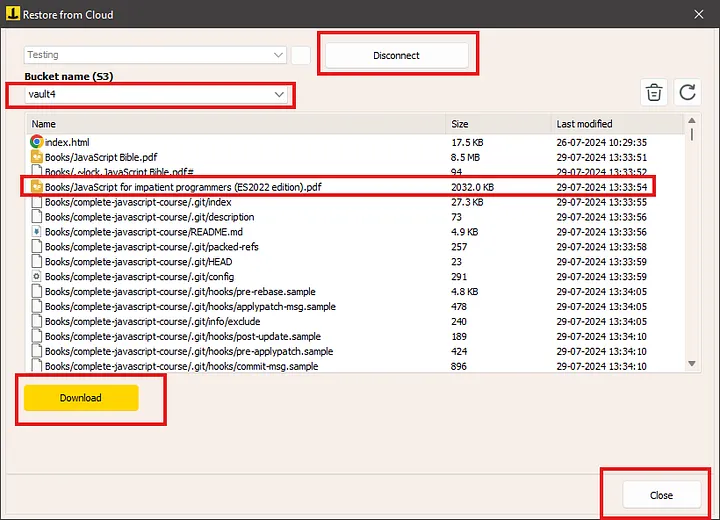
9. Select your vault and folder, then click Download to restore files.
✓ Backup Complete! You have successfully configured Iperius Backup with StorX.
What is SyncBack Pro?
The ideal Windows solution to backup, synchronize, and restore data files. SyncBackPro is reliable backup software used by individuals, small businesses, and mission-critical organizations worldwide, including law enforcement agencies, hospitals, and government departments. It ensures that your critical data is safe and easily recoverable.
Download SyncBack Pro: 64-bit Installer | Download Page
Setting up SyncBack Pro with StorX
1. Install and open SyncBack Pro.
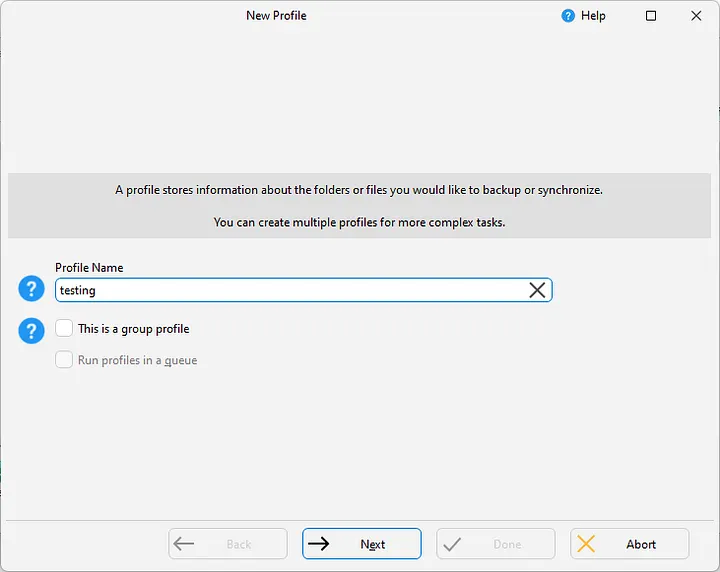
2. Click New, create a profile name, and proceed.
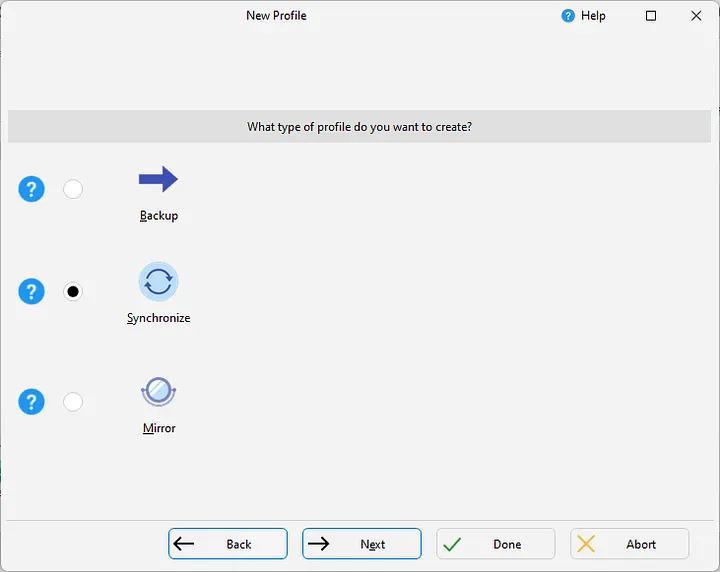
3. Select the Synchronize option to access cloud platforms.
4. Configure the source and destination paths. Select the cloud platform for backup.

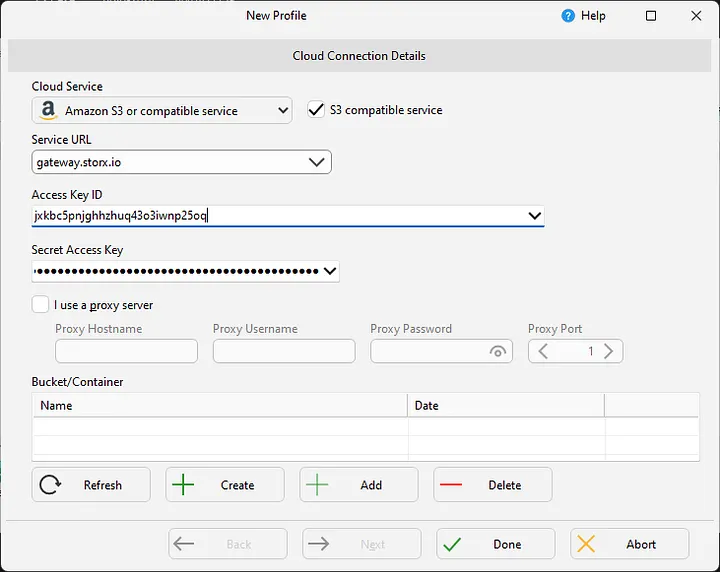
5. Enter your StorX Access Credentials in the pop-up:
- Access Key
- Secret Key
- Endpoint:
gateway.storx.io
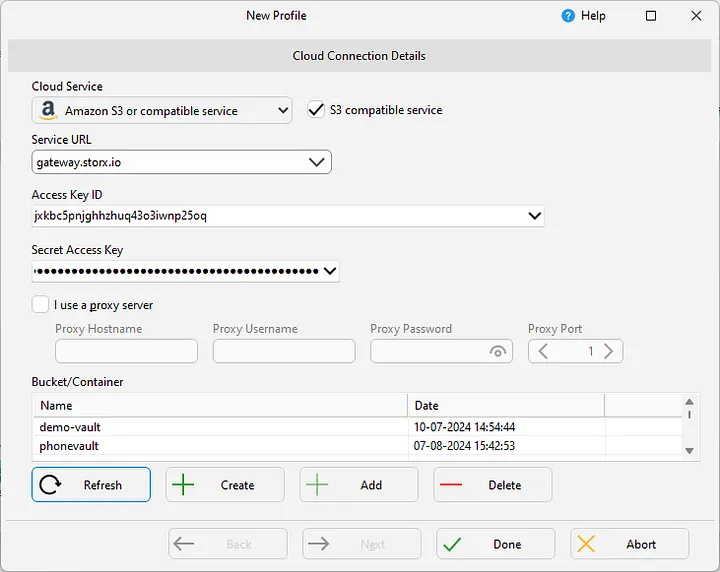
- Click Refresh to generate the vault list
- Ensure S3-compatible service is checked
6. Select the folder and run the test profile.
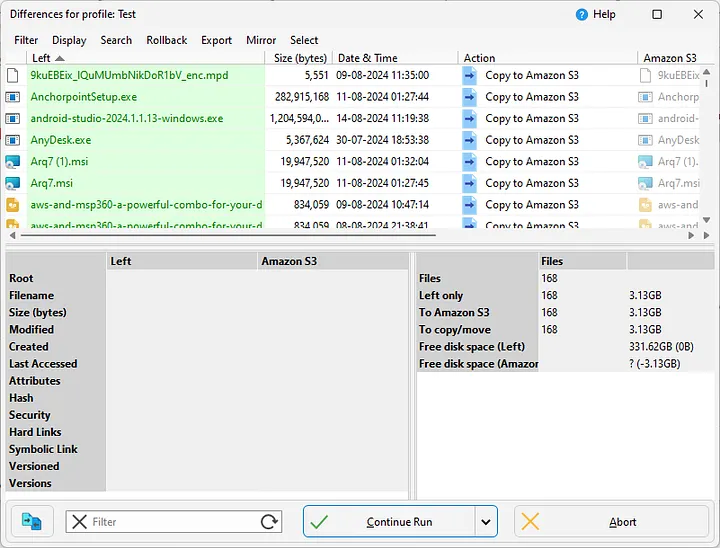
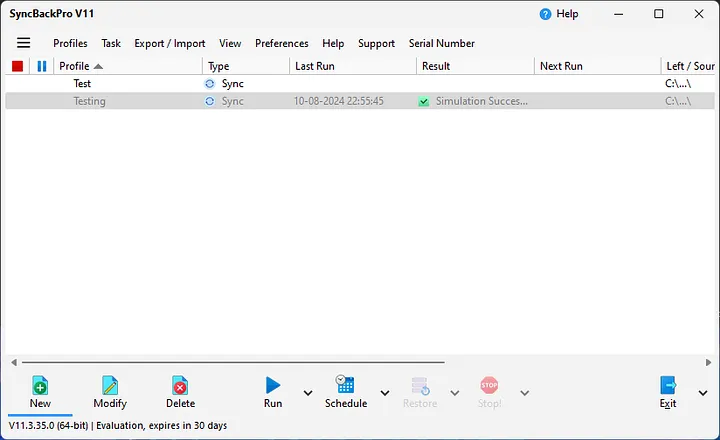
7. Click Continue Run to start the backup. You can monitor the status in real-time.
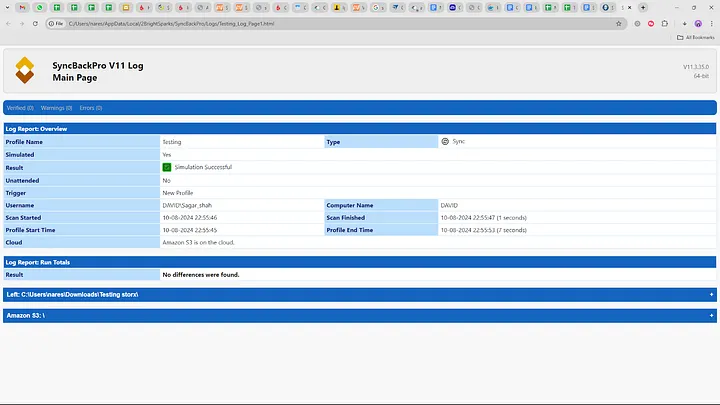
✓ Integration Complete! You have successfully configured SyncBack Pro with StorX. Your files can now be backed up and synchronized with decentralized storage.