
What is TNT Drive?
TNT Drive is a powerful Amazon S3 Client for Windows. With TNT Drive, you can easily mount an Amazon S3 Bucket as a Network or Removable Drive under Windows. Unlike many other Amazon S3 Clients, TNT Drive offers incredible simplicity in accessing your Amazon S3 Buckets and files. You can work with your Amazon S3 files as efficiently as if they were on your local drive.
Download TNT Drive
Version 6.0.1
Compatible with: Windows XP/Vista/7/8/10/11 and Windows Server 2003/2008/2012/2016/2019/2022
Installation Steps
1. Click the Download link and run the installer.

2. Click Yes on the User Account Control prompt:

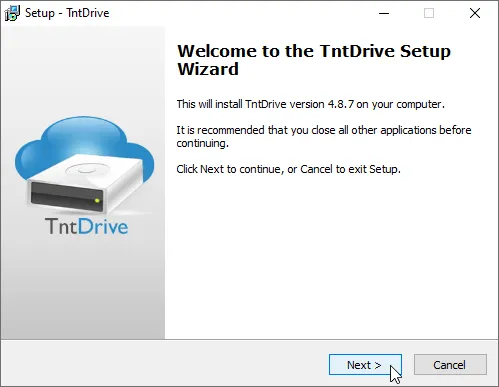
3. Click Next to continue:
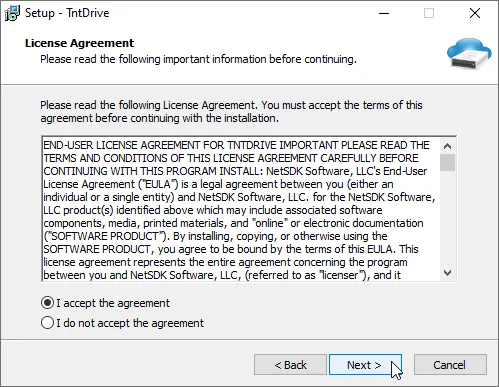
4. Accept the license terms:
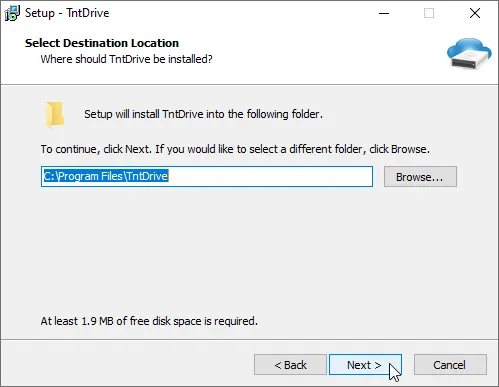
5. Choose the installation location:
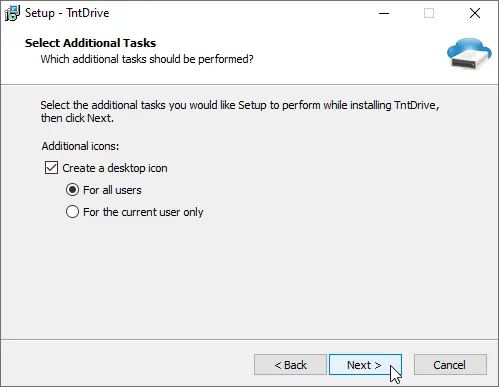
6. Select additional tasks:
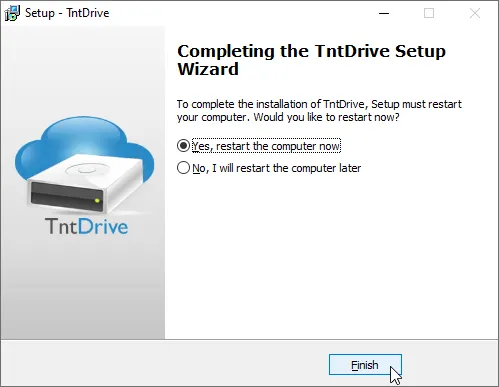
7. Click Finish to complete the installation:
Note: When you install TNT Drive for the first time, it is recommended to reboot your computer. Virtual drives typically appear only after a system restart. If you are upgrading TNT Drive, you can skip this step.
Before you begin: You need an active StorX account. Join StorX →
Configuring TNT Drive with StorX
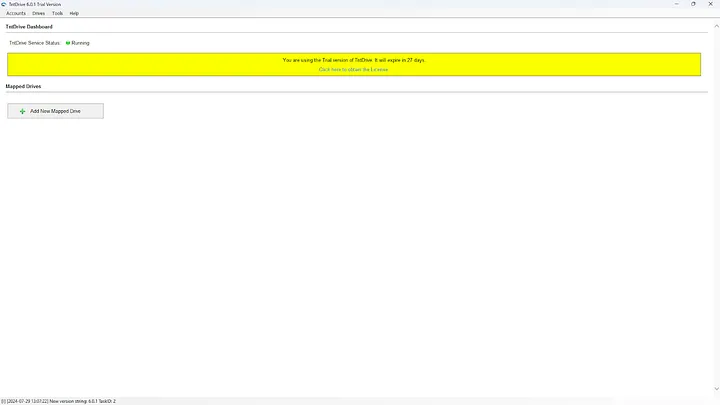
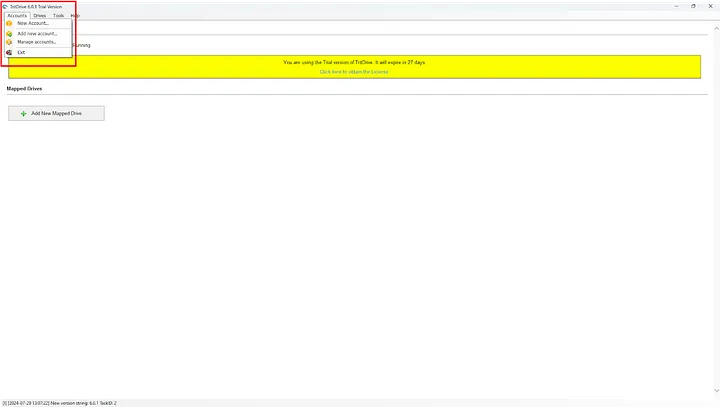
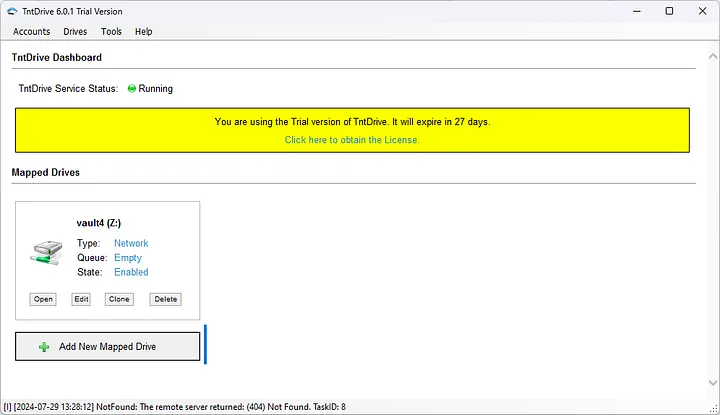
1. Open TNT Drive. The interface will appear as follows:
2. Click Add New Account to configure your StorX connection:
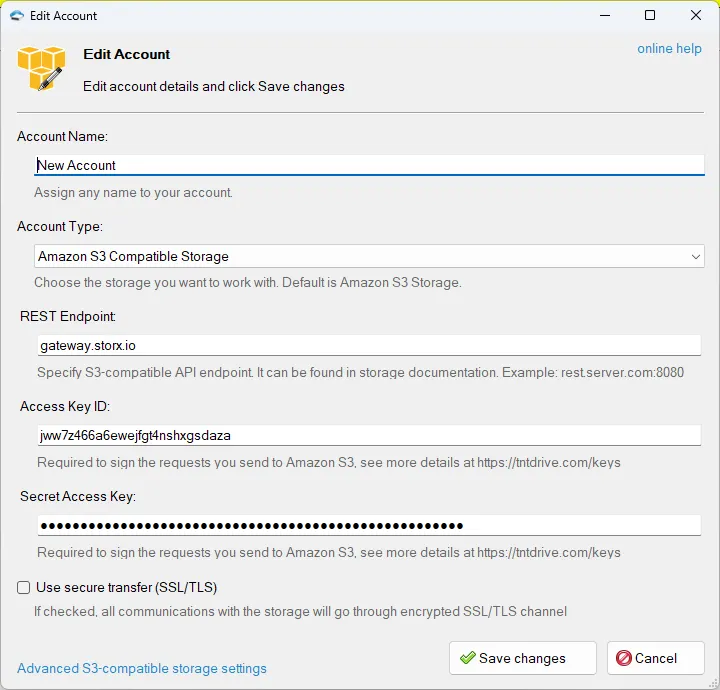
3. Enter your StorX credentials:
- Account Name: StorX (or any name you prefer)
- Account Type: S3 Compatible
- REST Endpoint:
gateway.storx.io - Access Key ID: Your StorX Access Key
- Secret Access Key: Your StorX Secret Key
⚠️ Important: Make sure to uncheck SSL/TLS if using HTTP, or ensure proper SSL configuration for HTTPS connections.
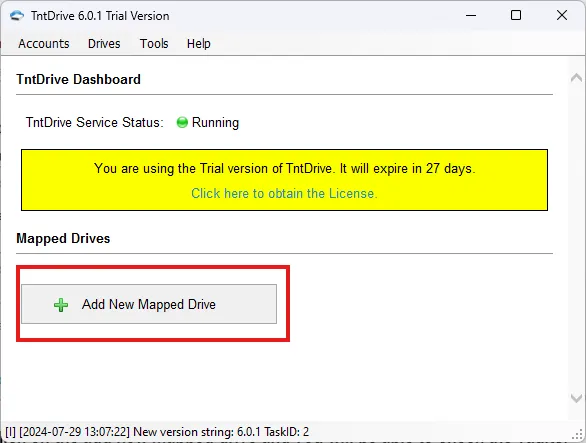
4. Click Add New Mapped Drive to mount your StorX vault as a drive:
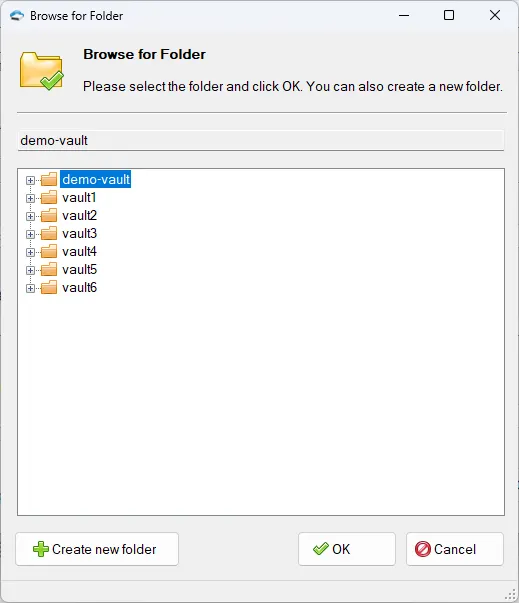
5. Select your StorX vault from the list:
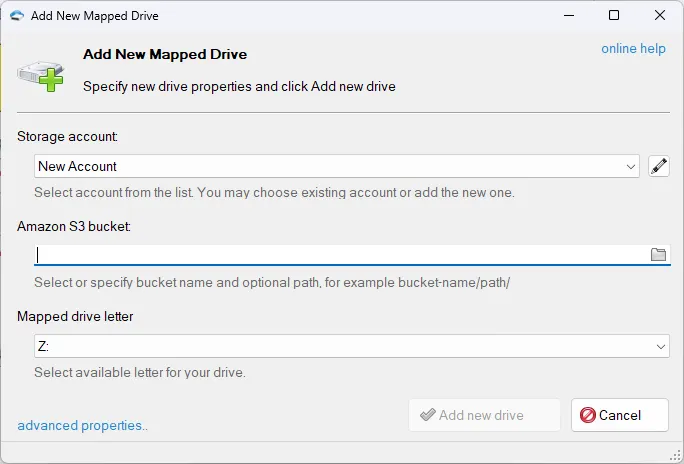
6. Complete the drive mapping. Your StorX drive will now appear in the list:
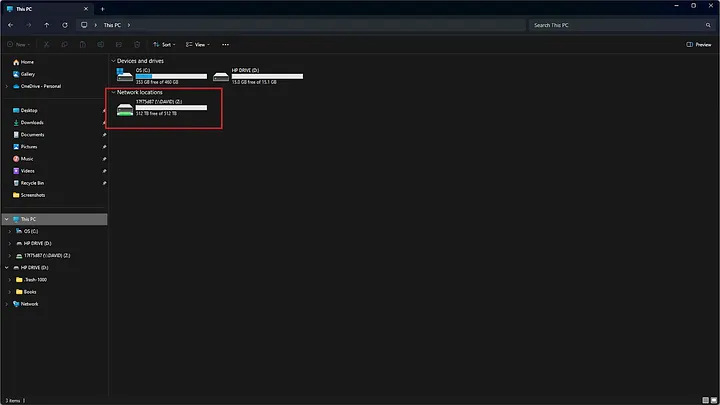
7. Open This PC in Windows File Explorer to see your new StorX drive:
Test the Integration
1. Add a file to your mapped StorX drive:
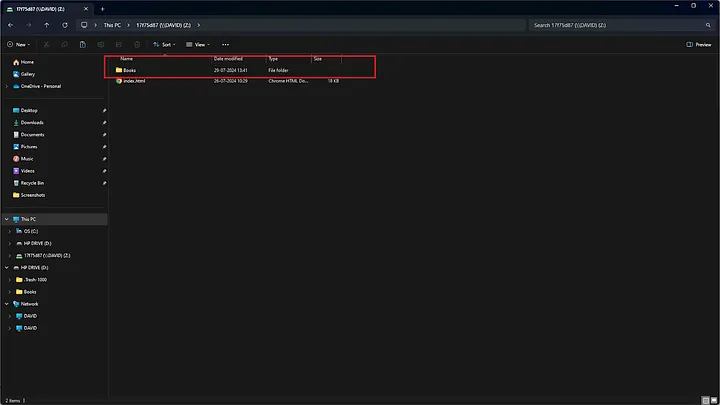
2. Verify the file appears in your StorX web interface:
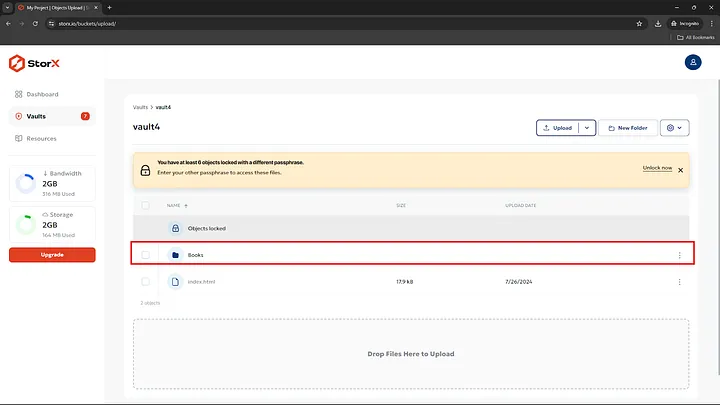
✓ Integration Complete! Your StorX decentralized storage is now mapped as a local drive using TNT Drive. You can access, manage, and transfer files just like any local drive on your Windows computer.
What You Can Do Now
- Direct Access: Open files directly from StorX without downloading first
- Drag and Drop: Easily move files between your local drives and StorX
- File Management: Rename, delete, and organize files as if they were local
- Multiple Drives: Map different StorX vaults as separate drive letters
- Auto-Mount: Configure TNT Drive to automatically mount at startup
💡 Pro Tip: TNT Drive supports multiple accounts and drives. You can map different StorX vaults to different drive letters, and even map the same vault to multiple drives with different access permissions.